![]()
|
|
|
The Storage Shed ProjectNo, honey, I'll have more fun if I build it from scratch. Besides, I have to practice before I start on our remodel! 40 two by fours: $130. 20 sheets of OSB wafer board: $400.00. 4 sheets of unnecessary CDX plywood: $110. 10 2x10's that are way too big to be the rafters I spec'd them for: $135. Building your own shed: $1,500.00, actually. (Later edit: No, this is not the final price, I keep finding out about more stuff I need...)
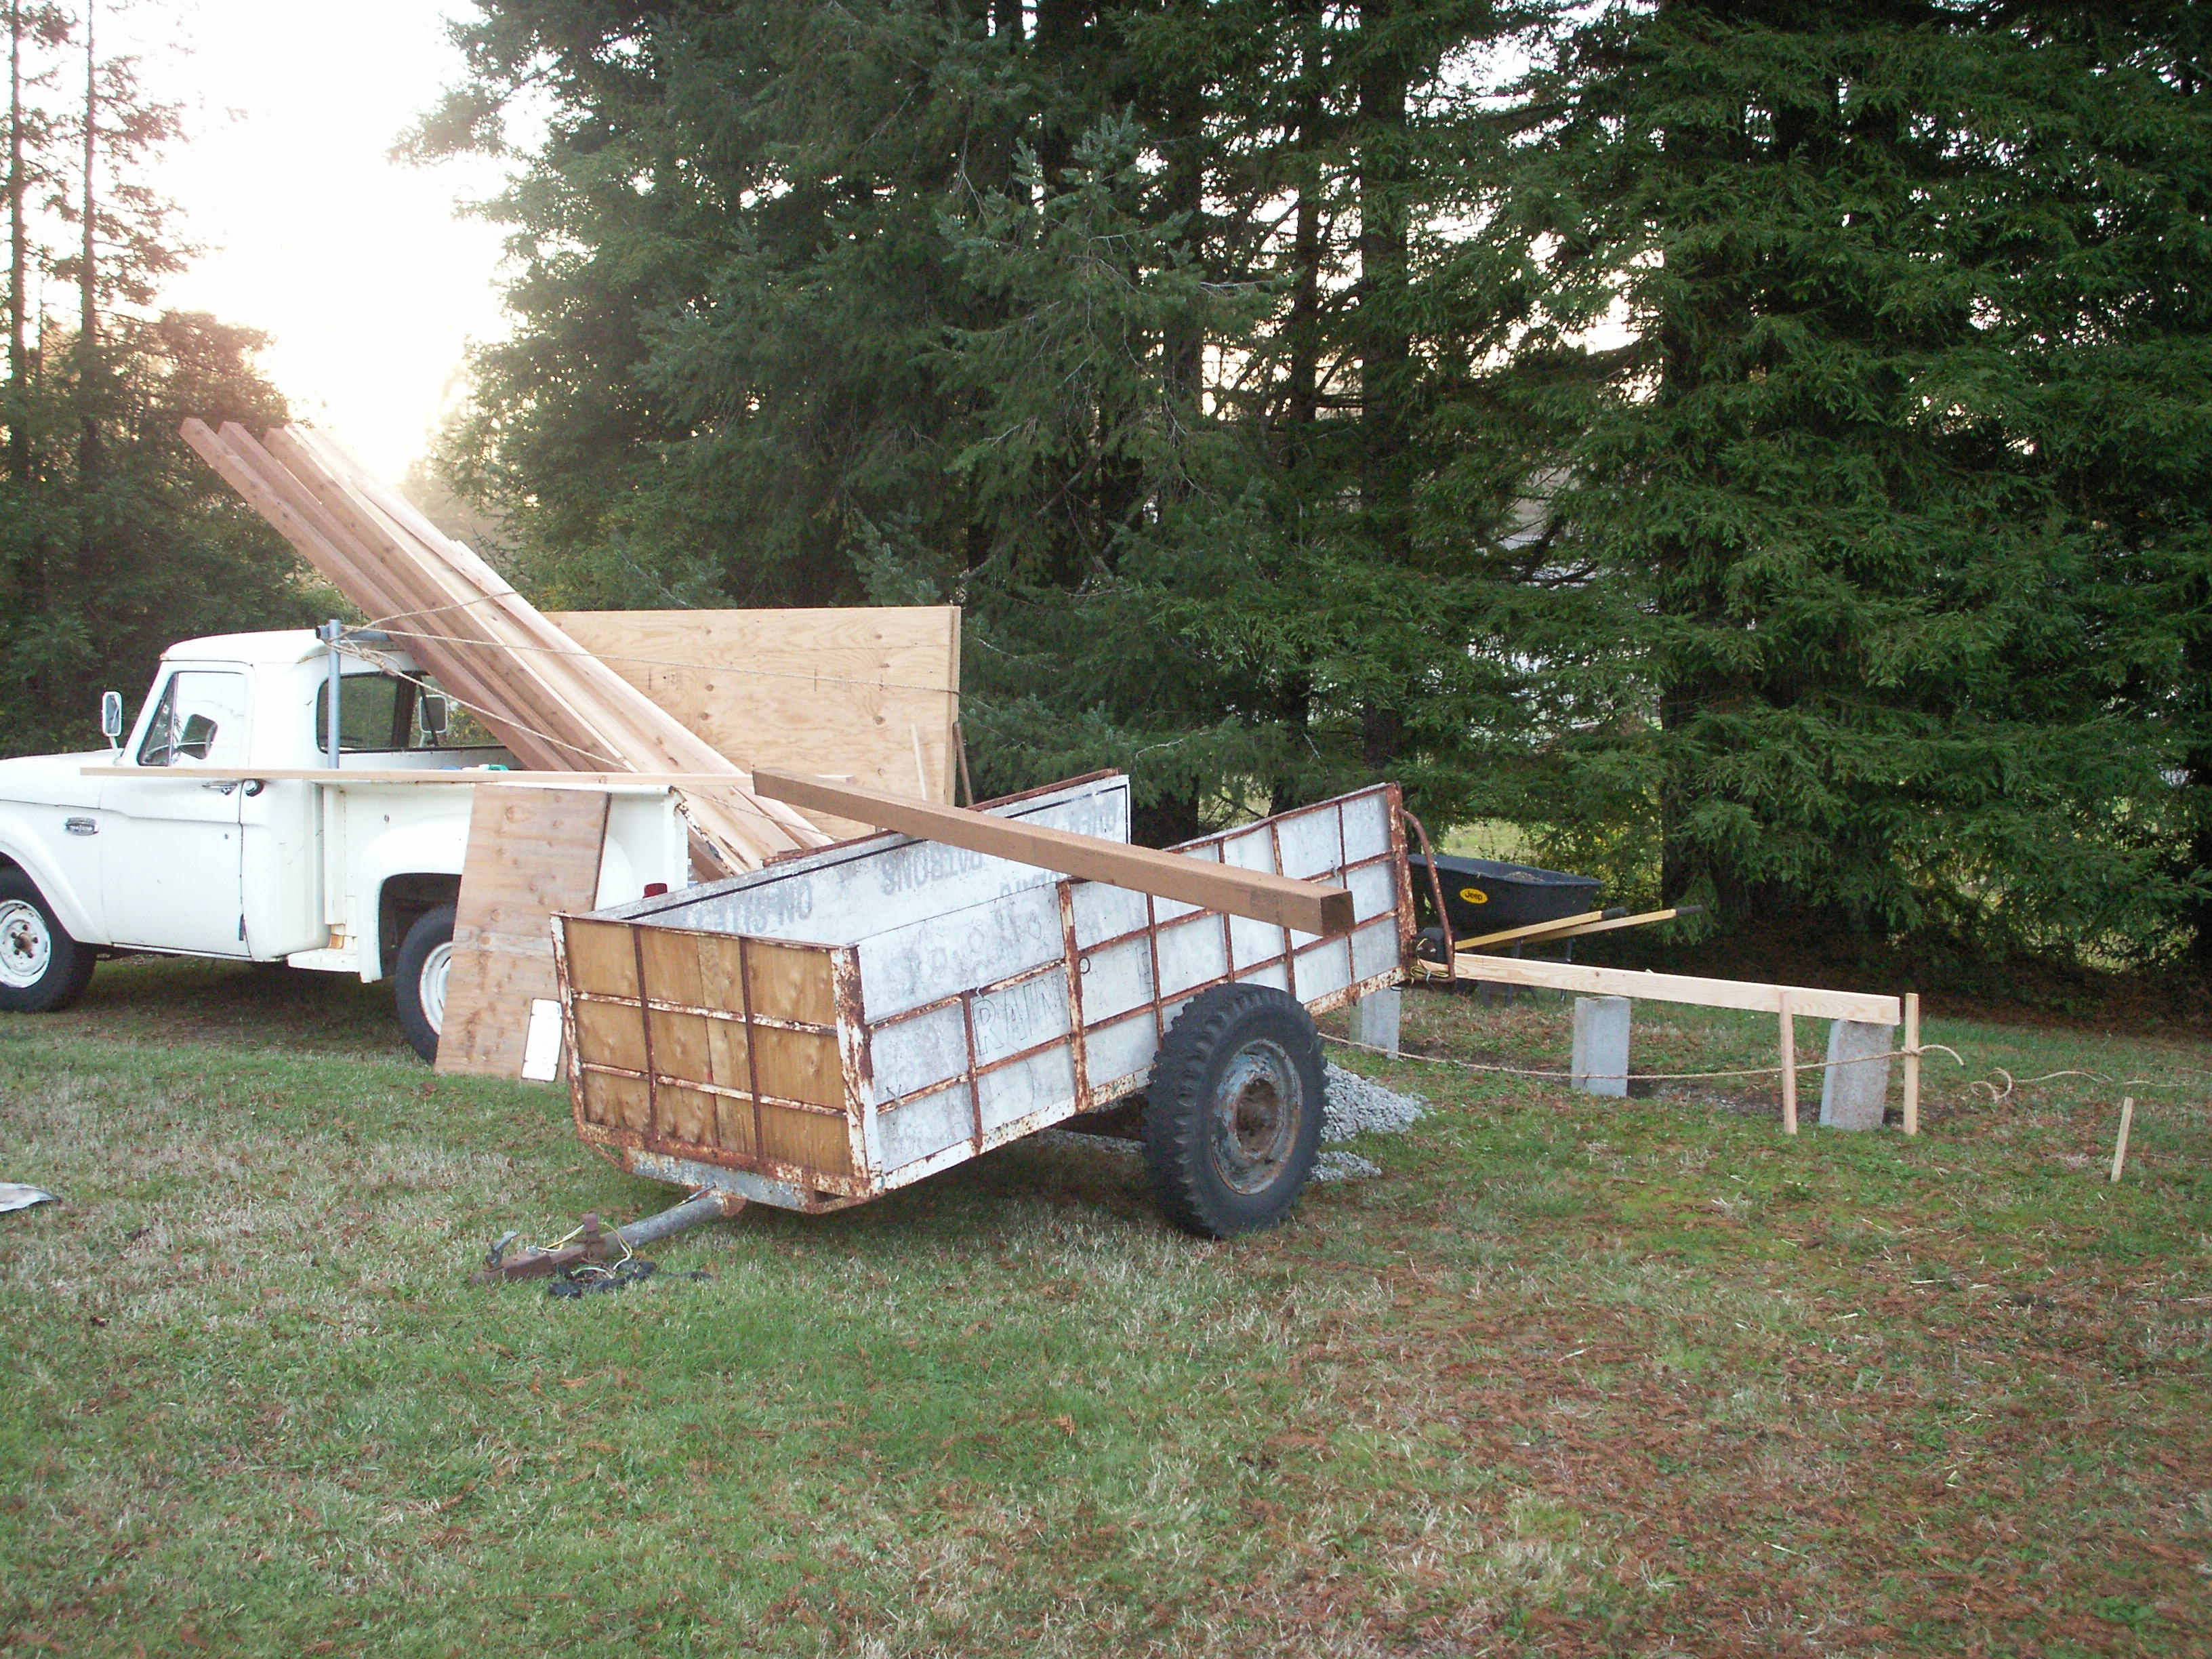
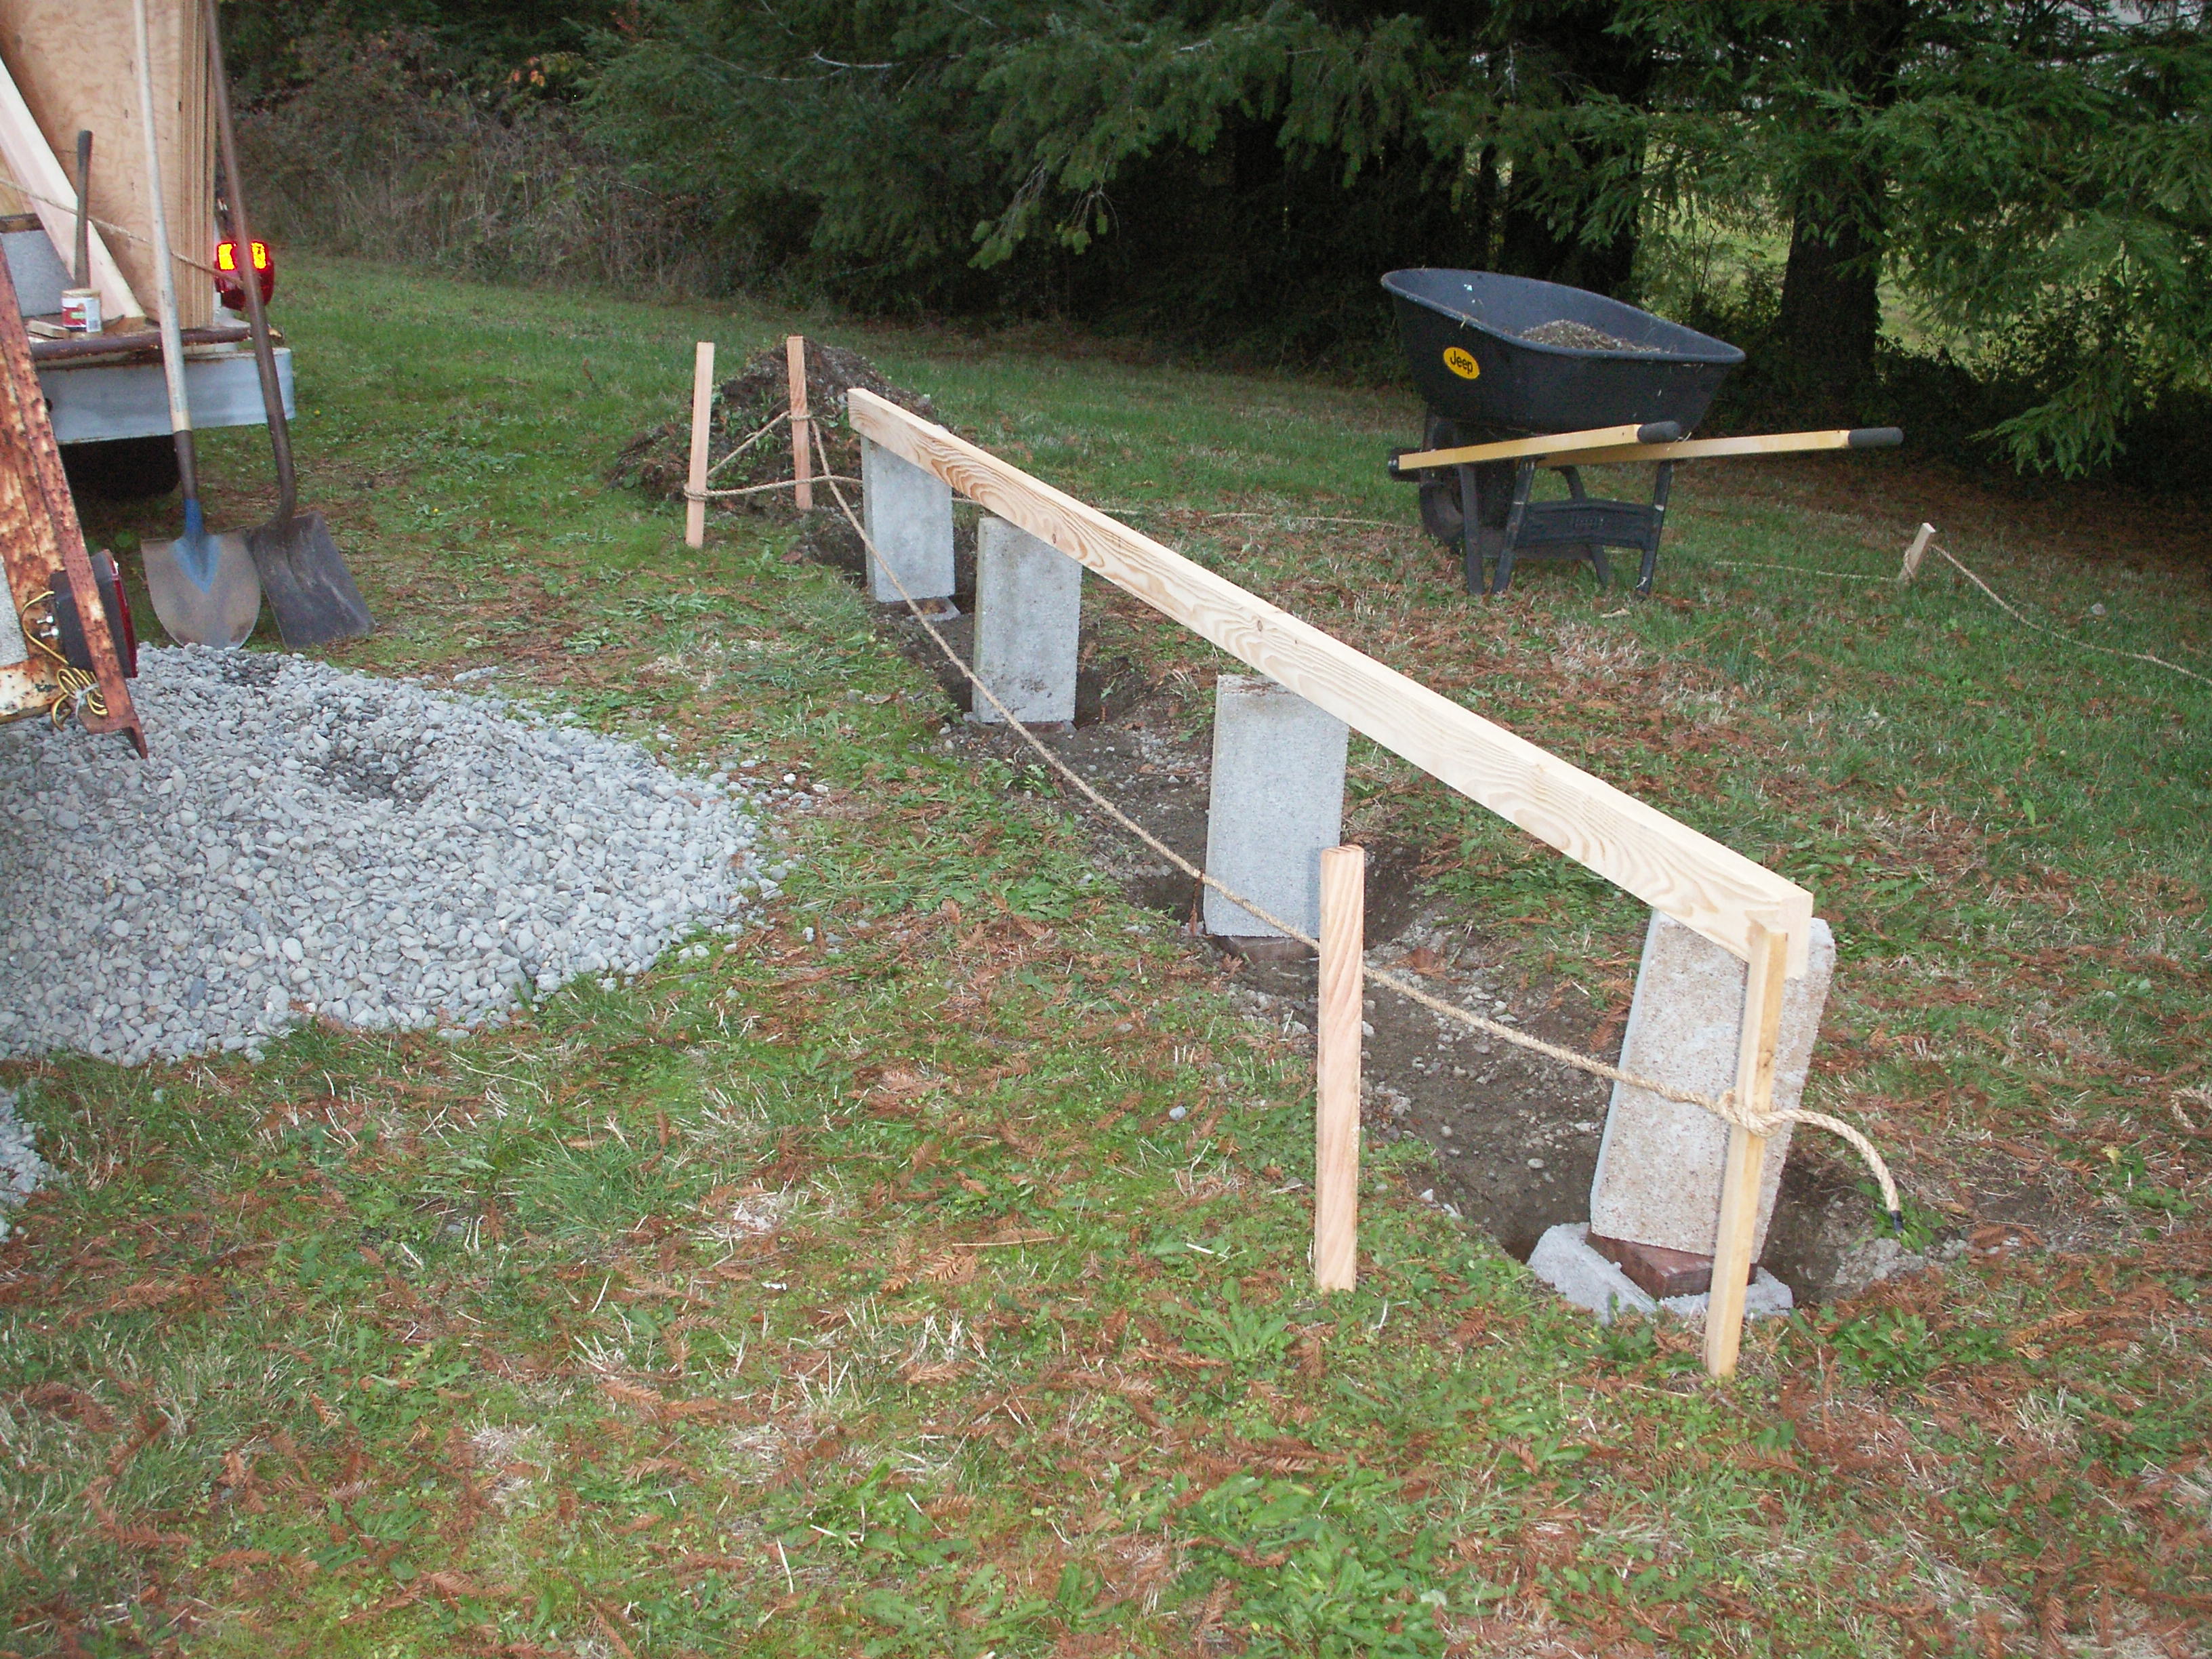
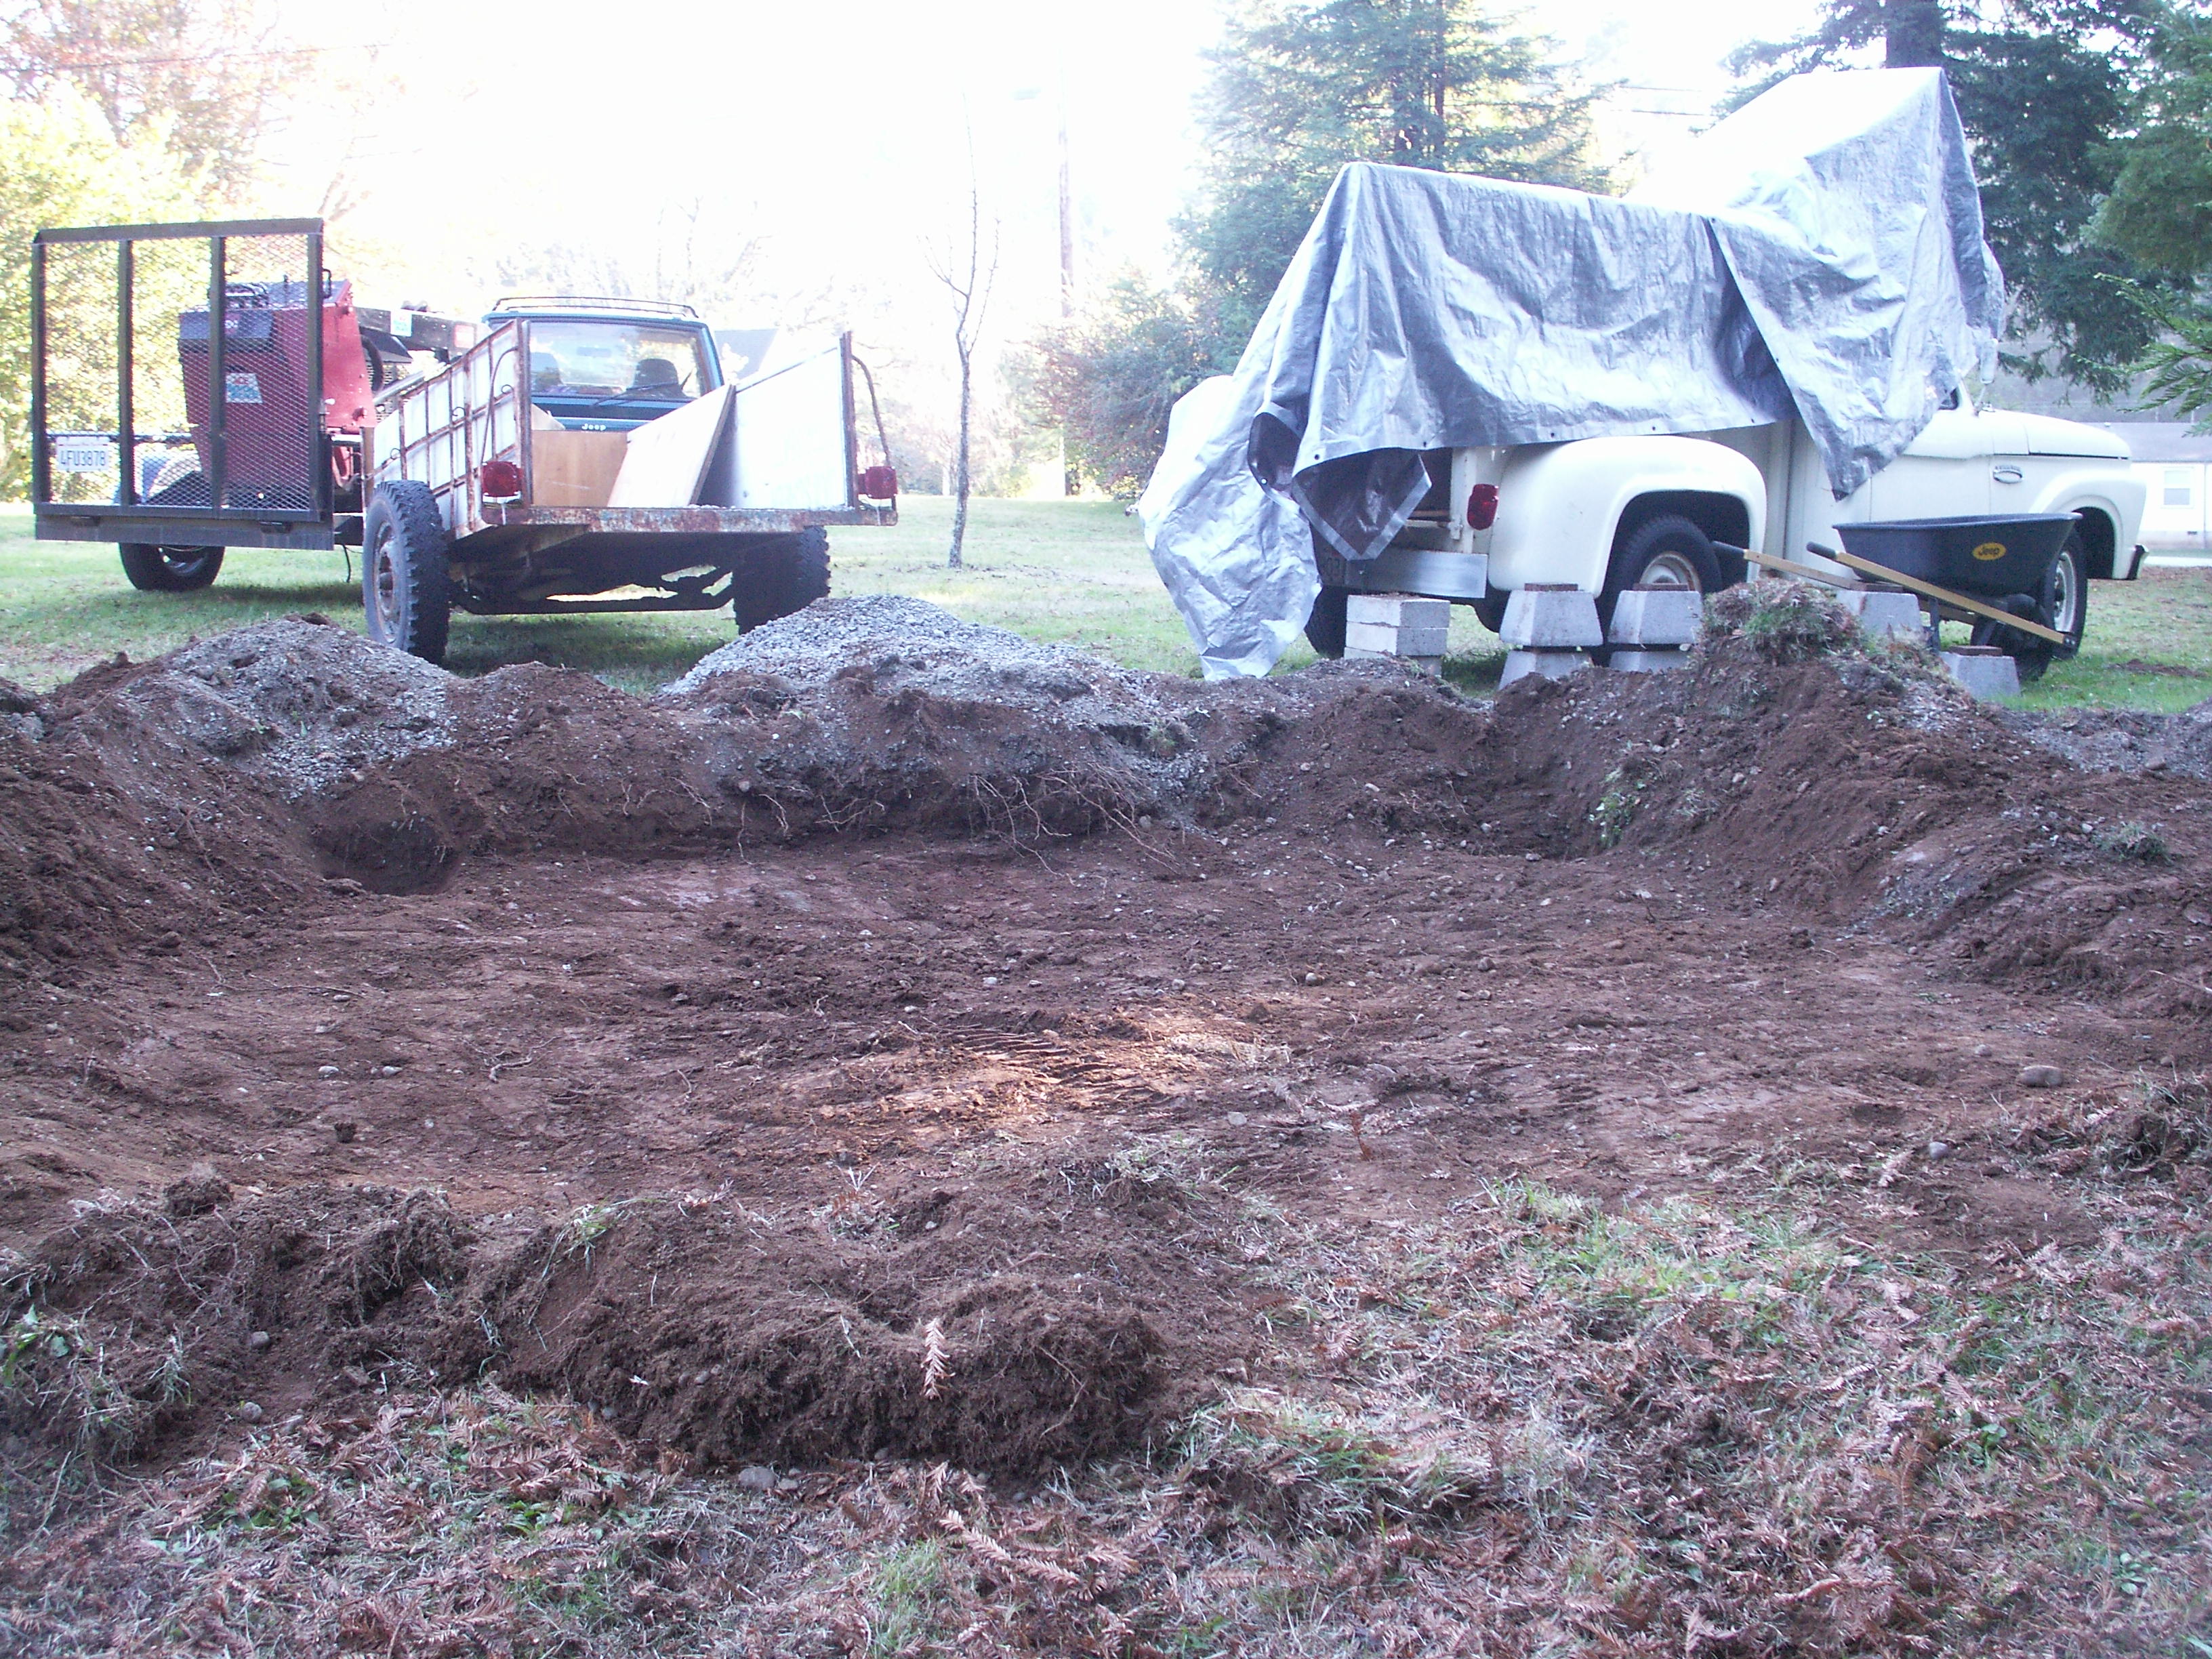
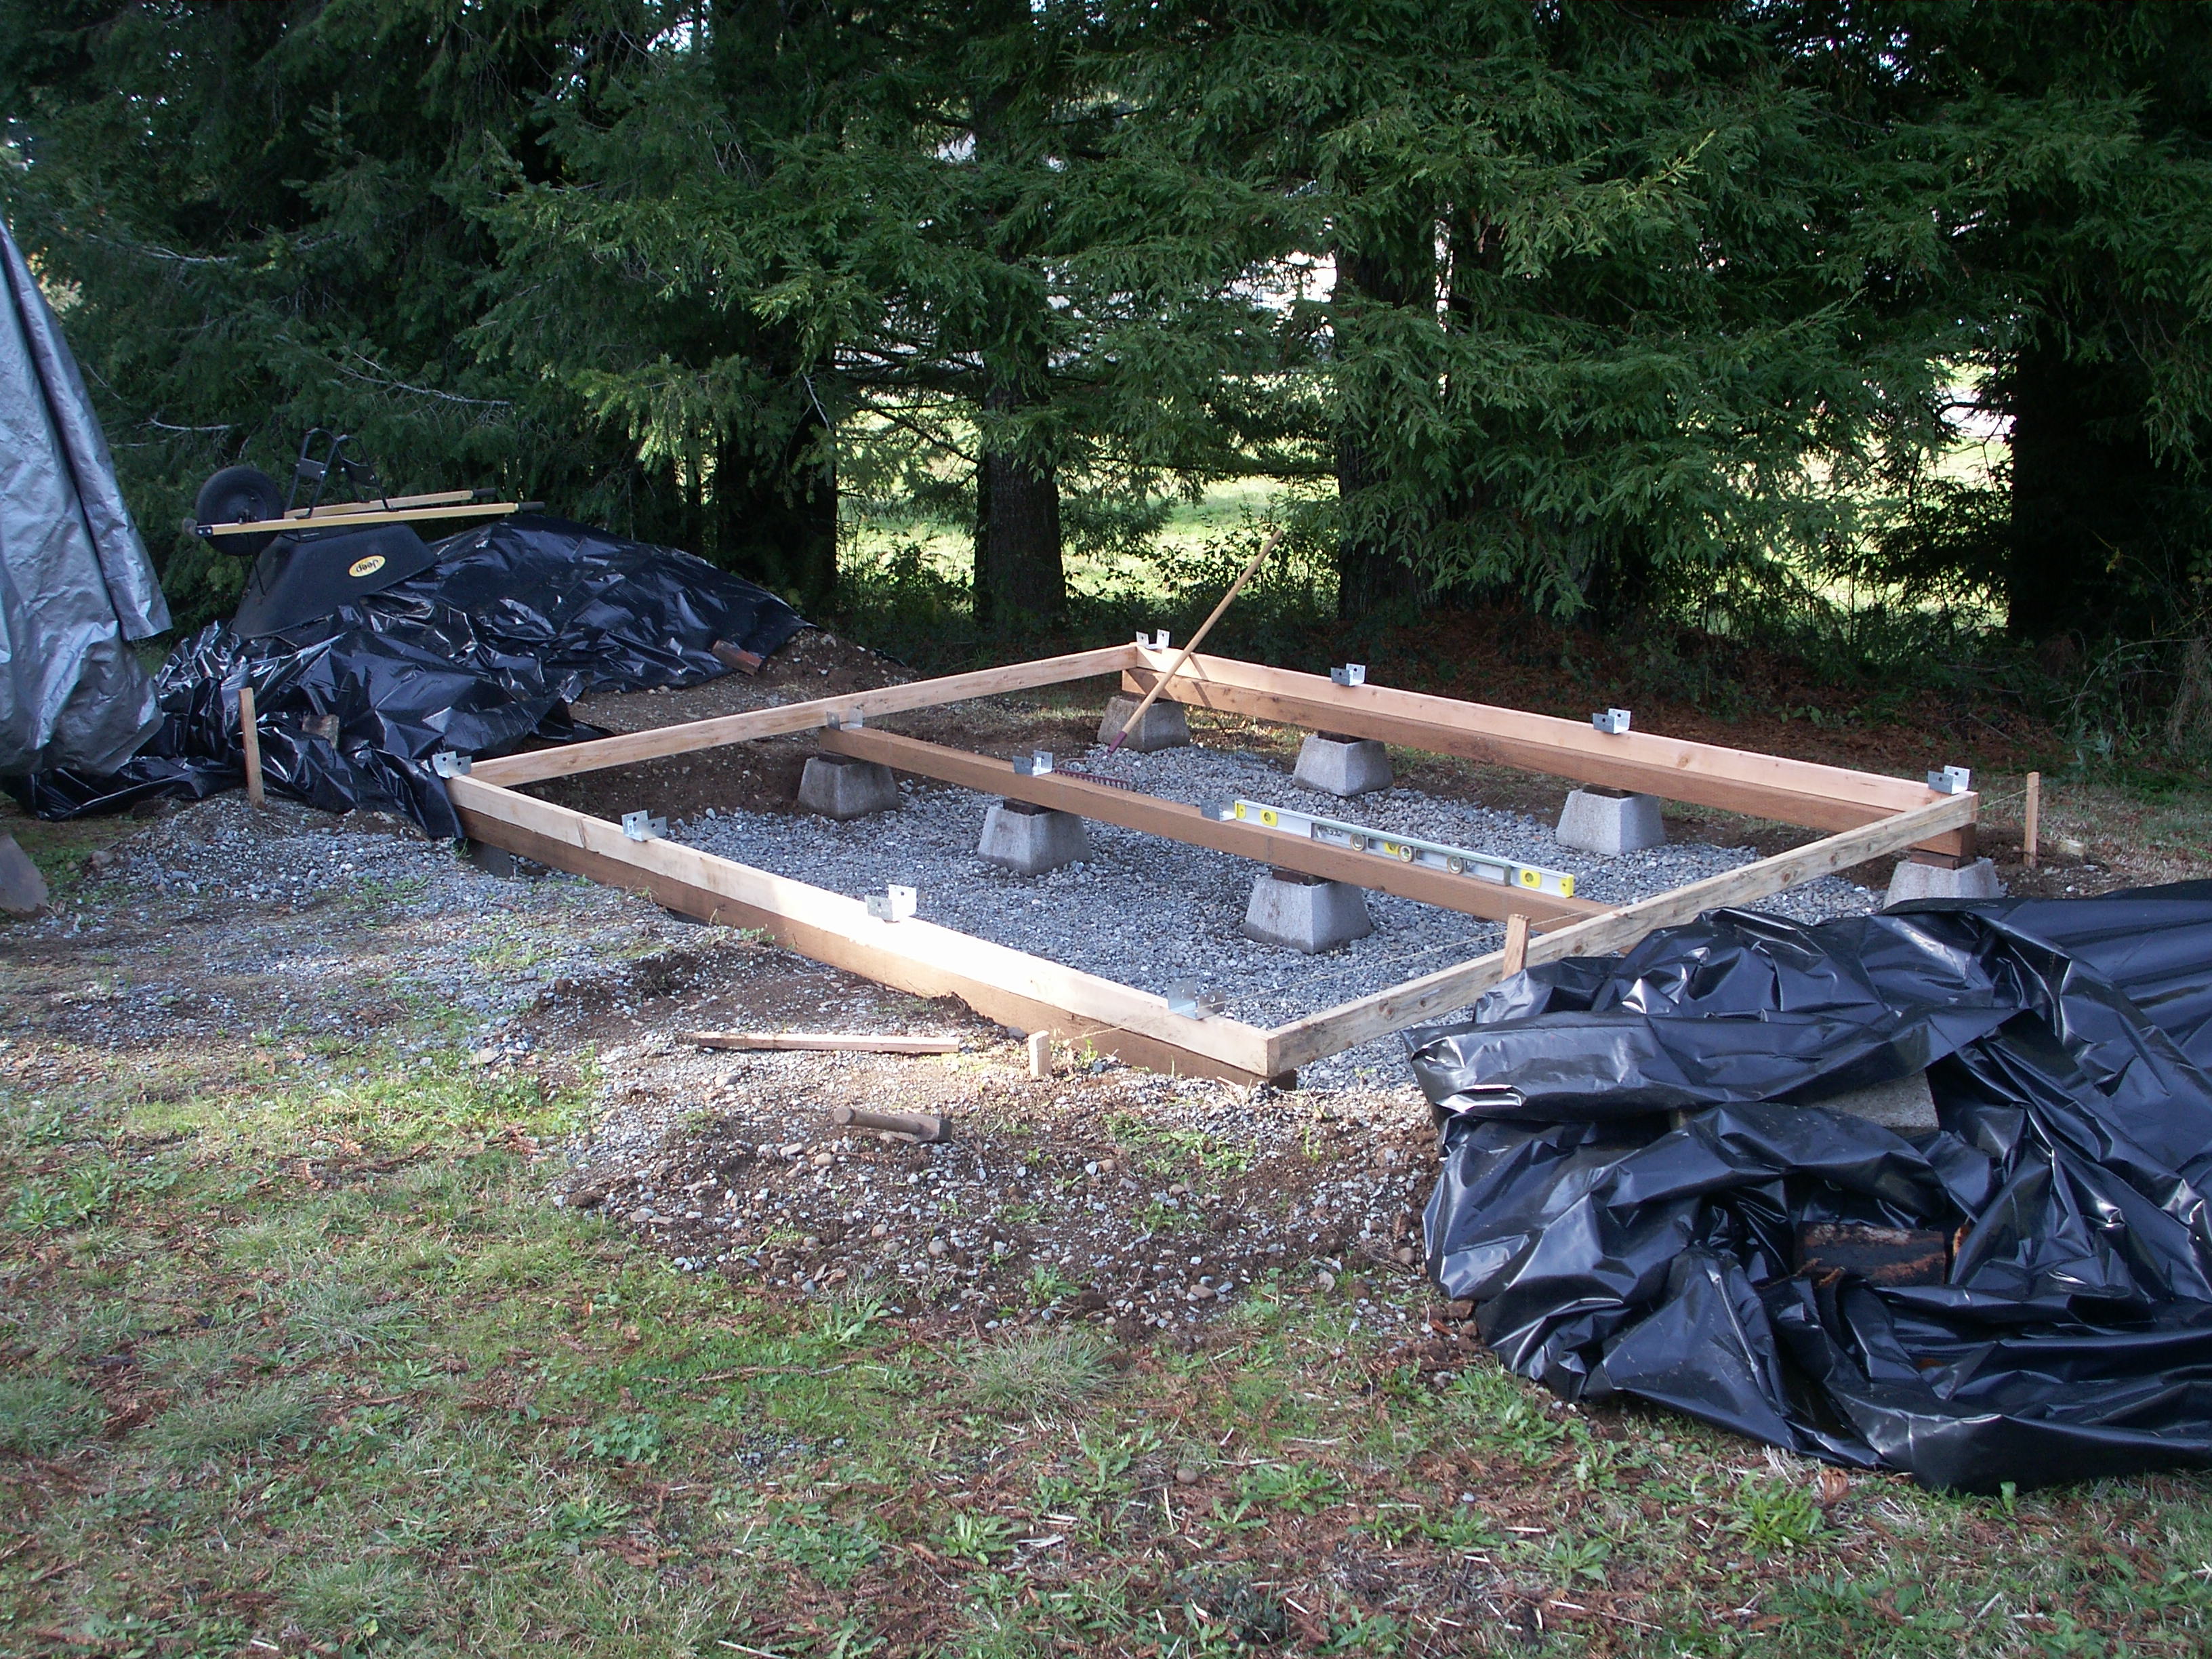
We had a storage shed in Santa Cruz. It was one of those metal kits we got from Fingerhut for about $700.00. We had been paying $70.00 a month to a local storage facility, so we saw the ROI in less than a year. After 7 years, it was starting to let rain in, but all in all, we had a good run. When we moved up here, I wondered why we could not fit all of our stuff into the house. Then Diane reminded me: We had a storage shed who's contents is now being crammed in with everything else! Home Depot had a few kits available, but the model we wanted was on back-order, a month out, and with the bump out kit, was going to run about $1800.00 without foundation. I was going to have to build that, so I started thinking "Why not build the whole thing myself?" I set up my old drafting board that I bought from a high-school friend, Ray Richards, with whom I had several years of drafting classes. Yes, Louis was in some of those classes, too. But he remembers the long liquid lunch breaks, when high-school kids would mention the keg at a nearby house... After some scribbling, a call to Ace for pricing, and some pie in the sky guestimates, I figured we could do it for about $1,500. Hah! In between rainy spells, I made our first run to Ace for parts. I bought 4 sheets of CDX plywood, a few pressure treated 4x4x12's, some pressure treated 2x4x12's and 2x4x10's, and a dozen pier blocks. My first overkill foundation was about to begin. I began by walking around with Diane, trying to figure out where it was going to go, since we also would be eventually building a two car garage, not to mention the major remodel of the house in the coming years. Sometime during this, I also remembered that 3/4 minus gravel was used as a good drainage leveling base. After calling around, I finally located the local supply for our area: Del-Cur Farmer's Coop, just inside the Oregon border. I missed them, as they closed early on Saturdays, so I had to wait until Monday. The material was $65 per yard. Cubic, that is. I hauled our little trailer (Thanks again, Jim!) up there (had to keep it under 45MPH, as I still have not had the tires replaced or the suspension looked at, and it begins to fish tail at faster speeds) and found out that their tractor had busted a throttle cable that morning, and they were not going to be able to sell me any gravel. Back home, 45MPH. We pulled over a lot to let people go by... Several days later, a phone call confirmed that the tractor was operational, so back to Oregon with the trailer. When asked how much we wanted, we decided to start with a bucket. Turns out, the tractor they use has a front loading bucket that holds about half a yard. When it had deposited the load into the trailer, it was obvious from the way it sank that it would not be holding much more. We picked up a few marking stakes, paid our bill and started home. The trailer started fish tailing at 25MPH, so I pulled over to move the gravel around to try to even out the load. There was this nice big side area of the highway, right by the agricultural inspection station. Luckily, we had no fruit :) When we finally for our purchase back to Ft. Dick, Diane wanted me to remove the tail gate and punch the accelerator. I chickened out and just used a shovel to move the gravel out. After our decision, I began by digging and then laying out the first 4 pier blocks. I put a board across them, and dug until they were relatively level to each other. Then I looked at the ground and the way it sloped away from the front and realized I was going to have to dig much deeper if I was going to have it level with the opening only a little above grade. And this digging stuff with a shovel in clay dirt with rocks anywhere from 2" to 6" in diameter was hard work!
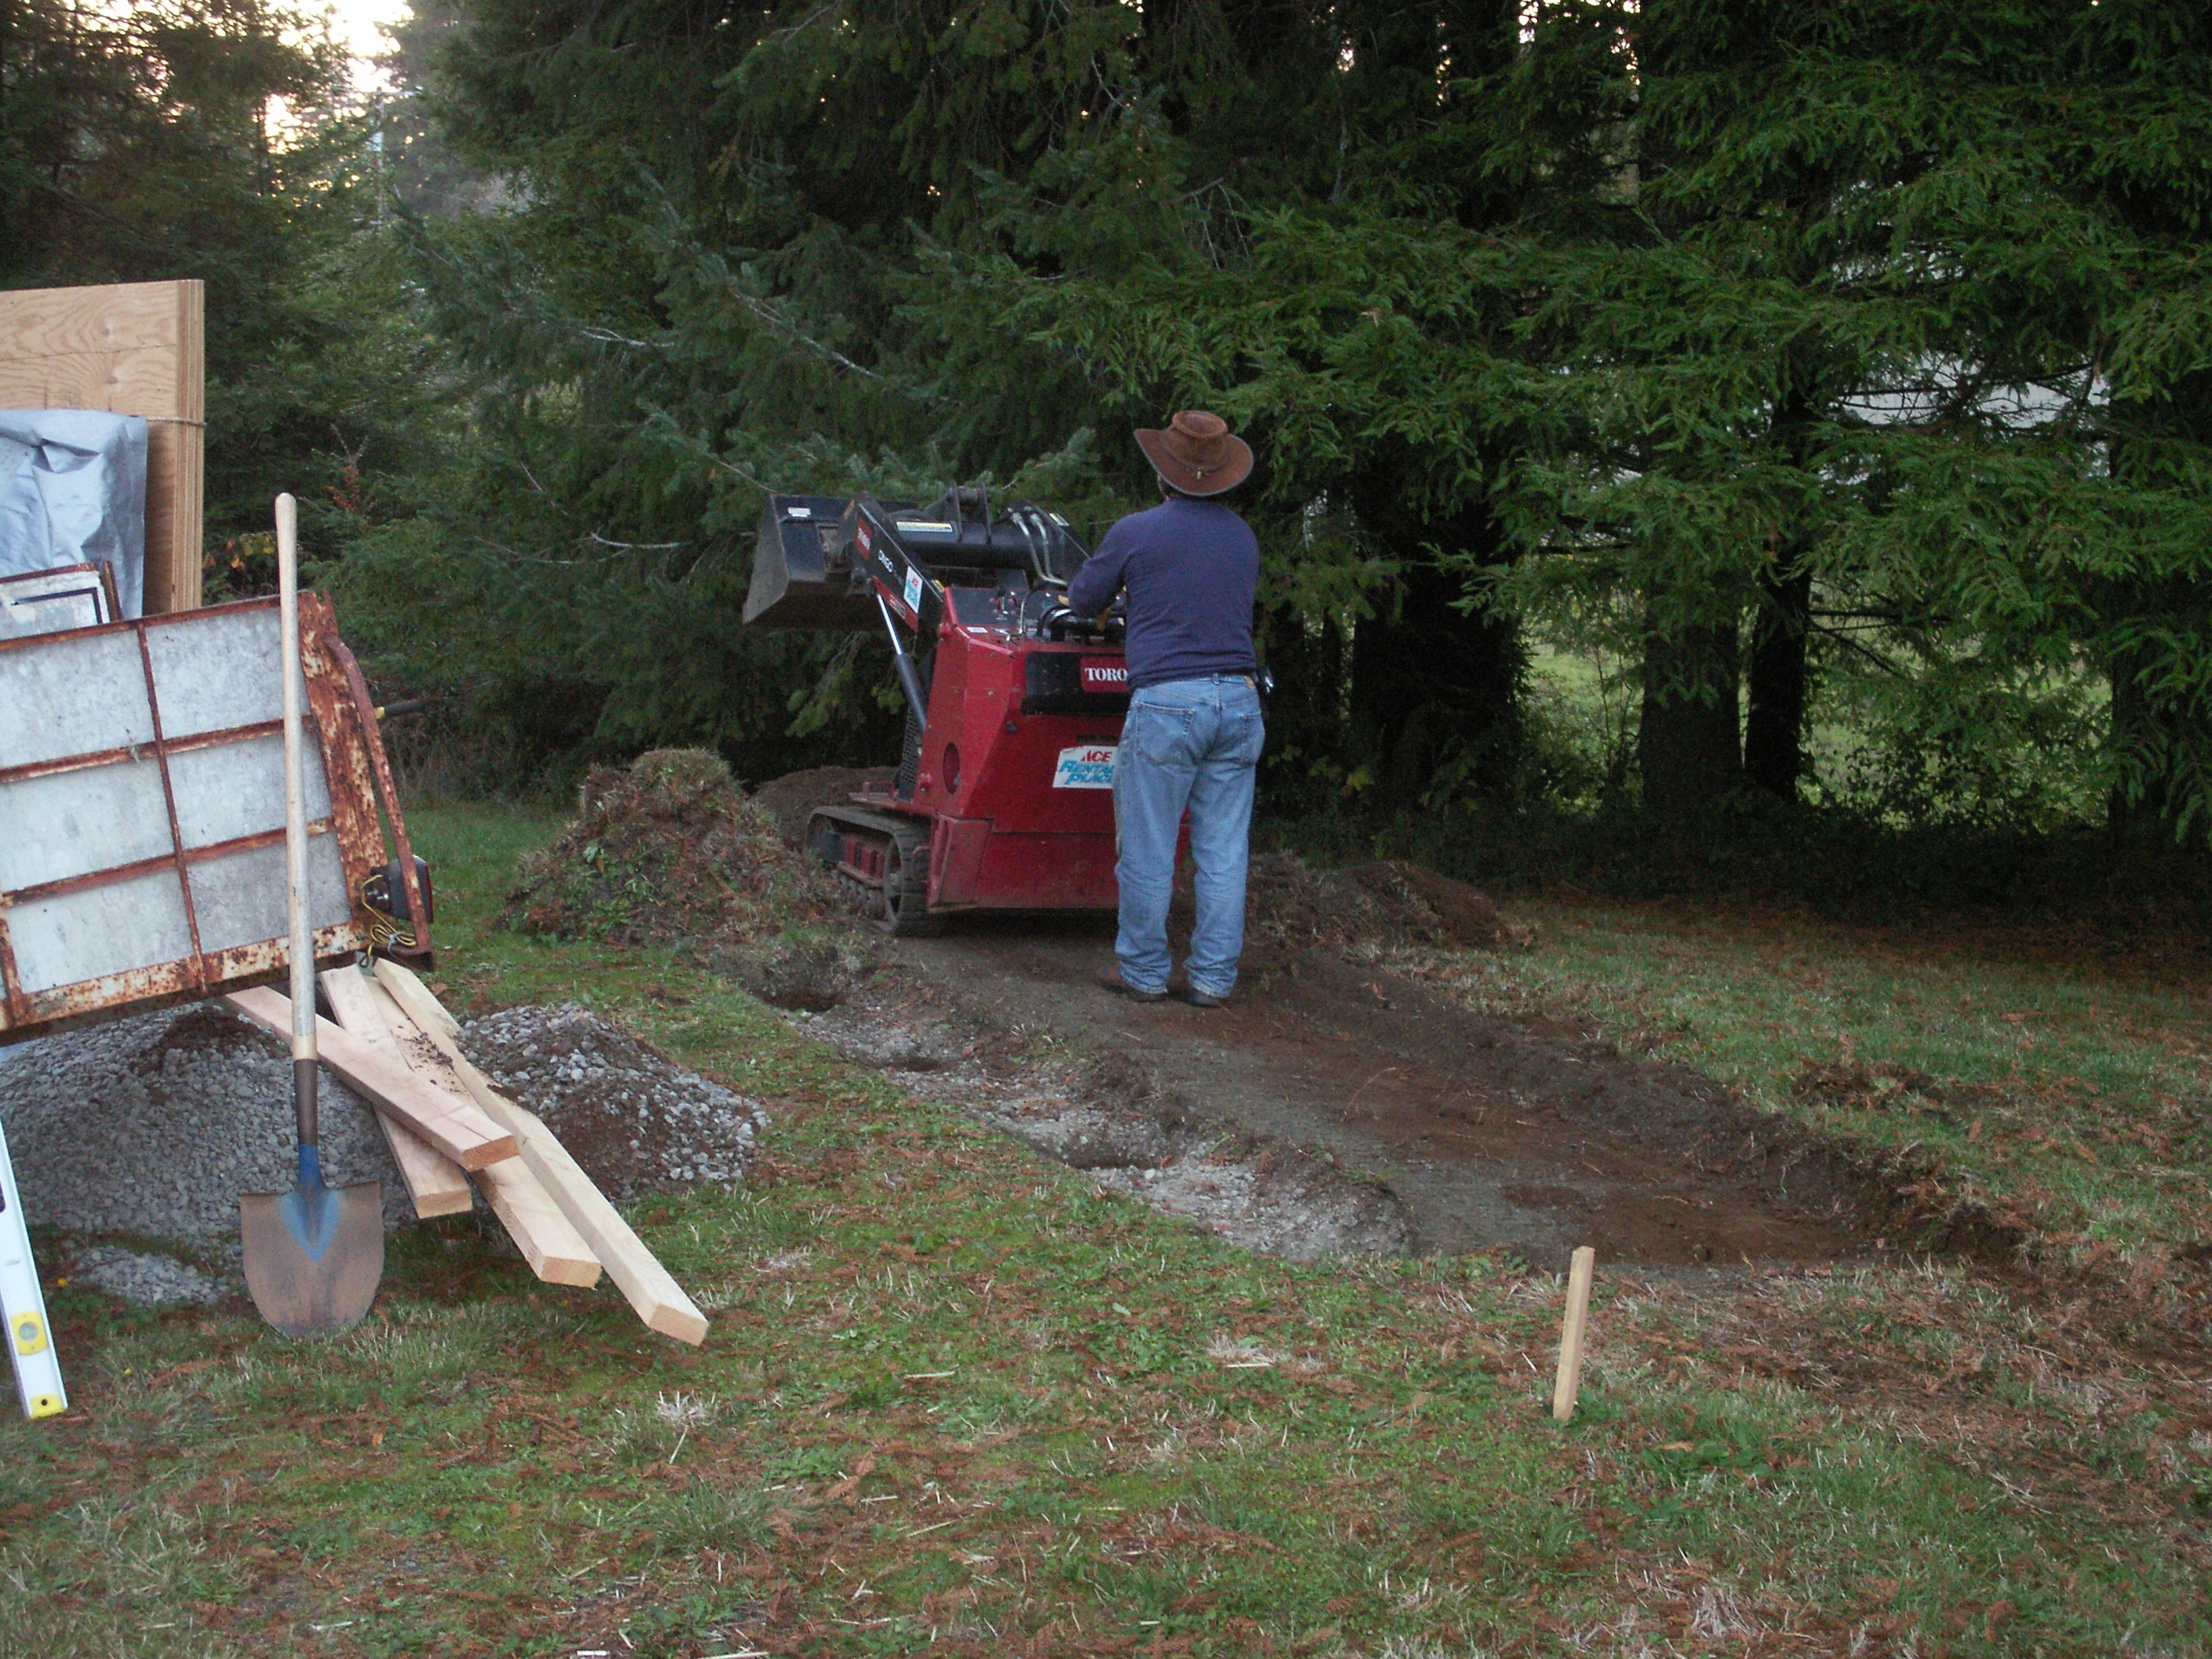
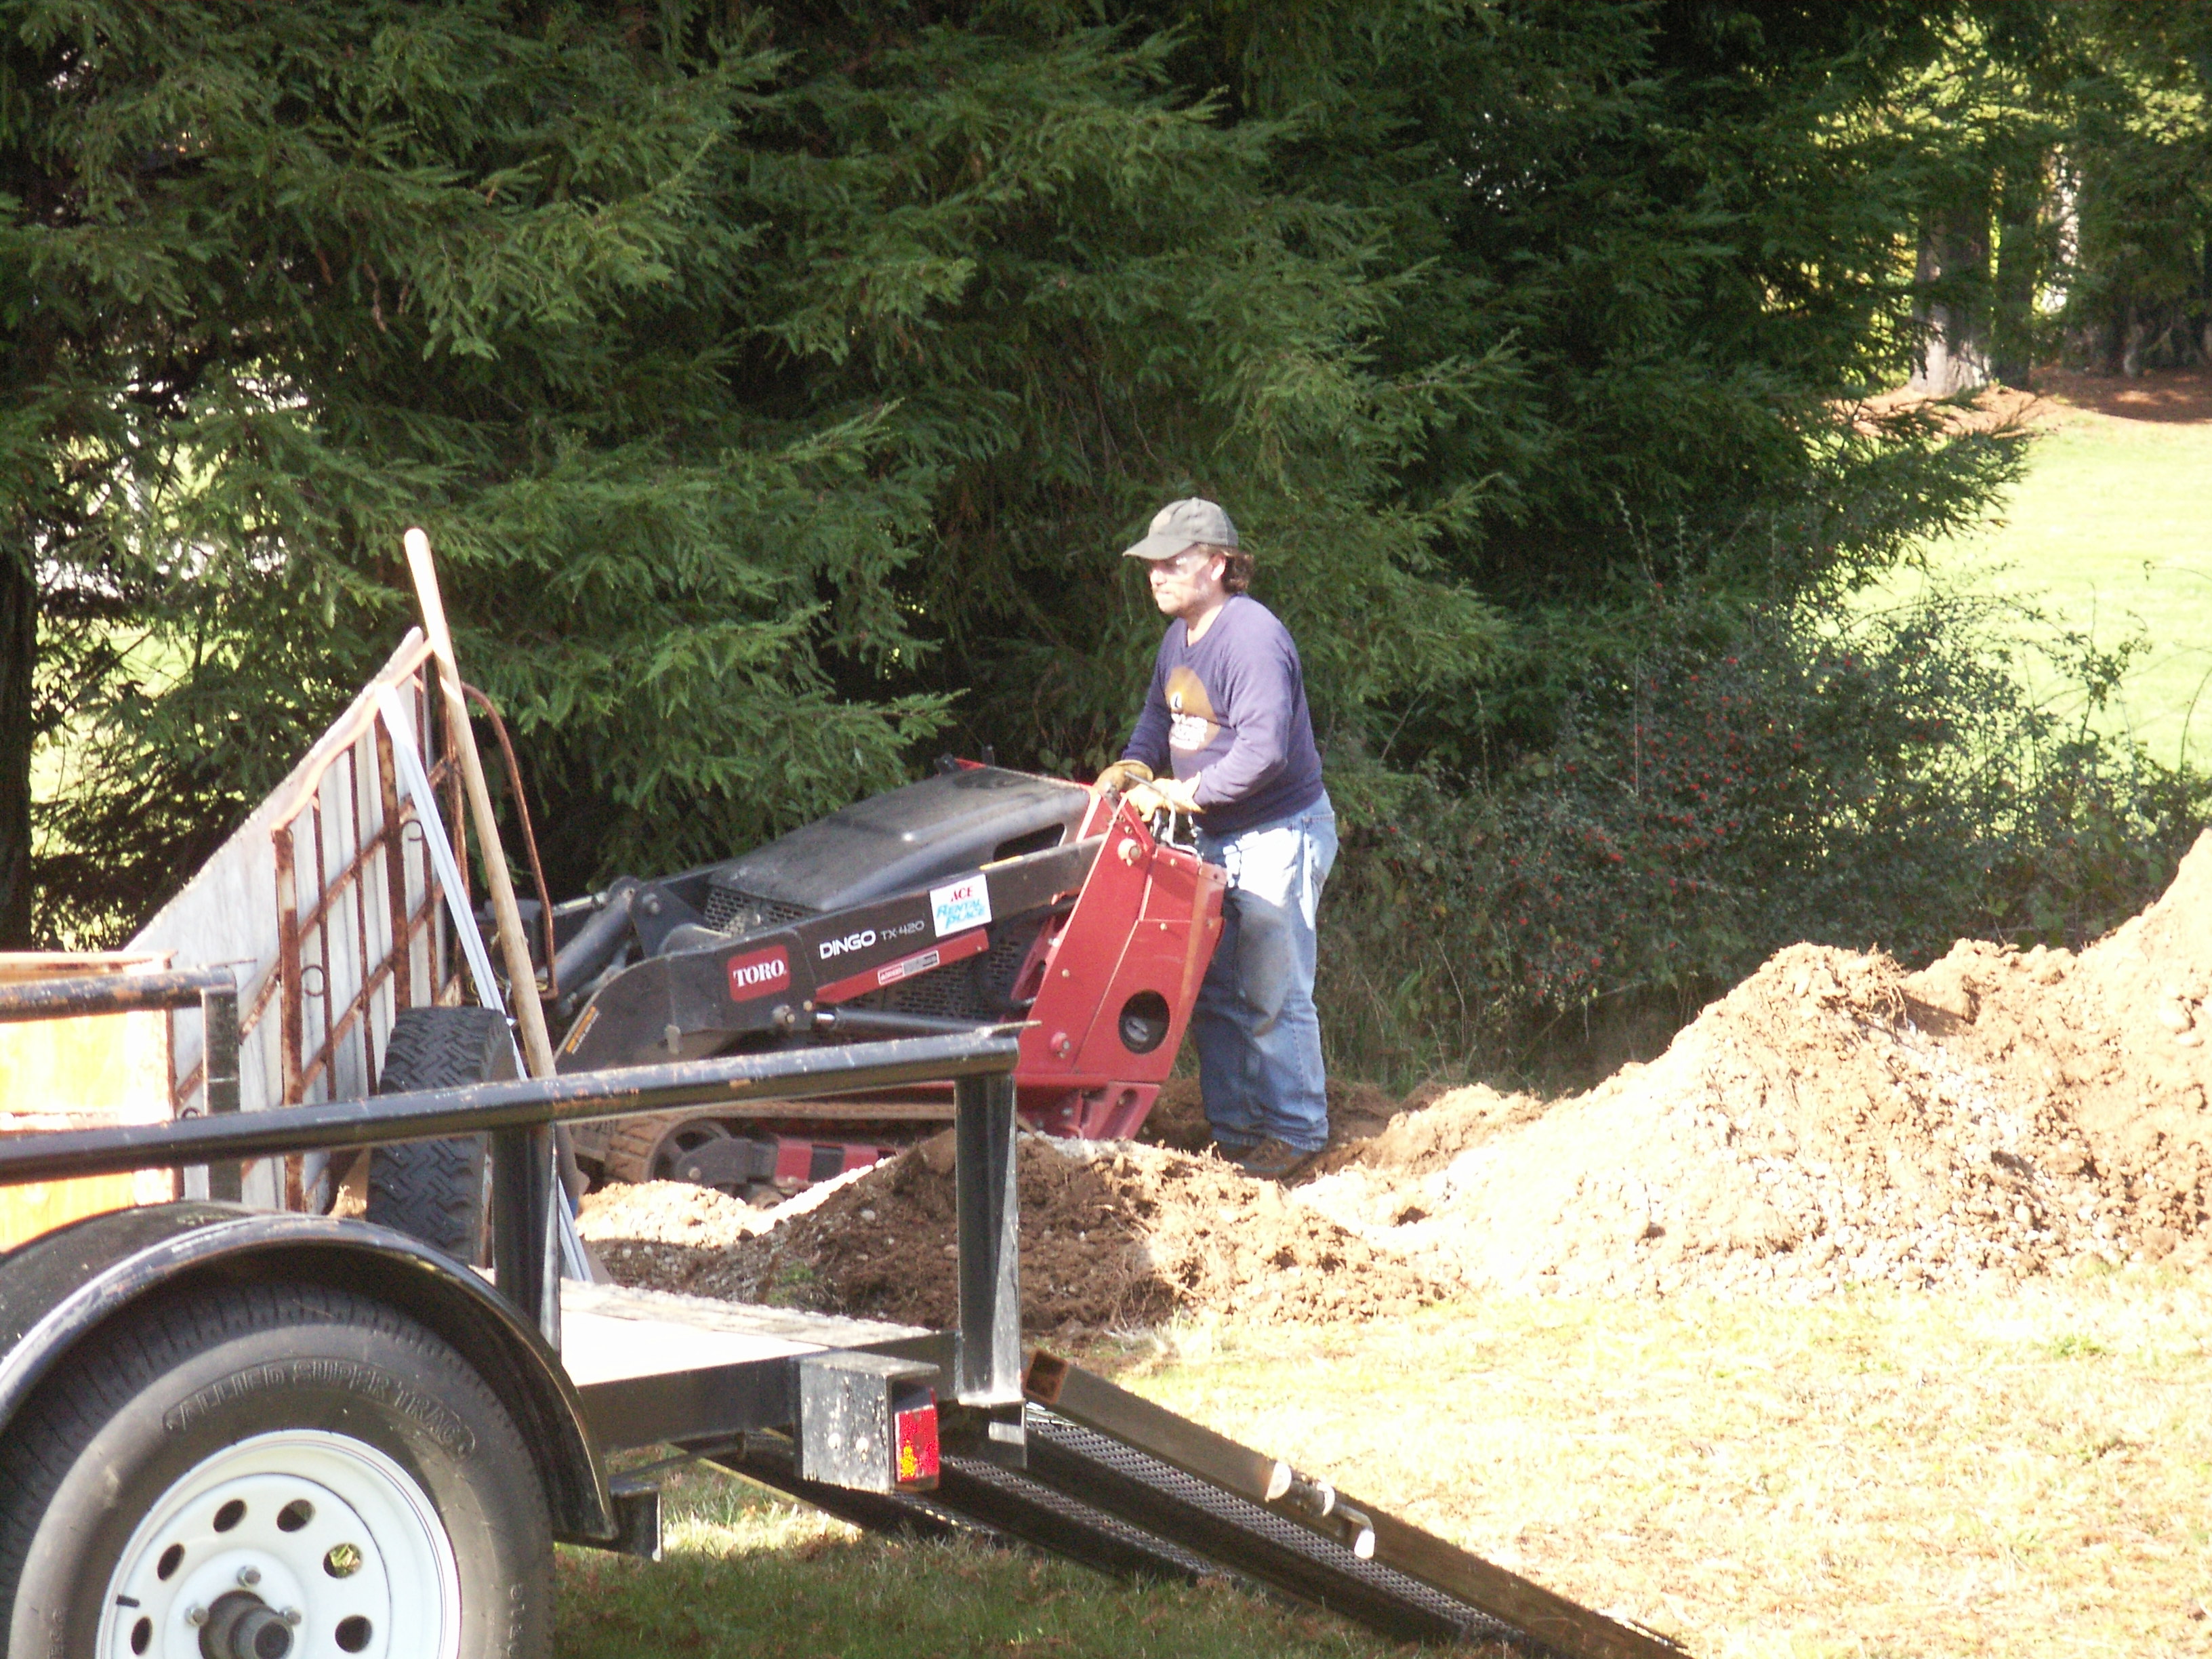
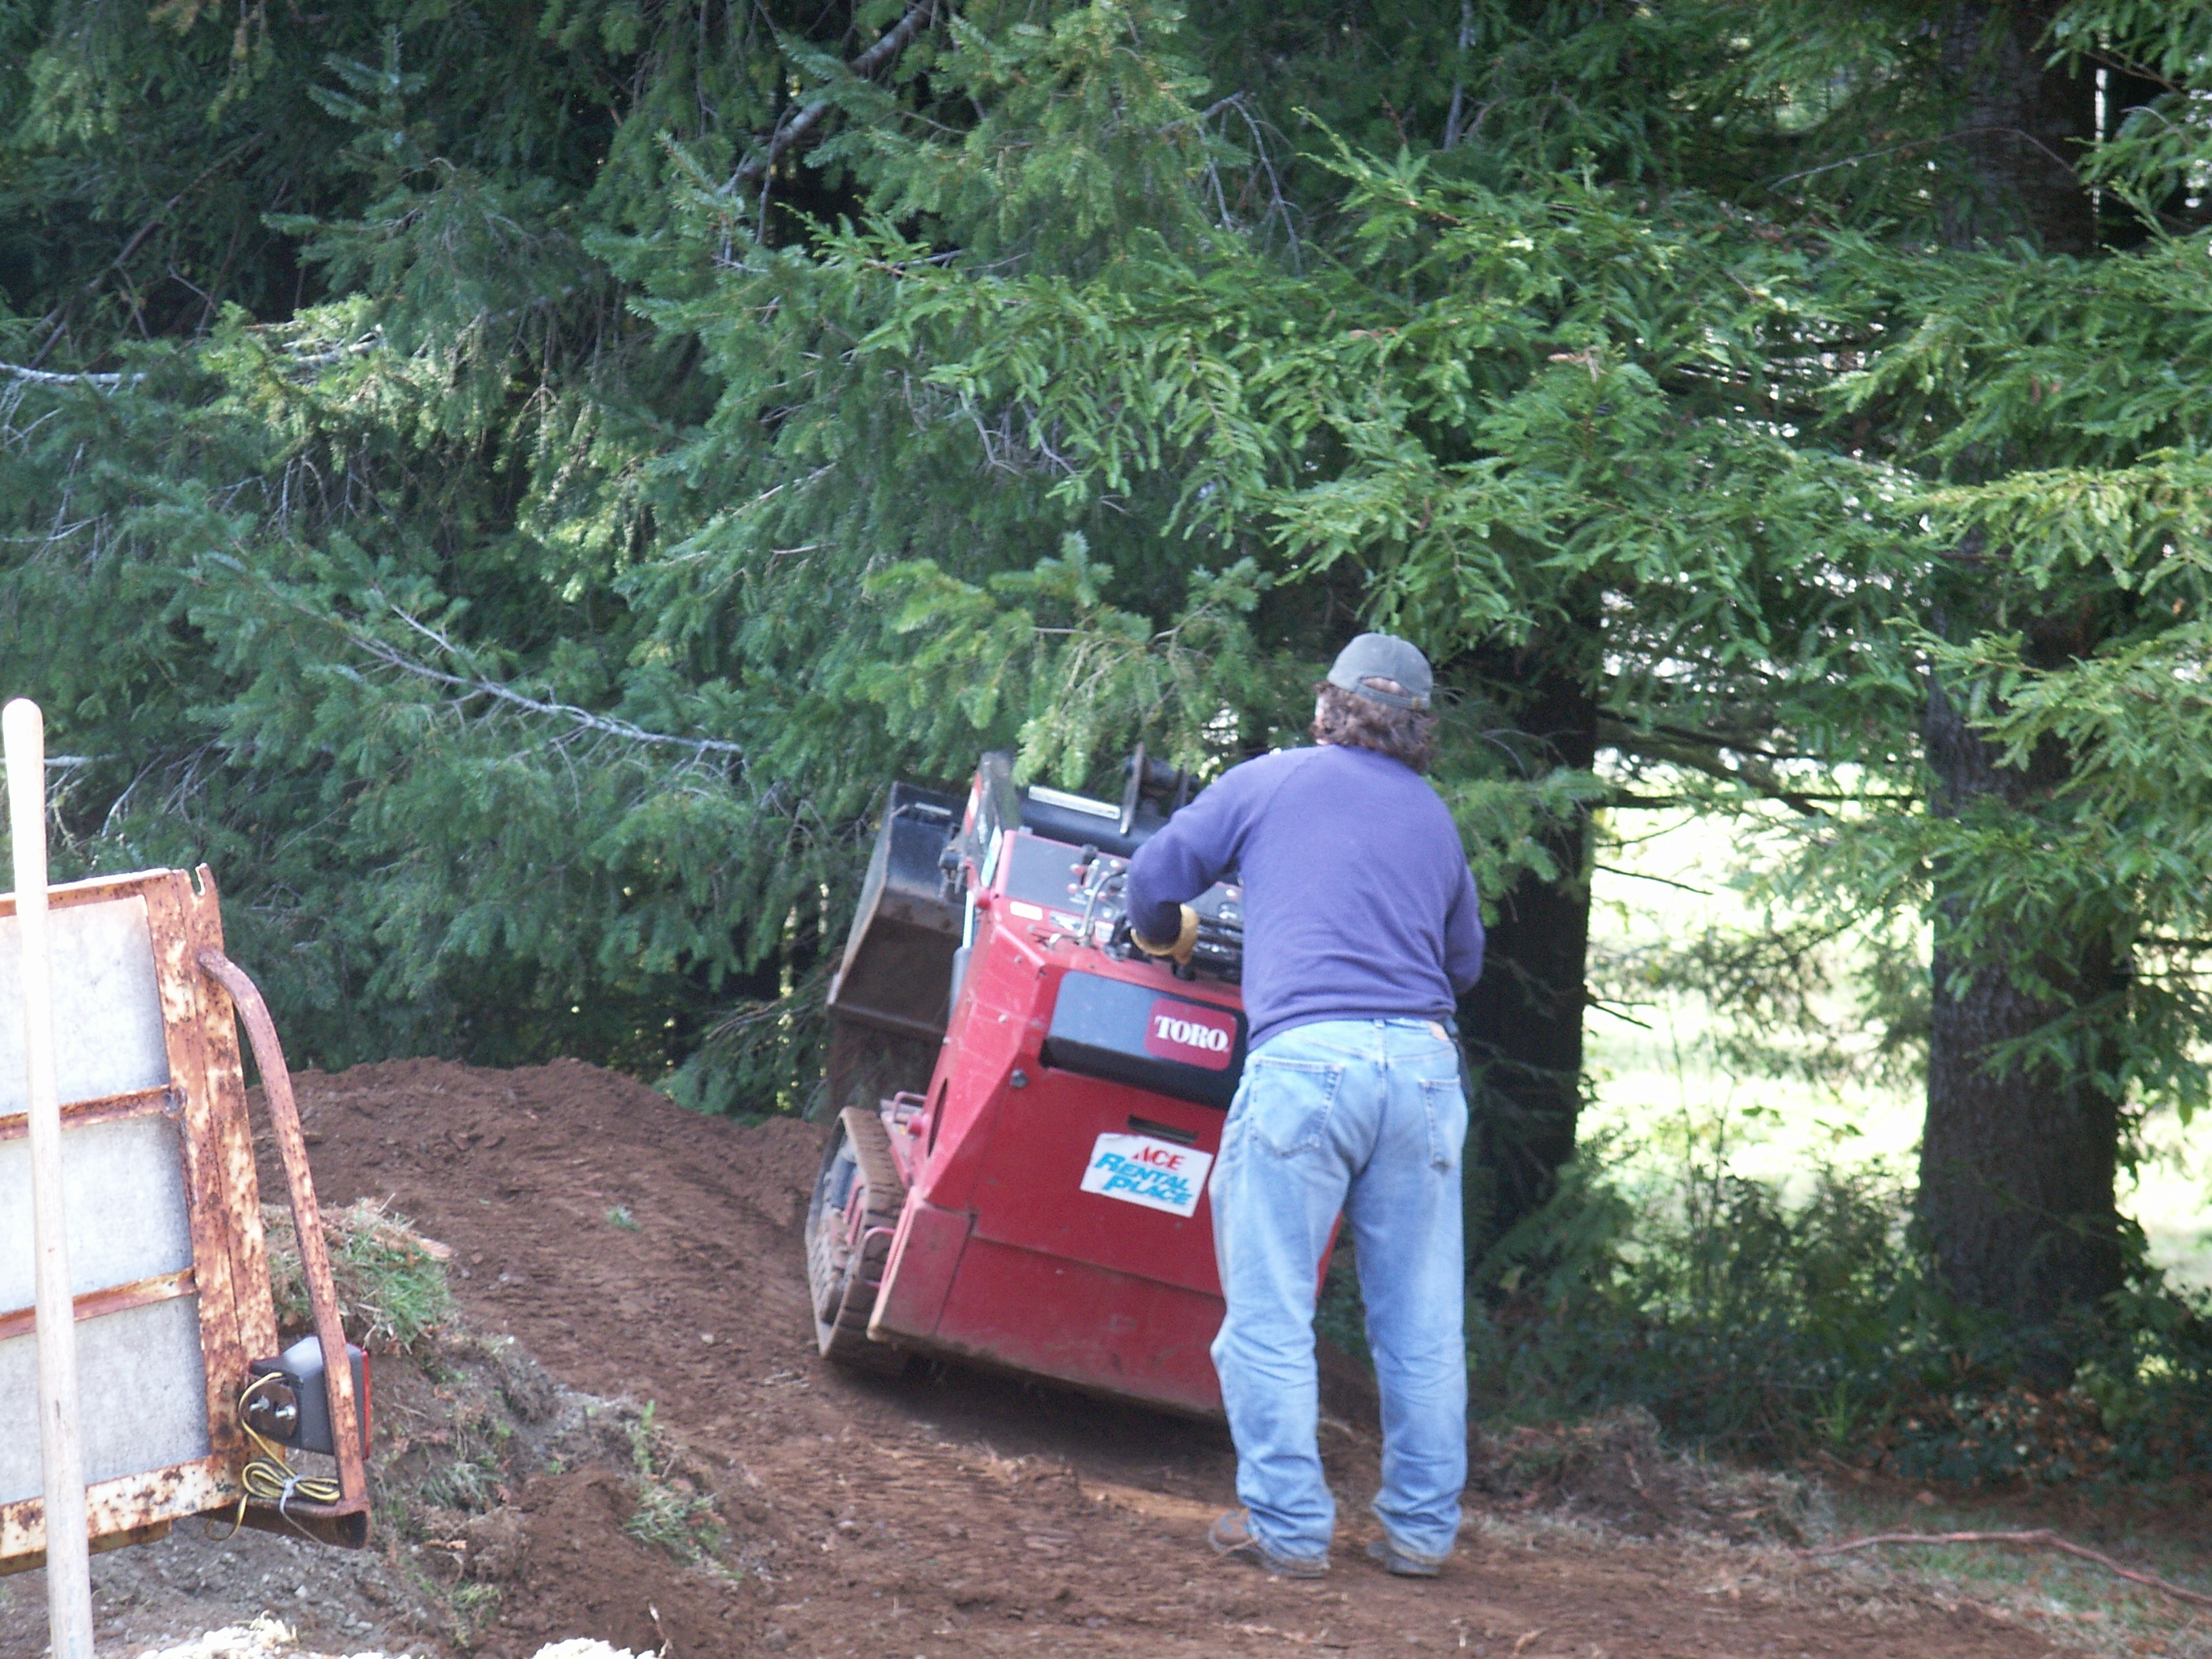
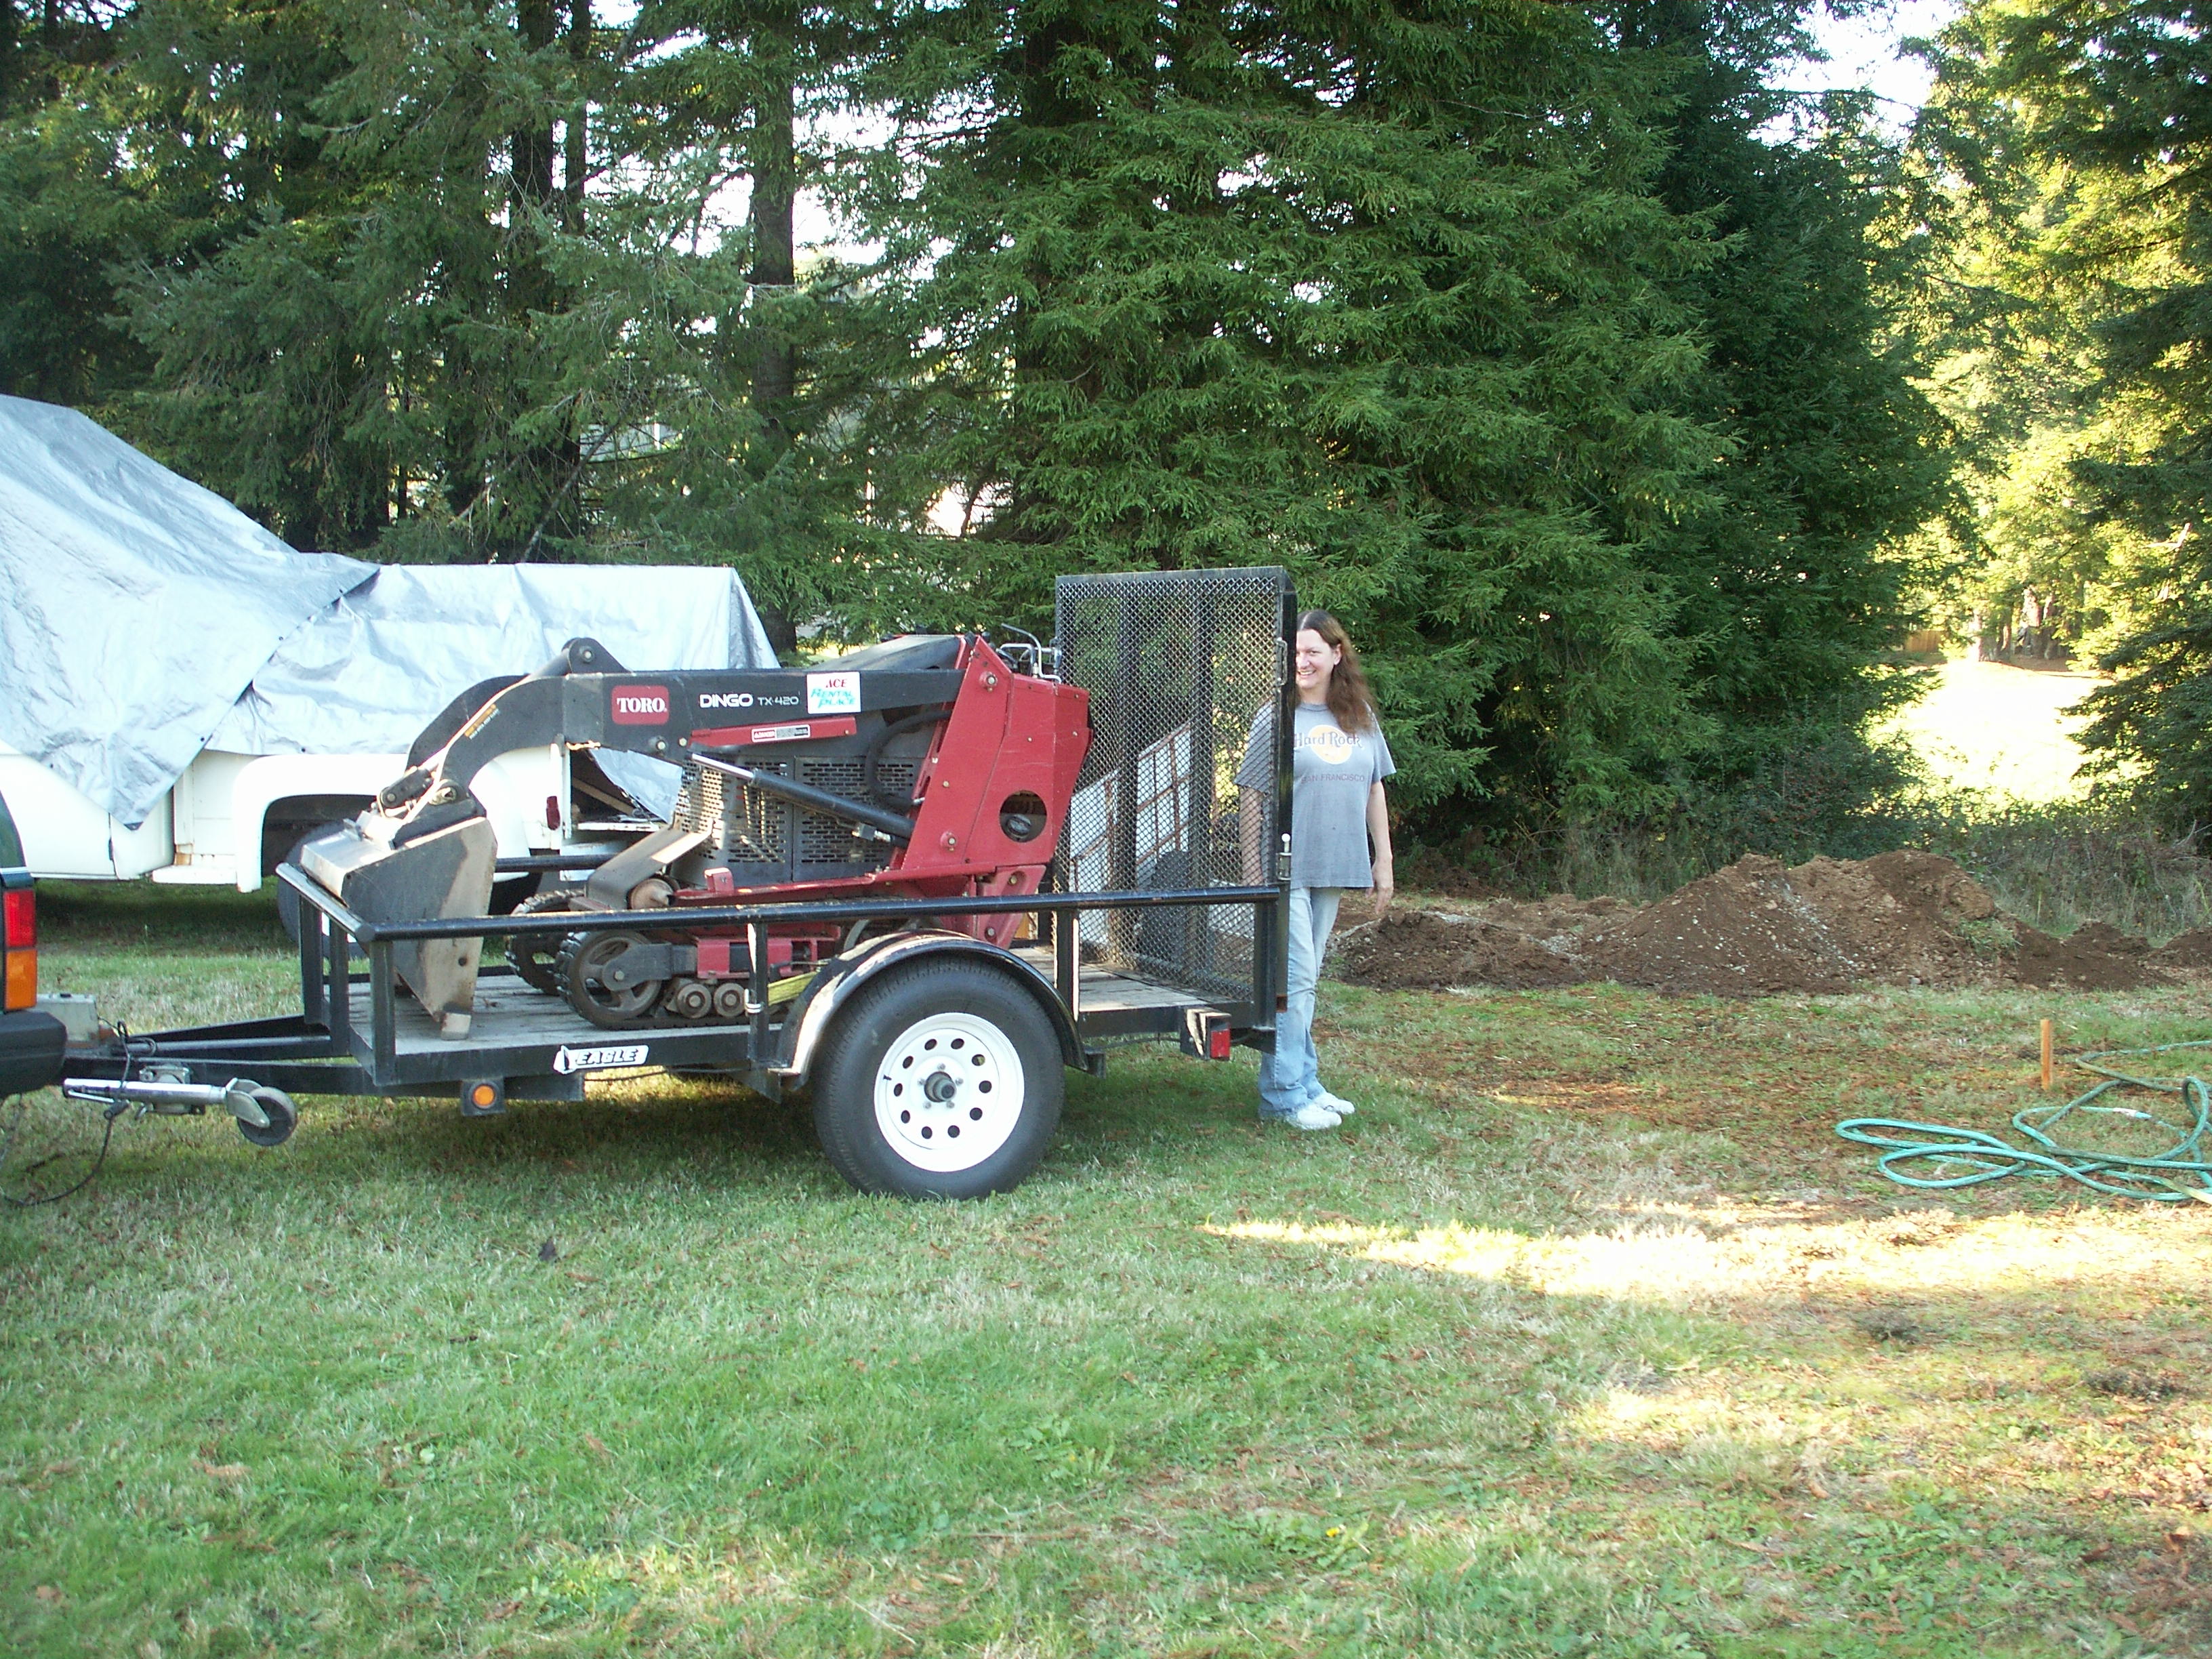
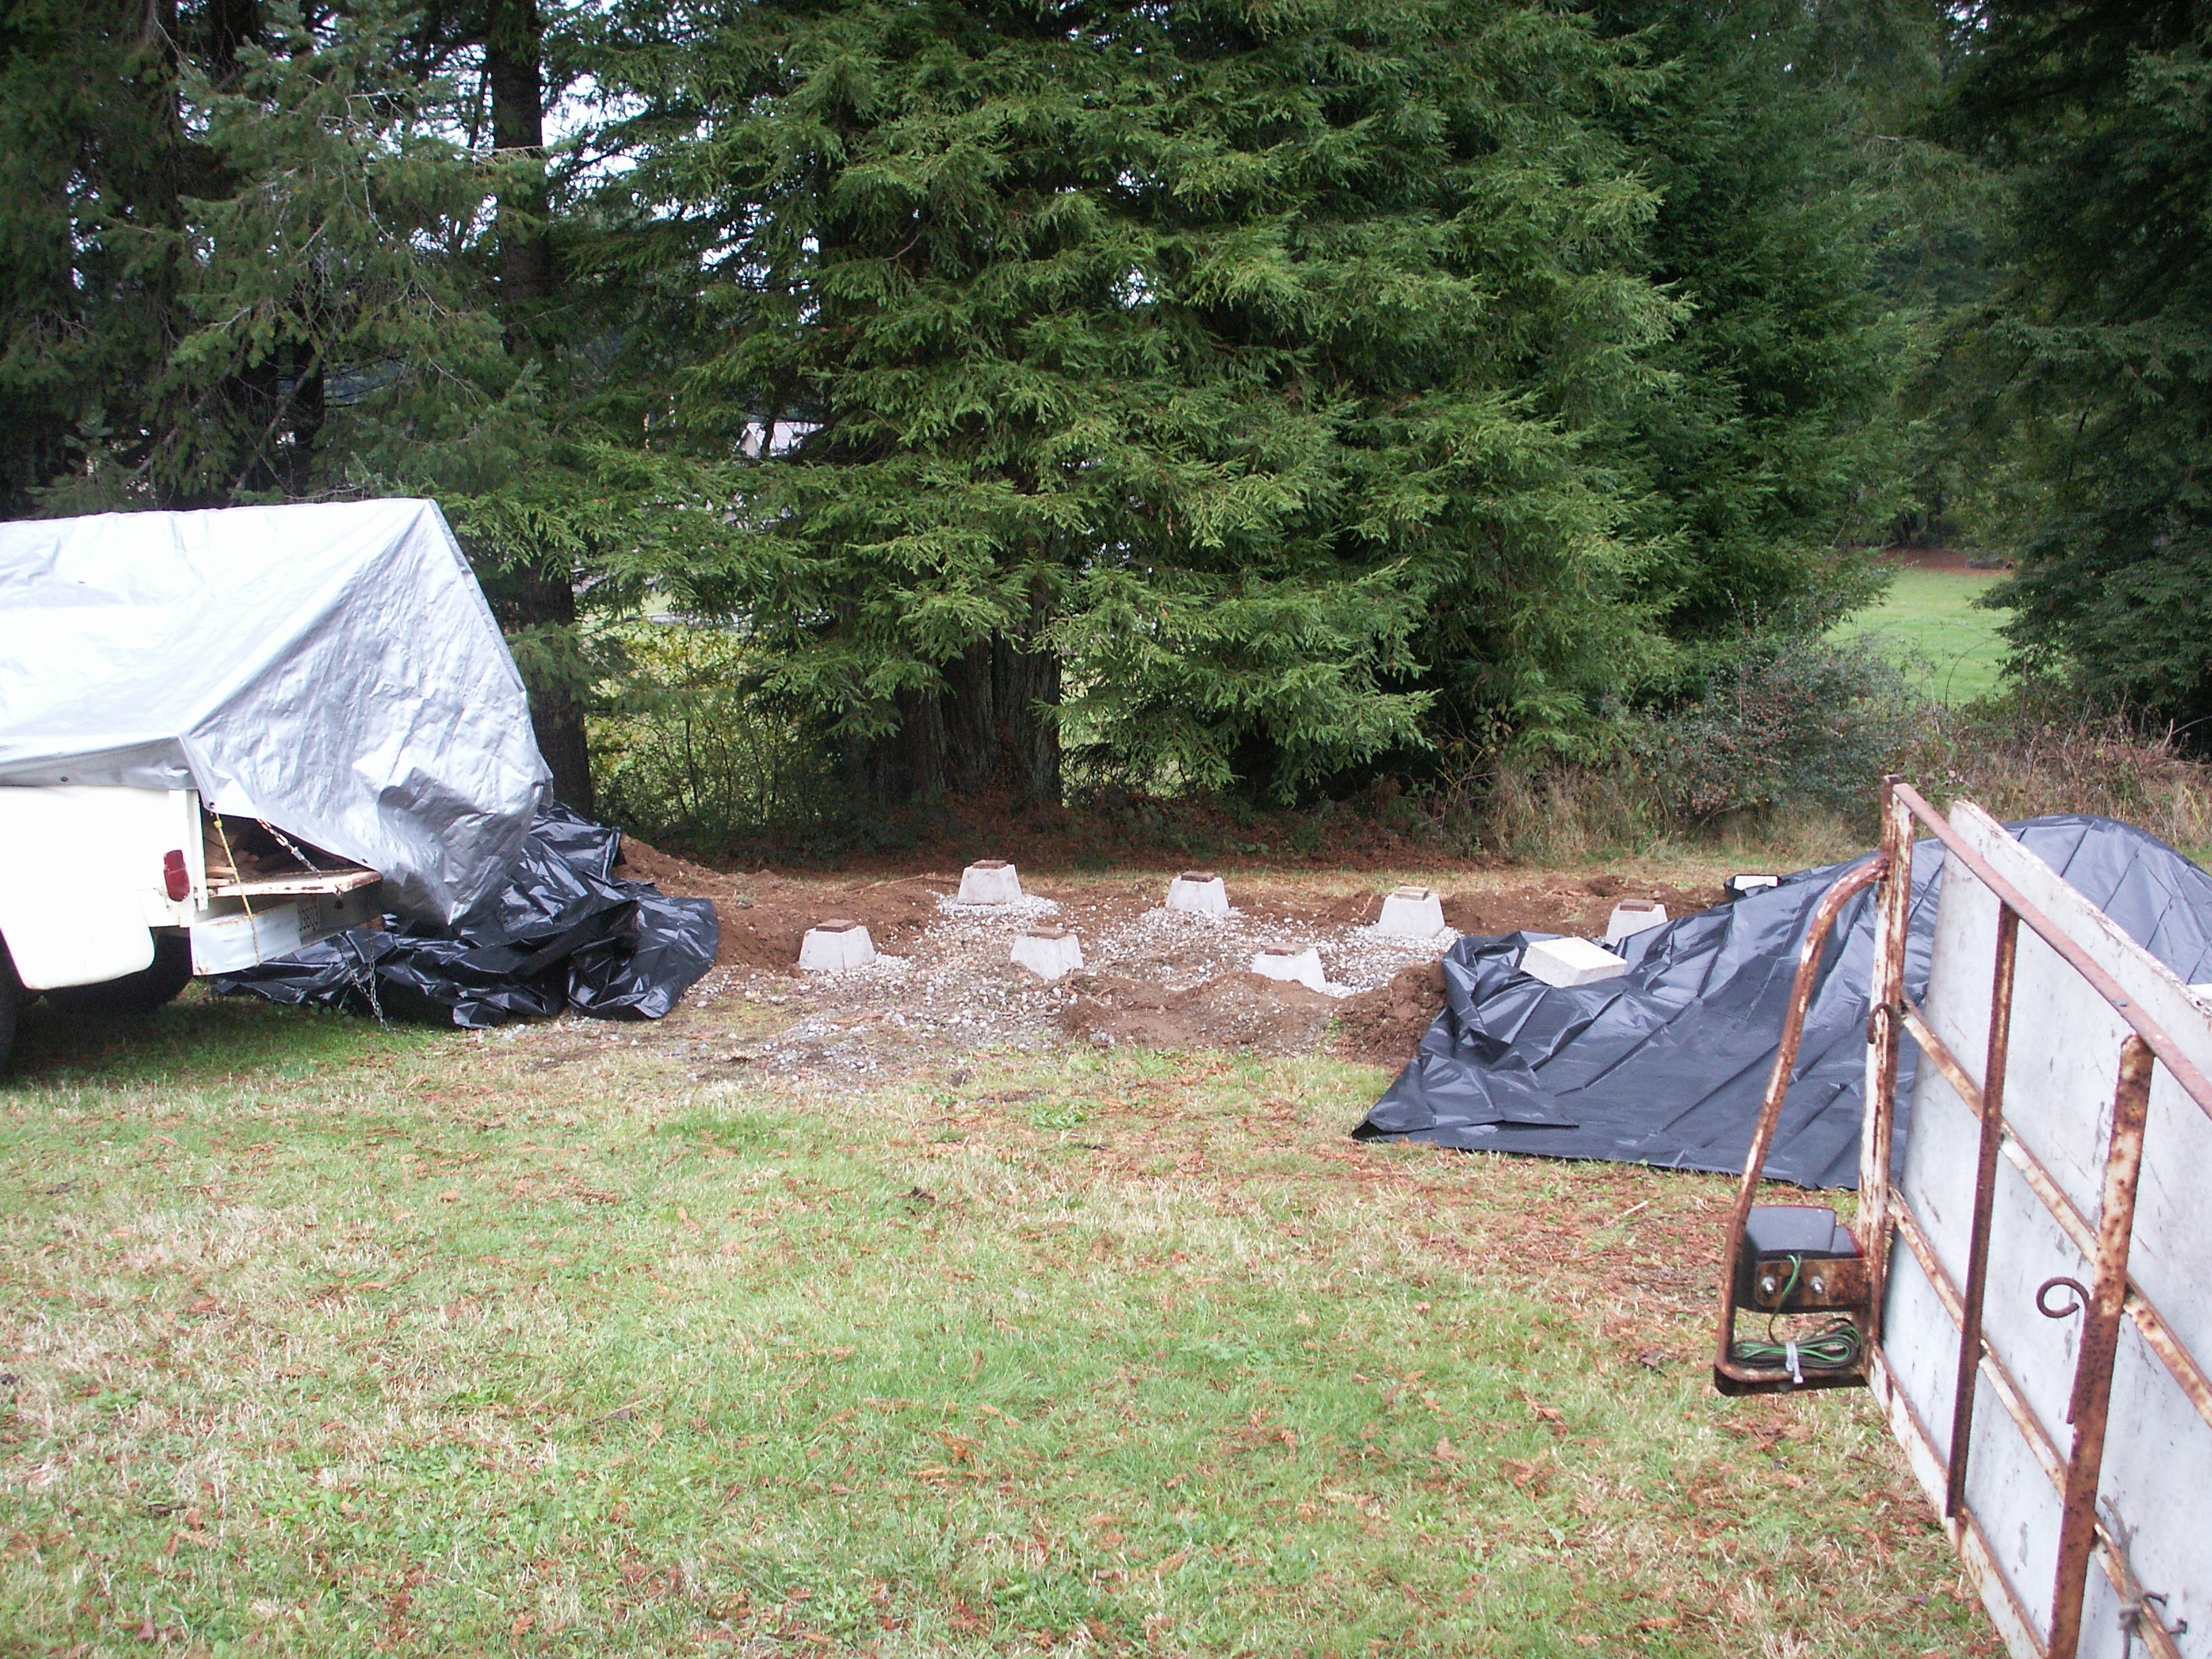
I decided I needed more digging muscle. I went to Ace. They have equipment rentals, too. I remember watching a HomeTime episode where Dean and the guys (and Muriel) were using a pneumatic front loader that they walked behind, controlling it via levers - That's what I needed! Yeah! The helpful guys at Ace set me up with Toro's Dingo. Regular gas, simple controls, and famous last words: "it's pretty obvious how to control it." I drove it back on the rental trailer, fired it up, got it down out of the trailer without tipping me, the unit and the trailer over, and started to work. I'm going to move some earth! Why is it not able to take large bites out of the ground? It took me 20 minutes to realize the parking break was still on (it doesn't turn very well that way). After four hours of sweating over the controls, I finally figured out why it had a lock for driving the main arm down: The trick was to engage the lock and then only adjust the bucket angle as its treads try to drive it forward. Too steep a bite and the treads spin without moving forward. Too light and no dirt is picked up. So, drive it forward, with the bucket just right, for about two to three feet, then use the pneumatic controls to force the bucket to start scooping up. Timed right, this levers dirt up out of the ground. The Dingo by itself does not have enough mass to just stab down into the ground. End of the day, time to clean up. Next day, much better. Lots more dirt pushed out of the way. The ill-planned location of my piles were getting quite large, and threatening to crumble right back into the hole. I was making some pretty cool sod ramps, though. Hope the dirt bike folks don't spot them. My father in law stopped by, made the finger across the throat gesture. I cut the engine and asked him what he wanted. He replied "I want to not get angry! Why am I making such a mess?" Having had these types of conversations before, I pushed it back into safe territory: "Well, you told me that if I did not have enough drainage, I was going to be sorry! I am taking your advice and leveling it with enough drainage to keep water from pooling." He walked off muttering, apparently mollified that he was in control, because I was following his advice. He was back an hour or so later: "Are you going to bury it?!" Just before my 24 hours were up ($120 again if I went over) I hosed it down and drove it back onto the trailer. The Dingo and I were good friends by now. I dropped it off and started laying out my piers again. I shoveled gravel around and realized a half yard was not going to cut it. A trip back to Oregon was in store alone, as Diane said she had a hard enough time pulling that trailer when we moved and had forgotten until we made our slow trip home with the first load of gravel.
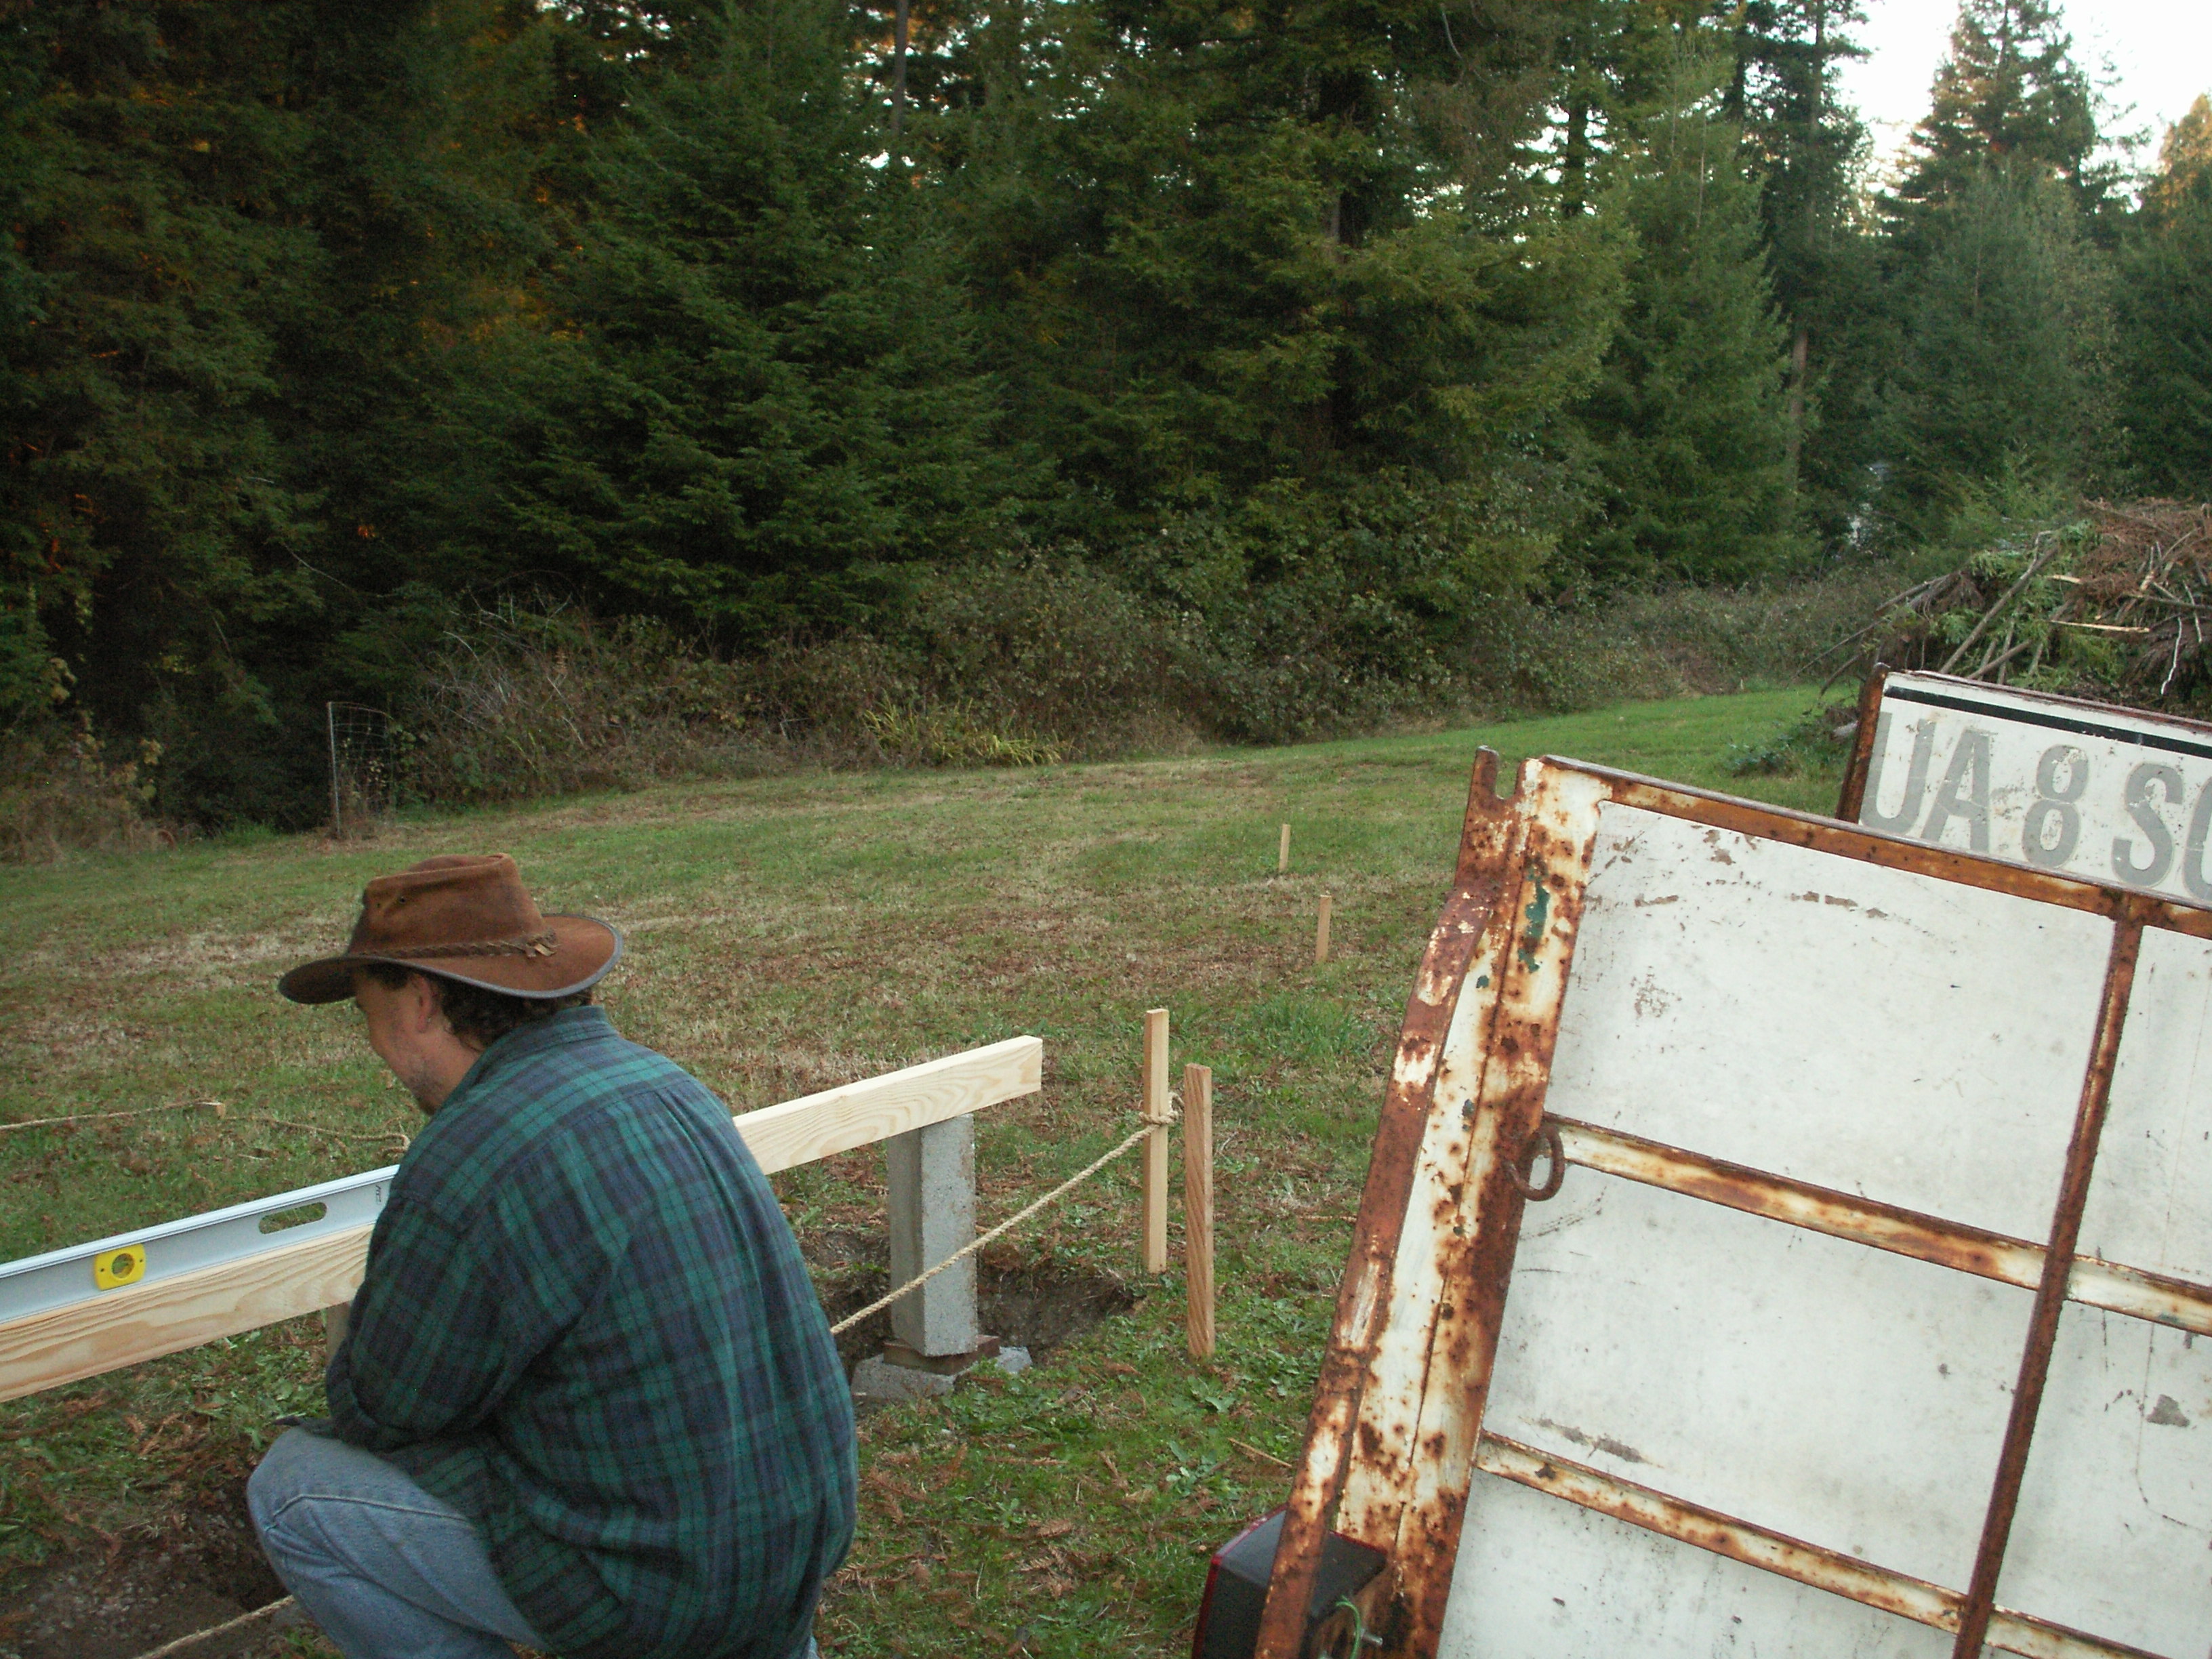
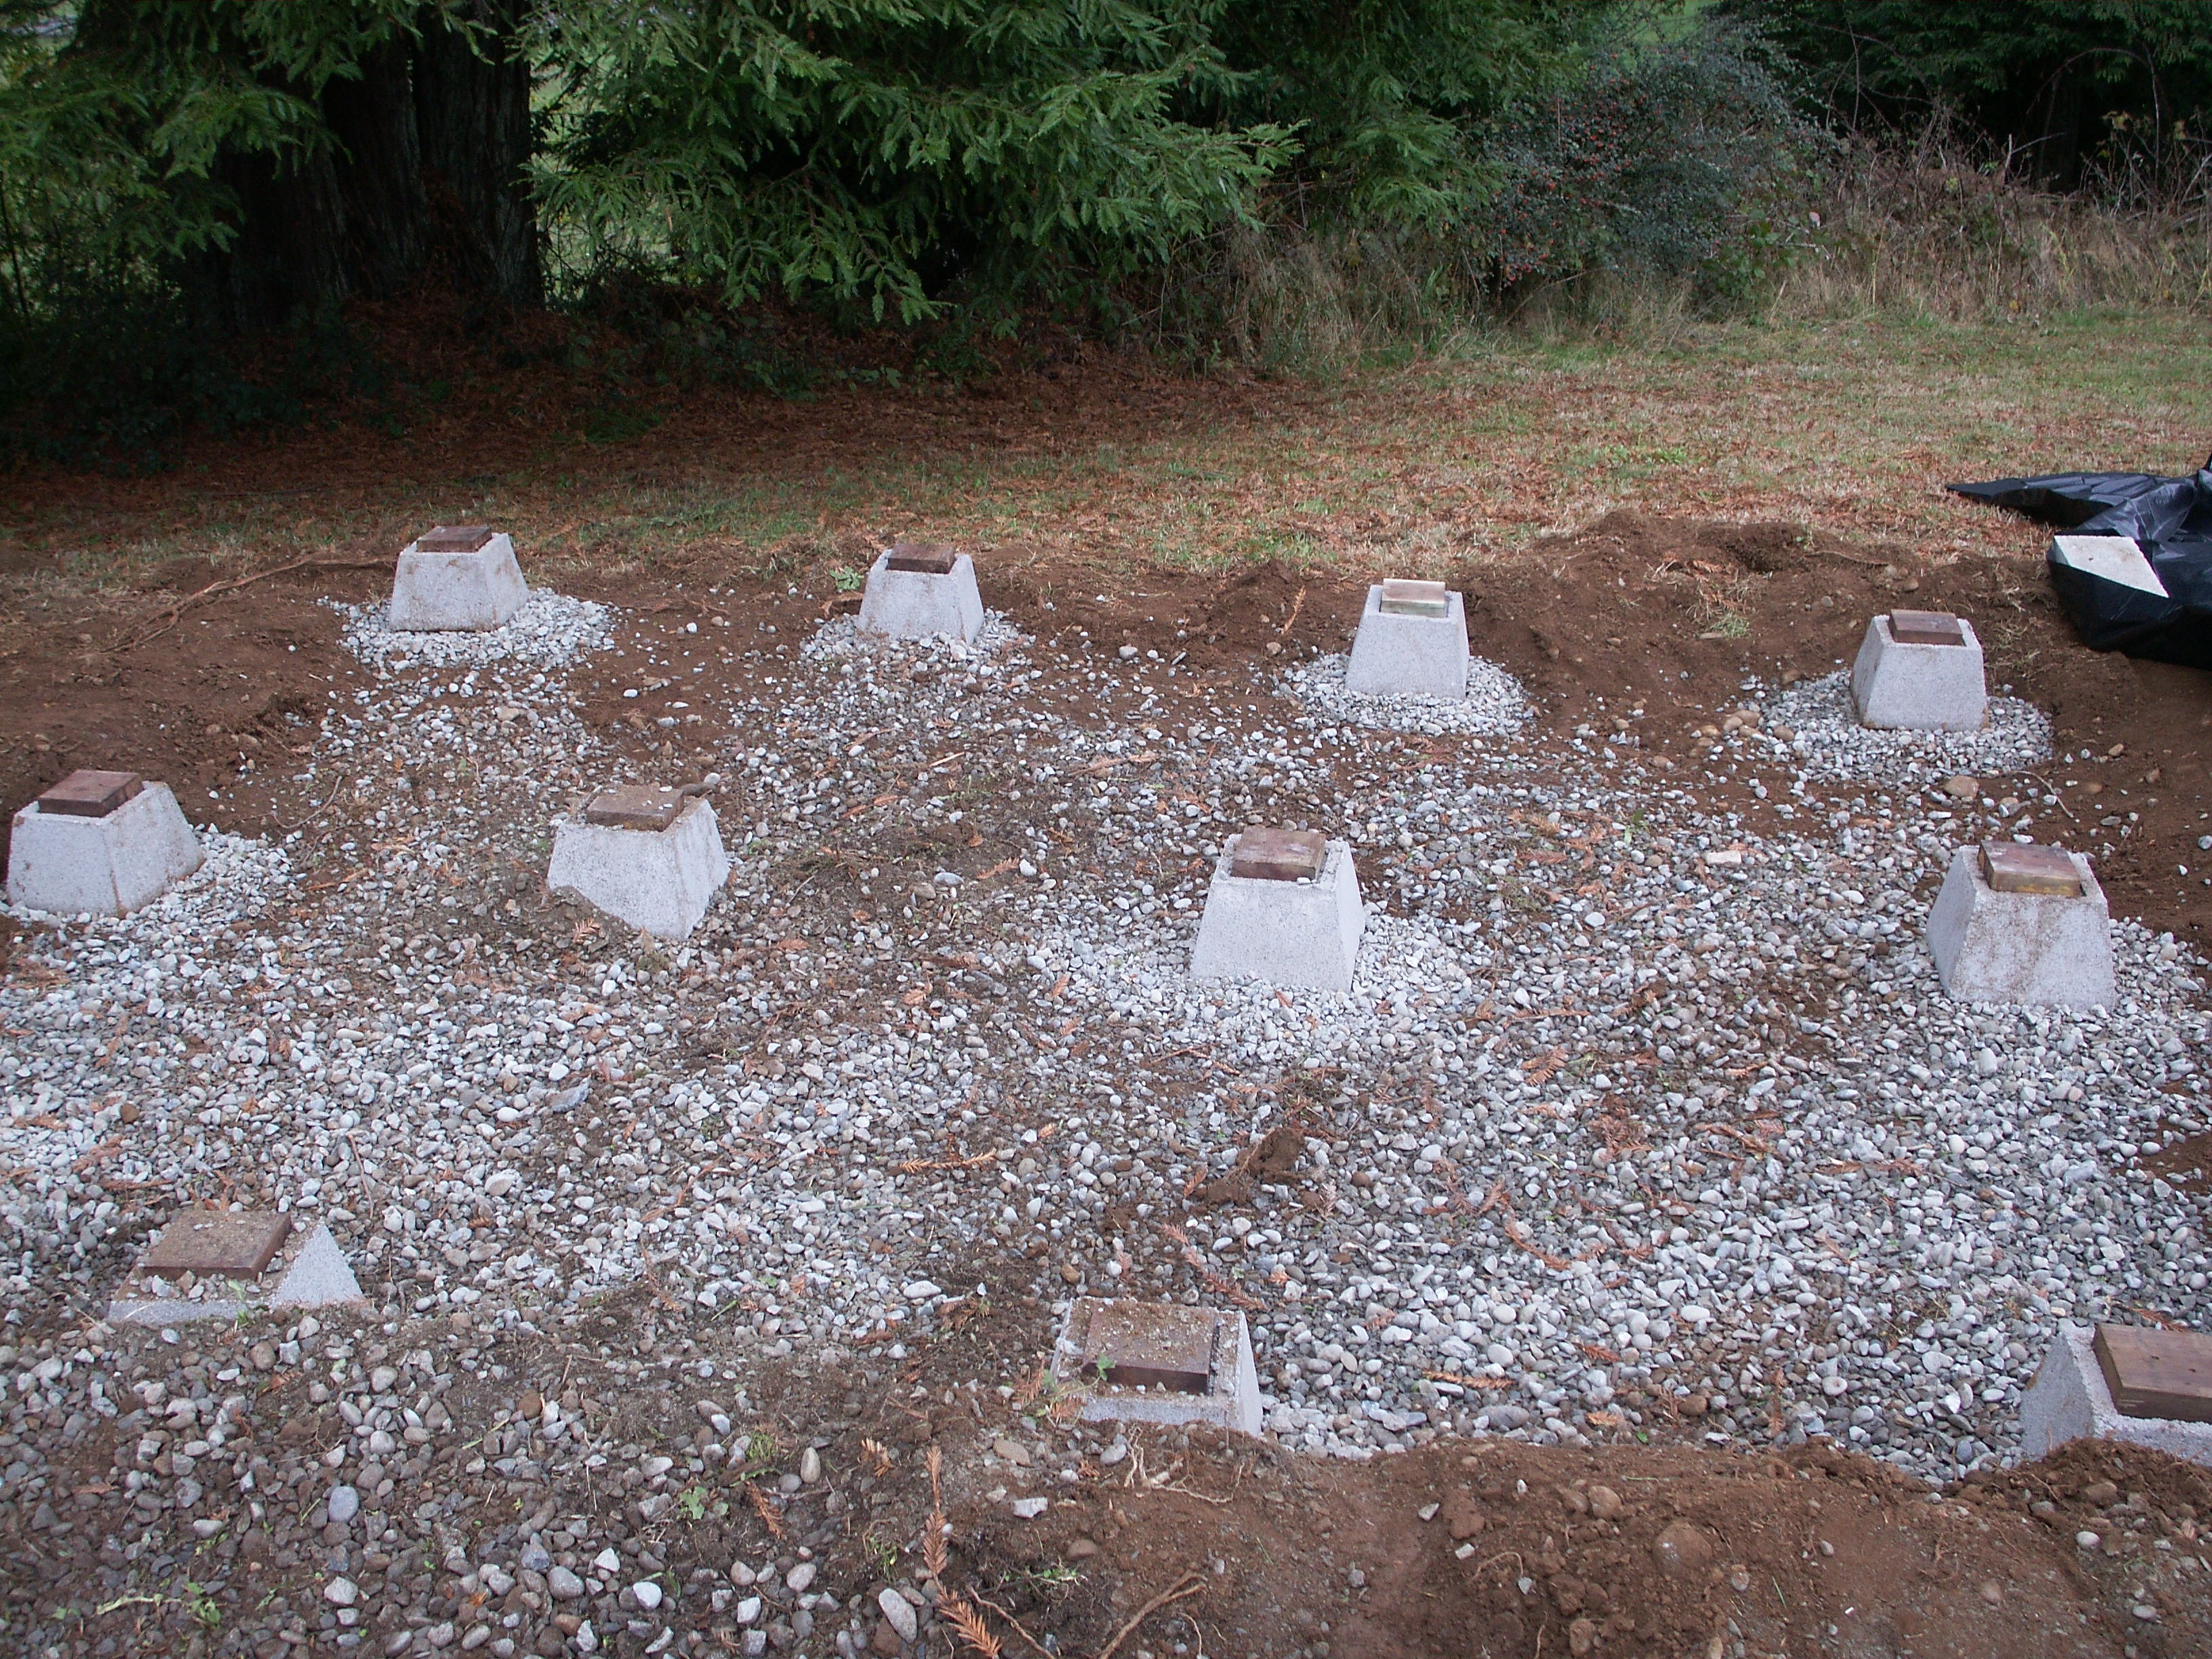
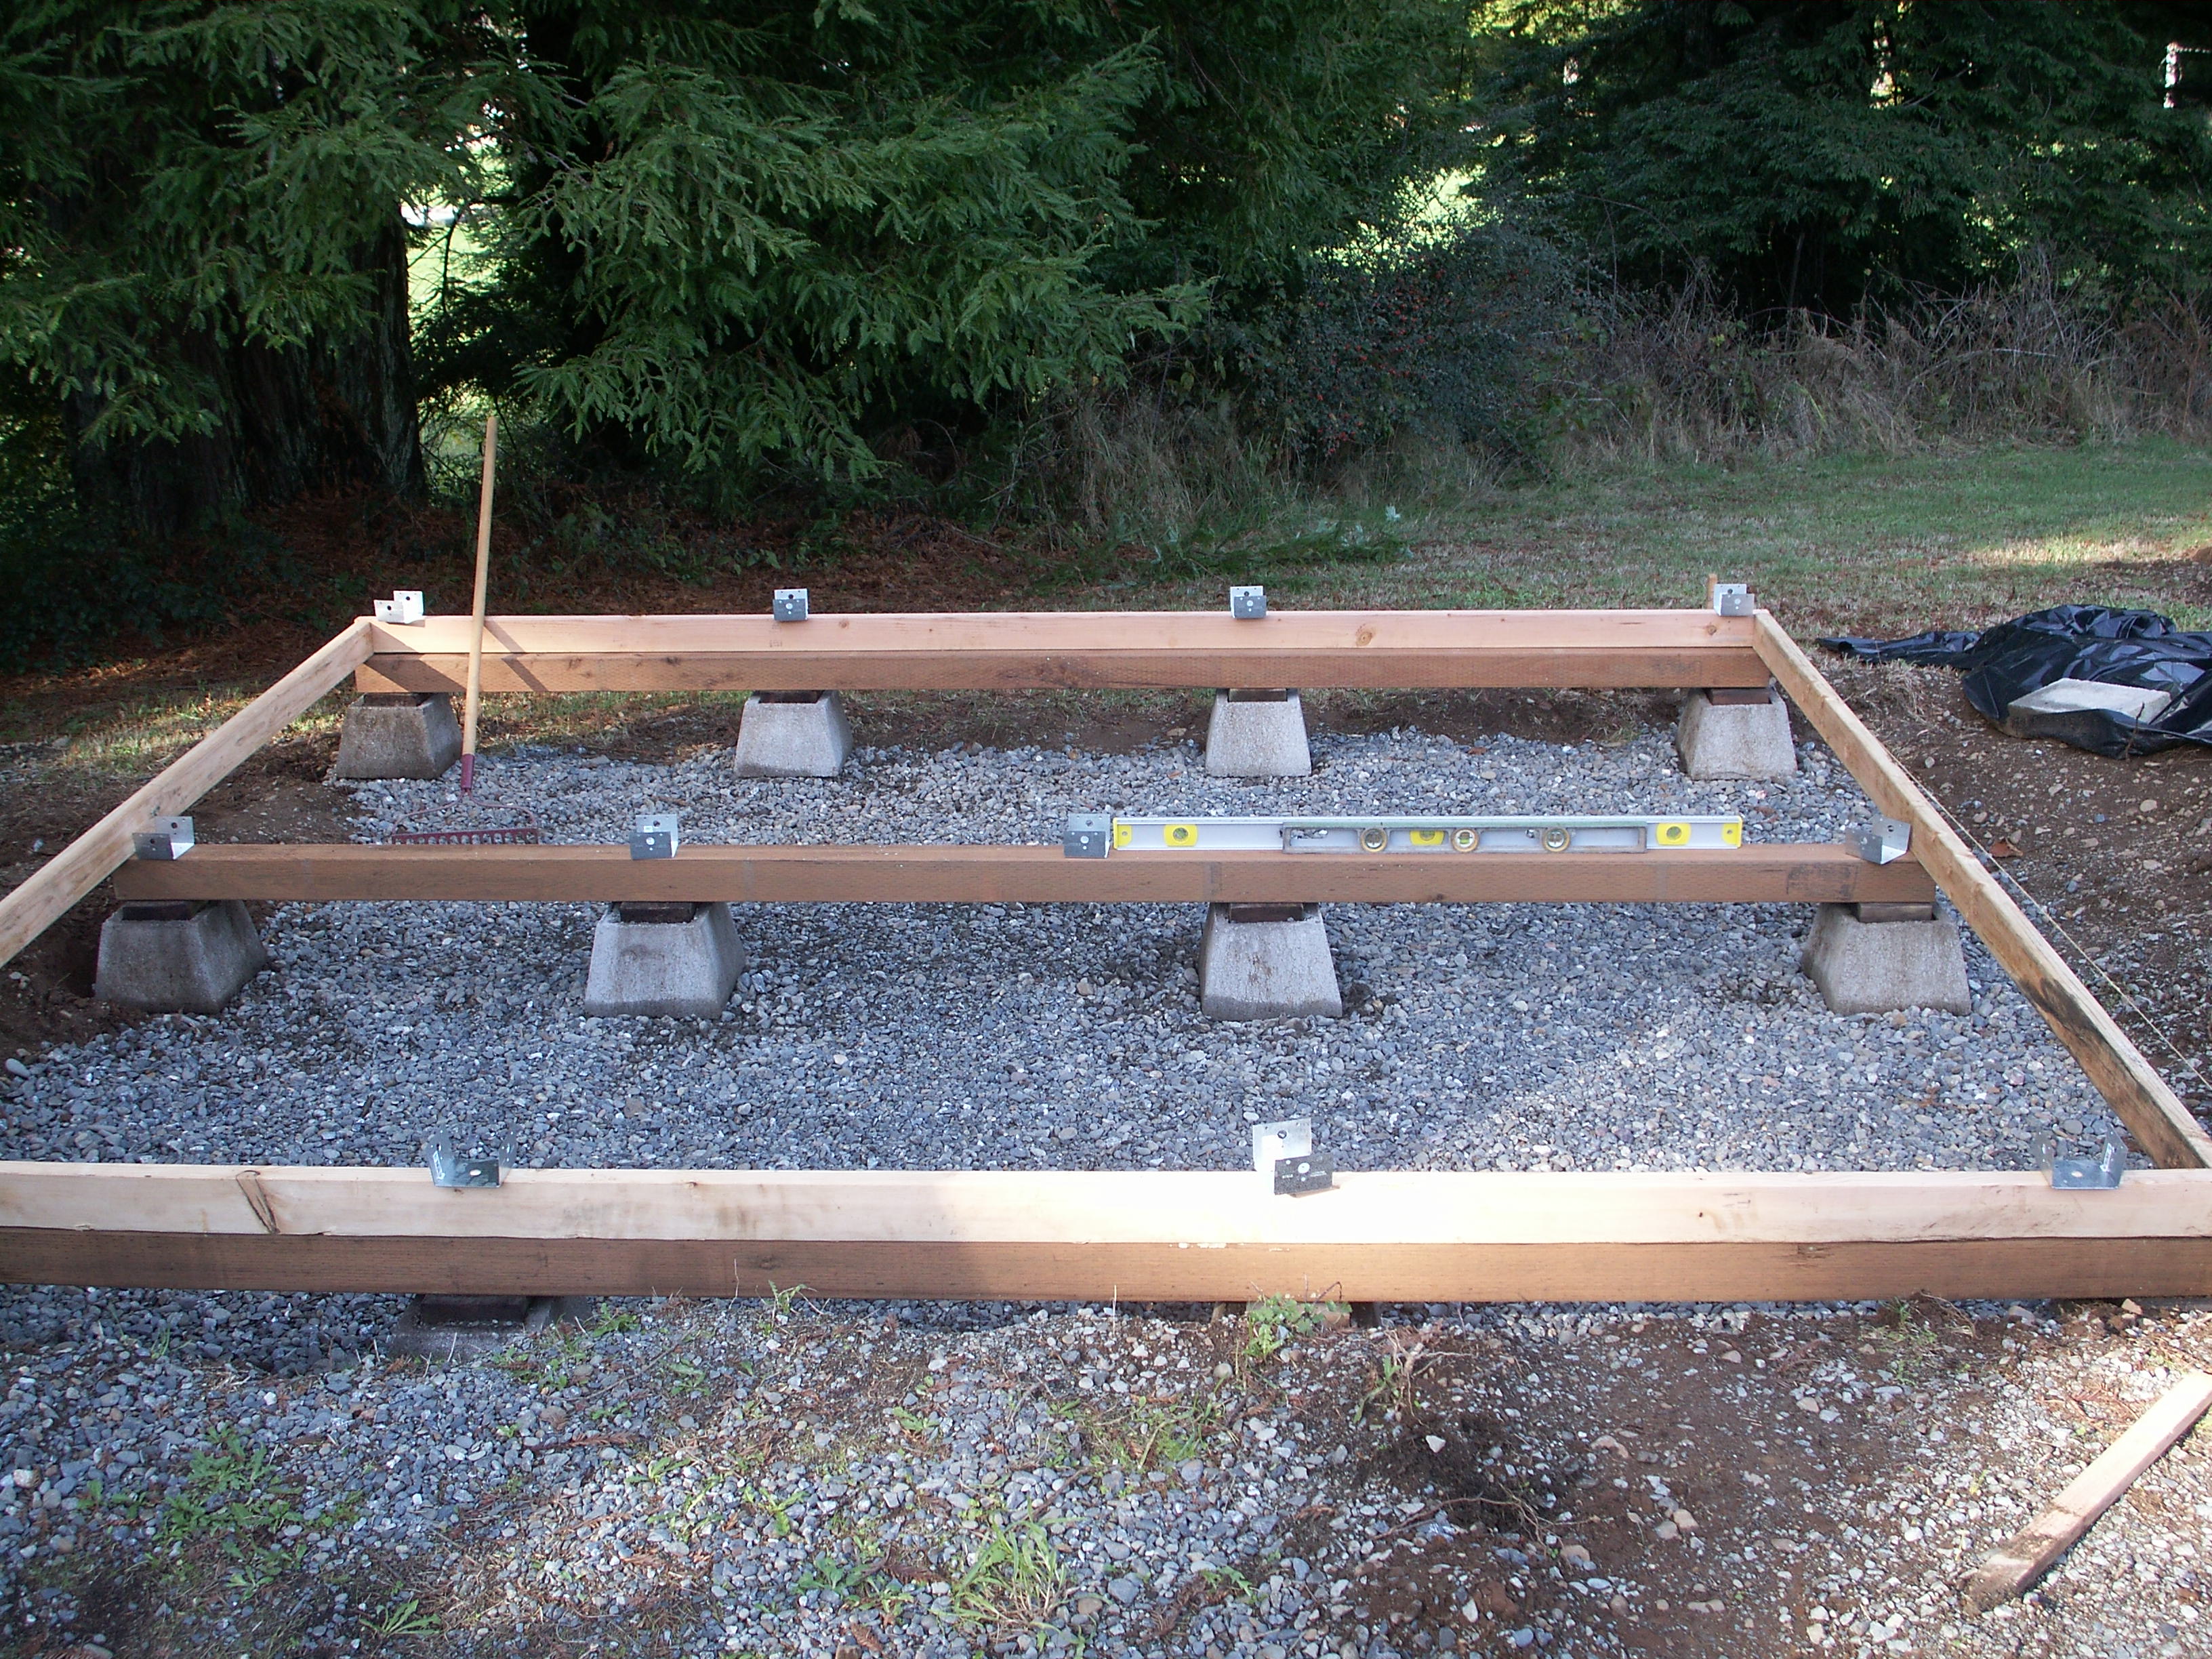
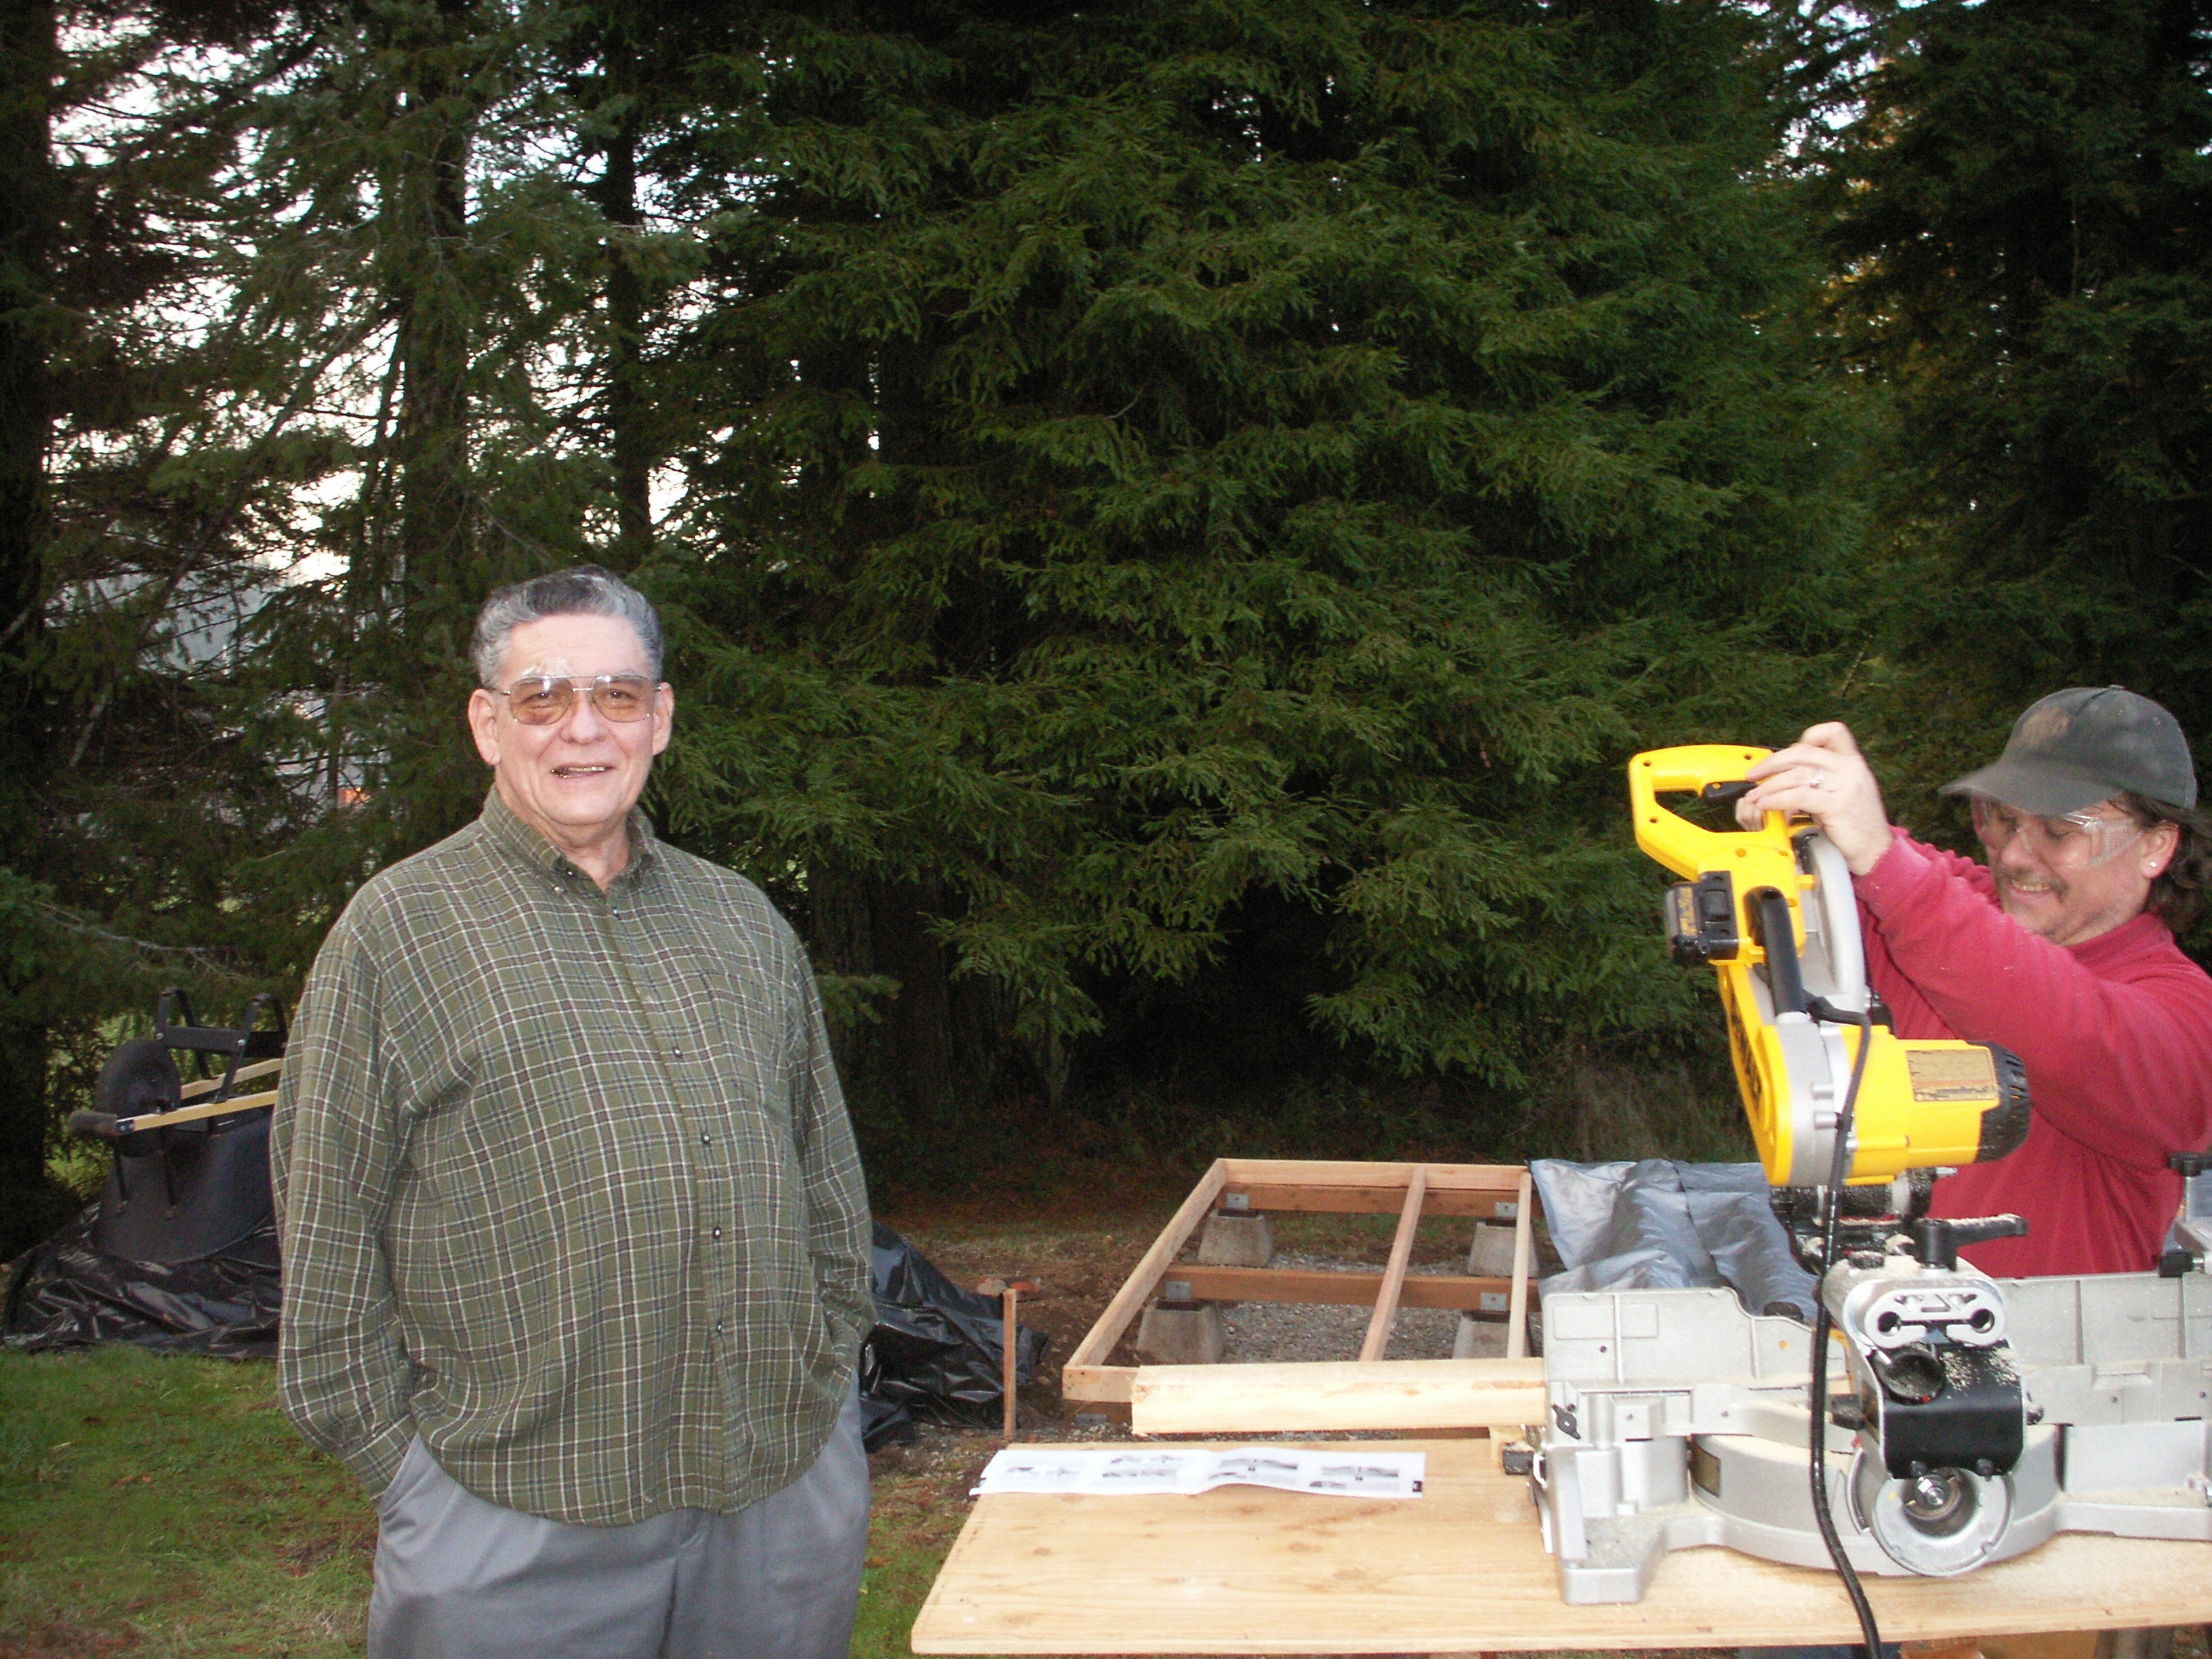
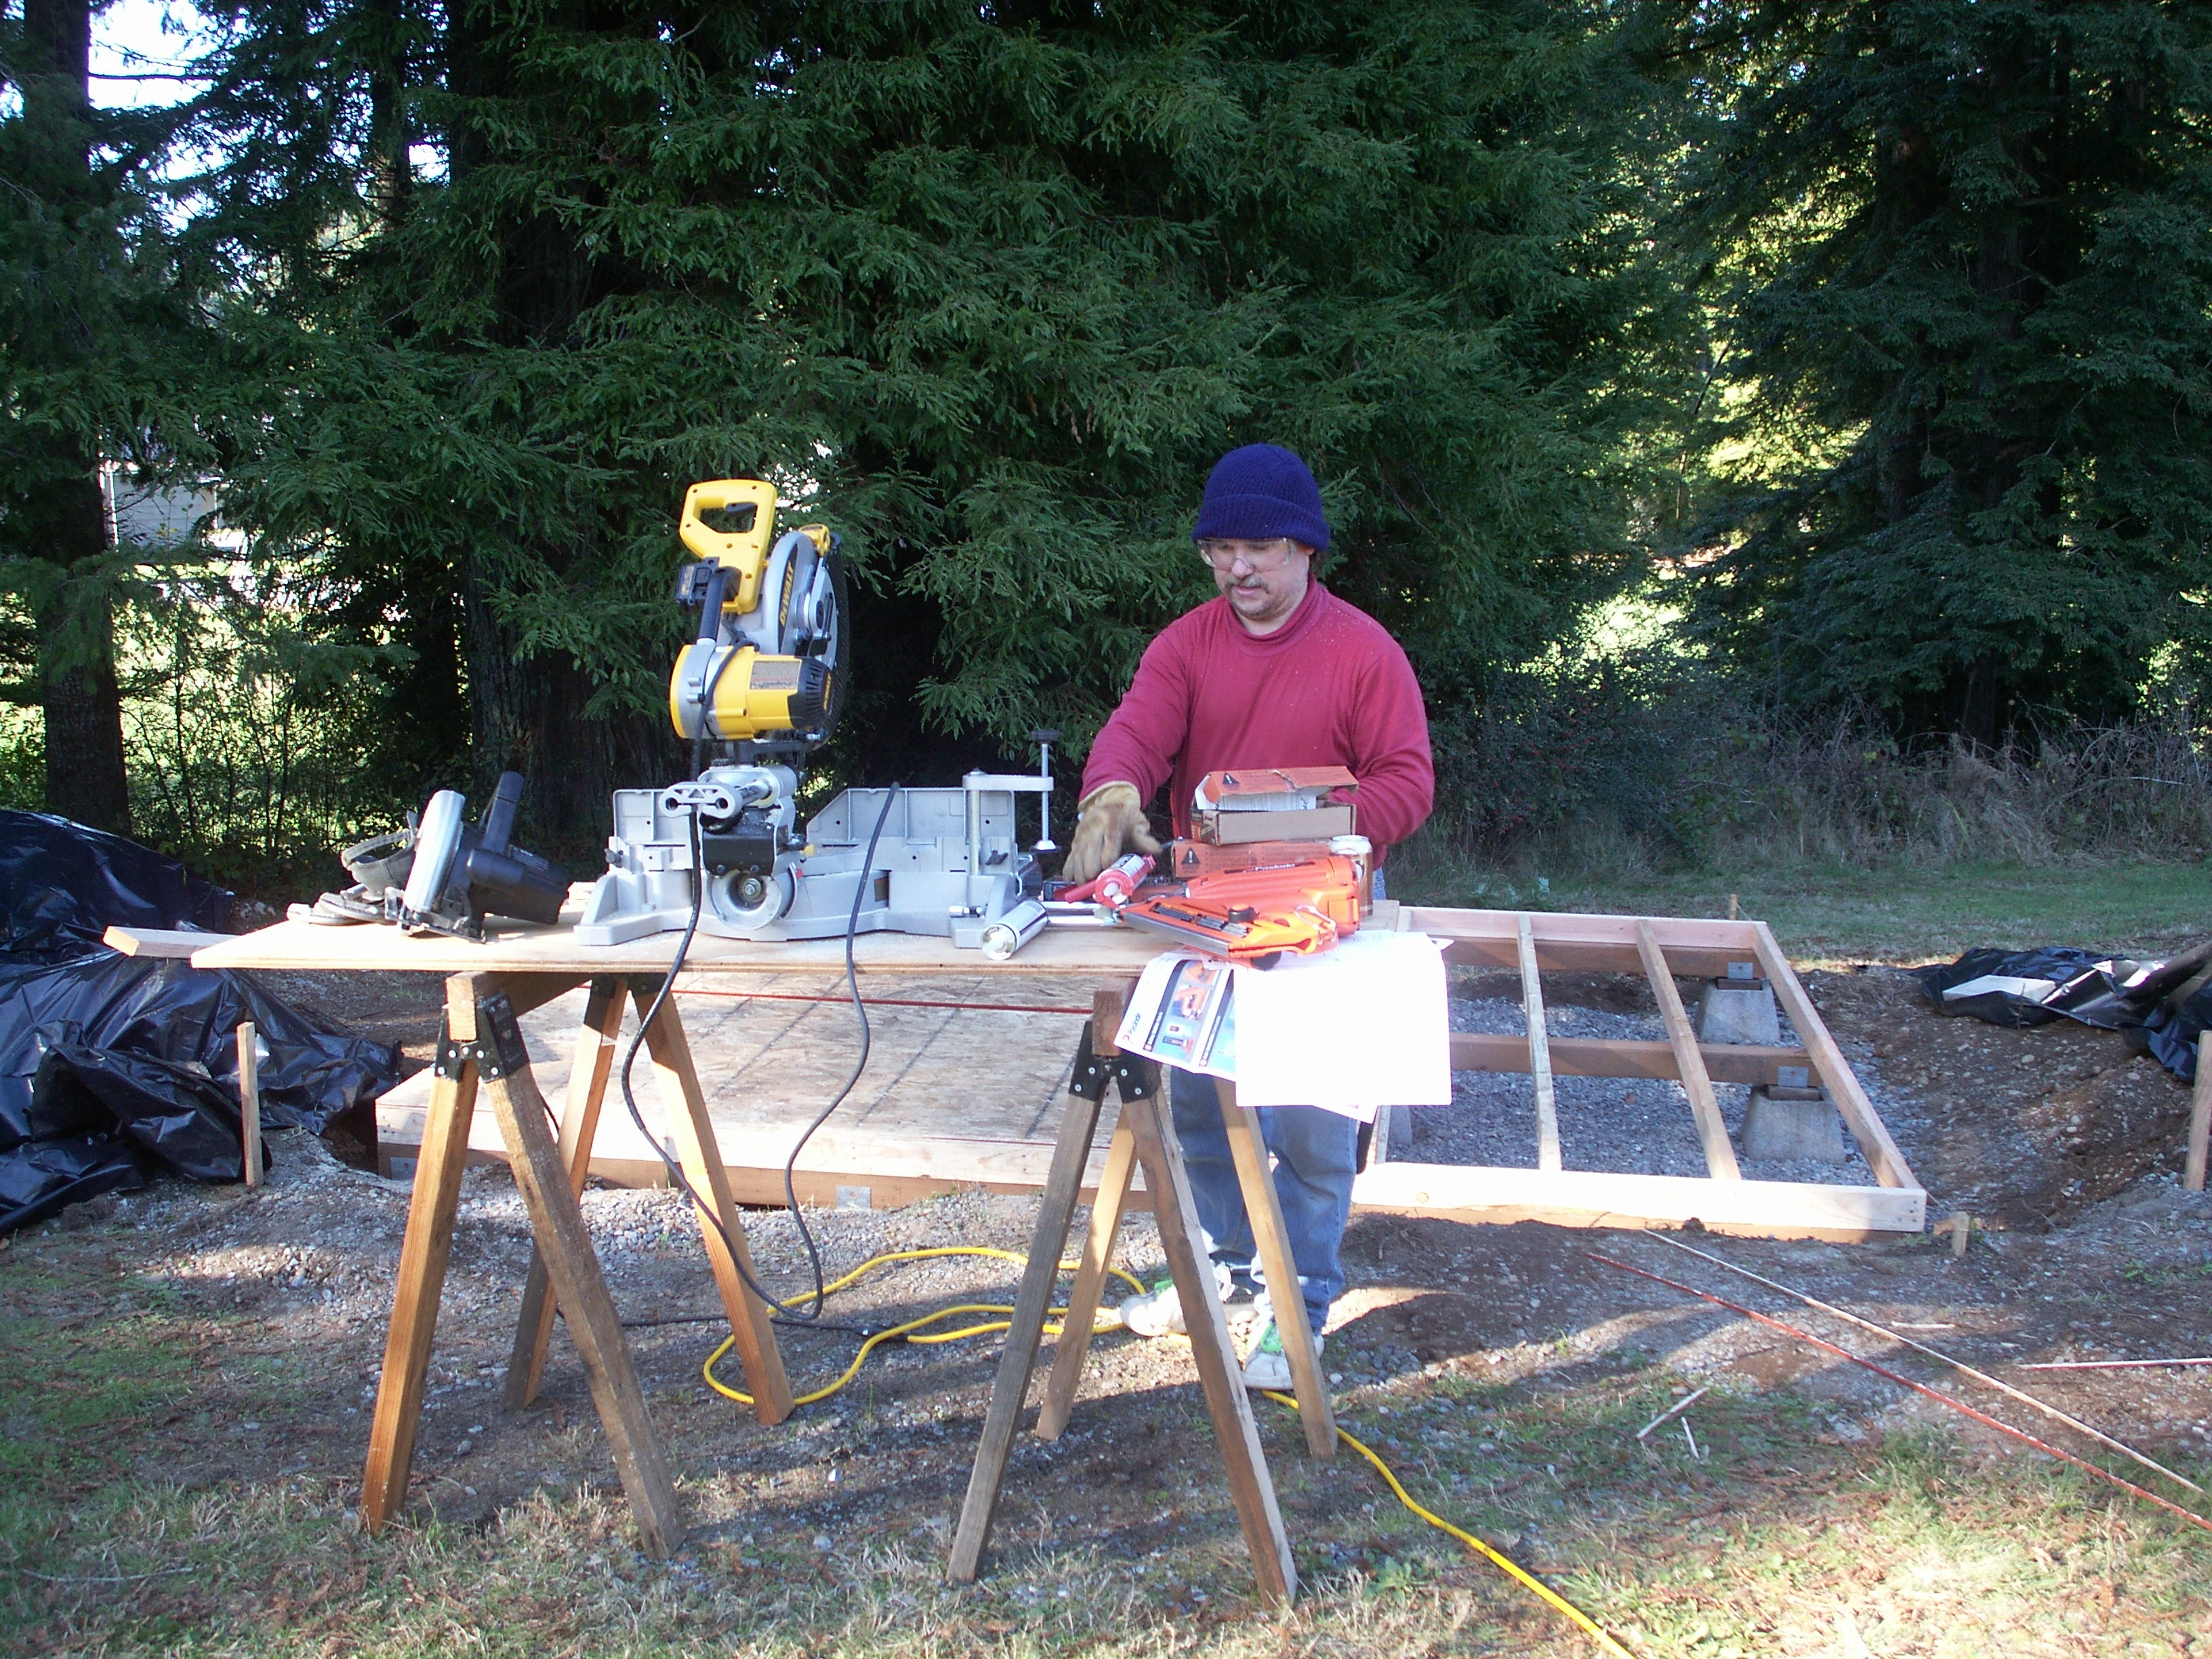
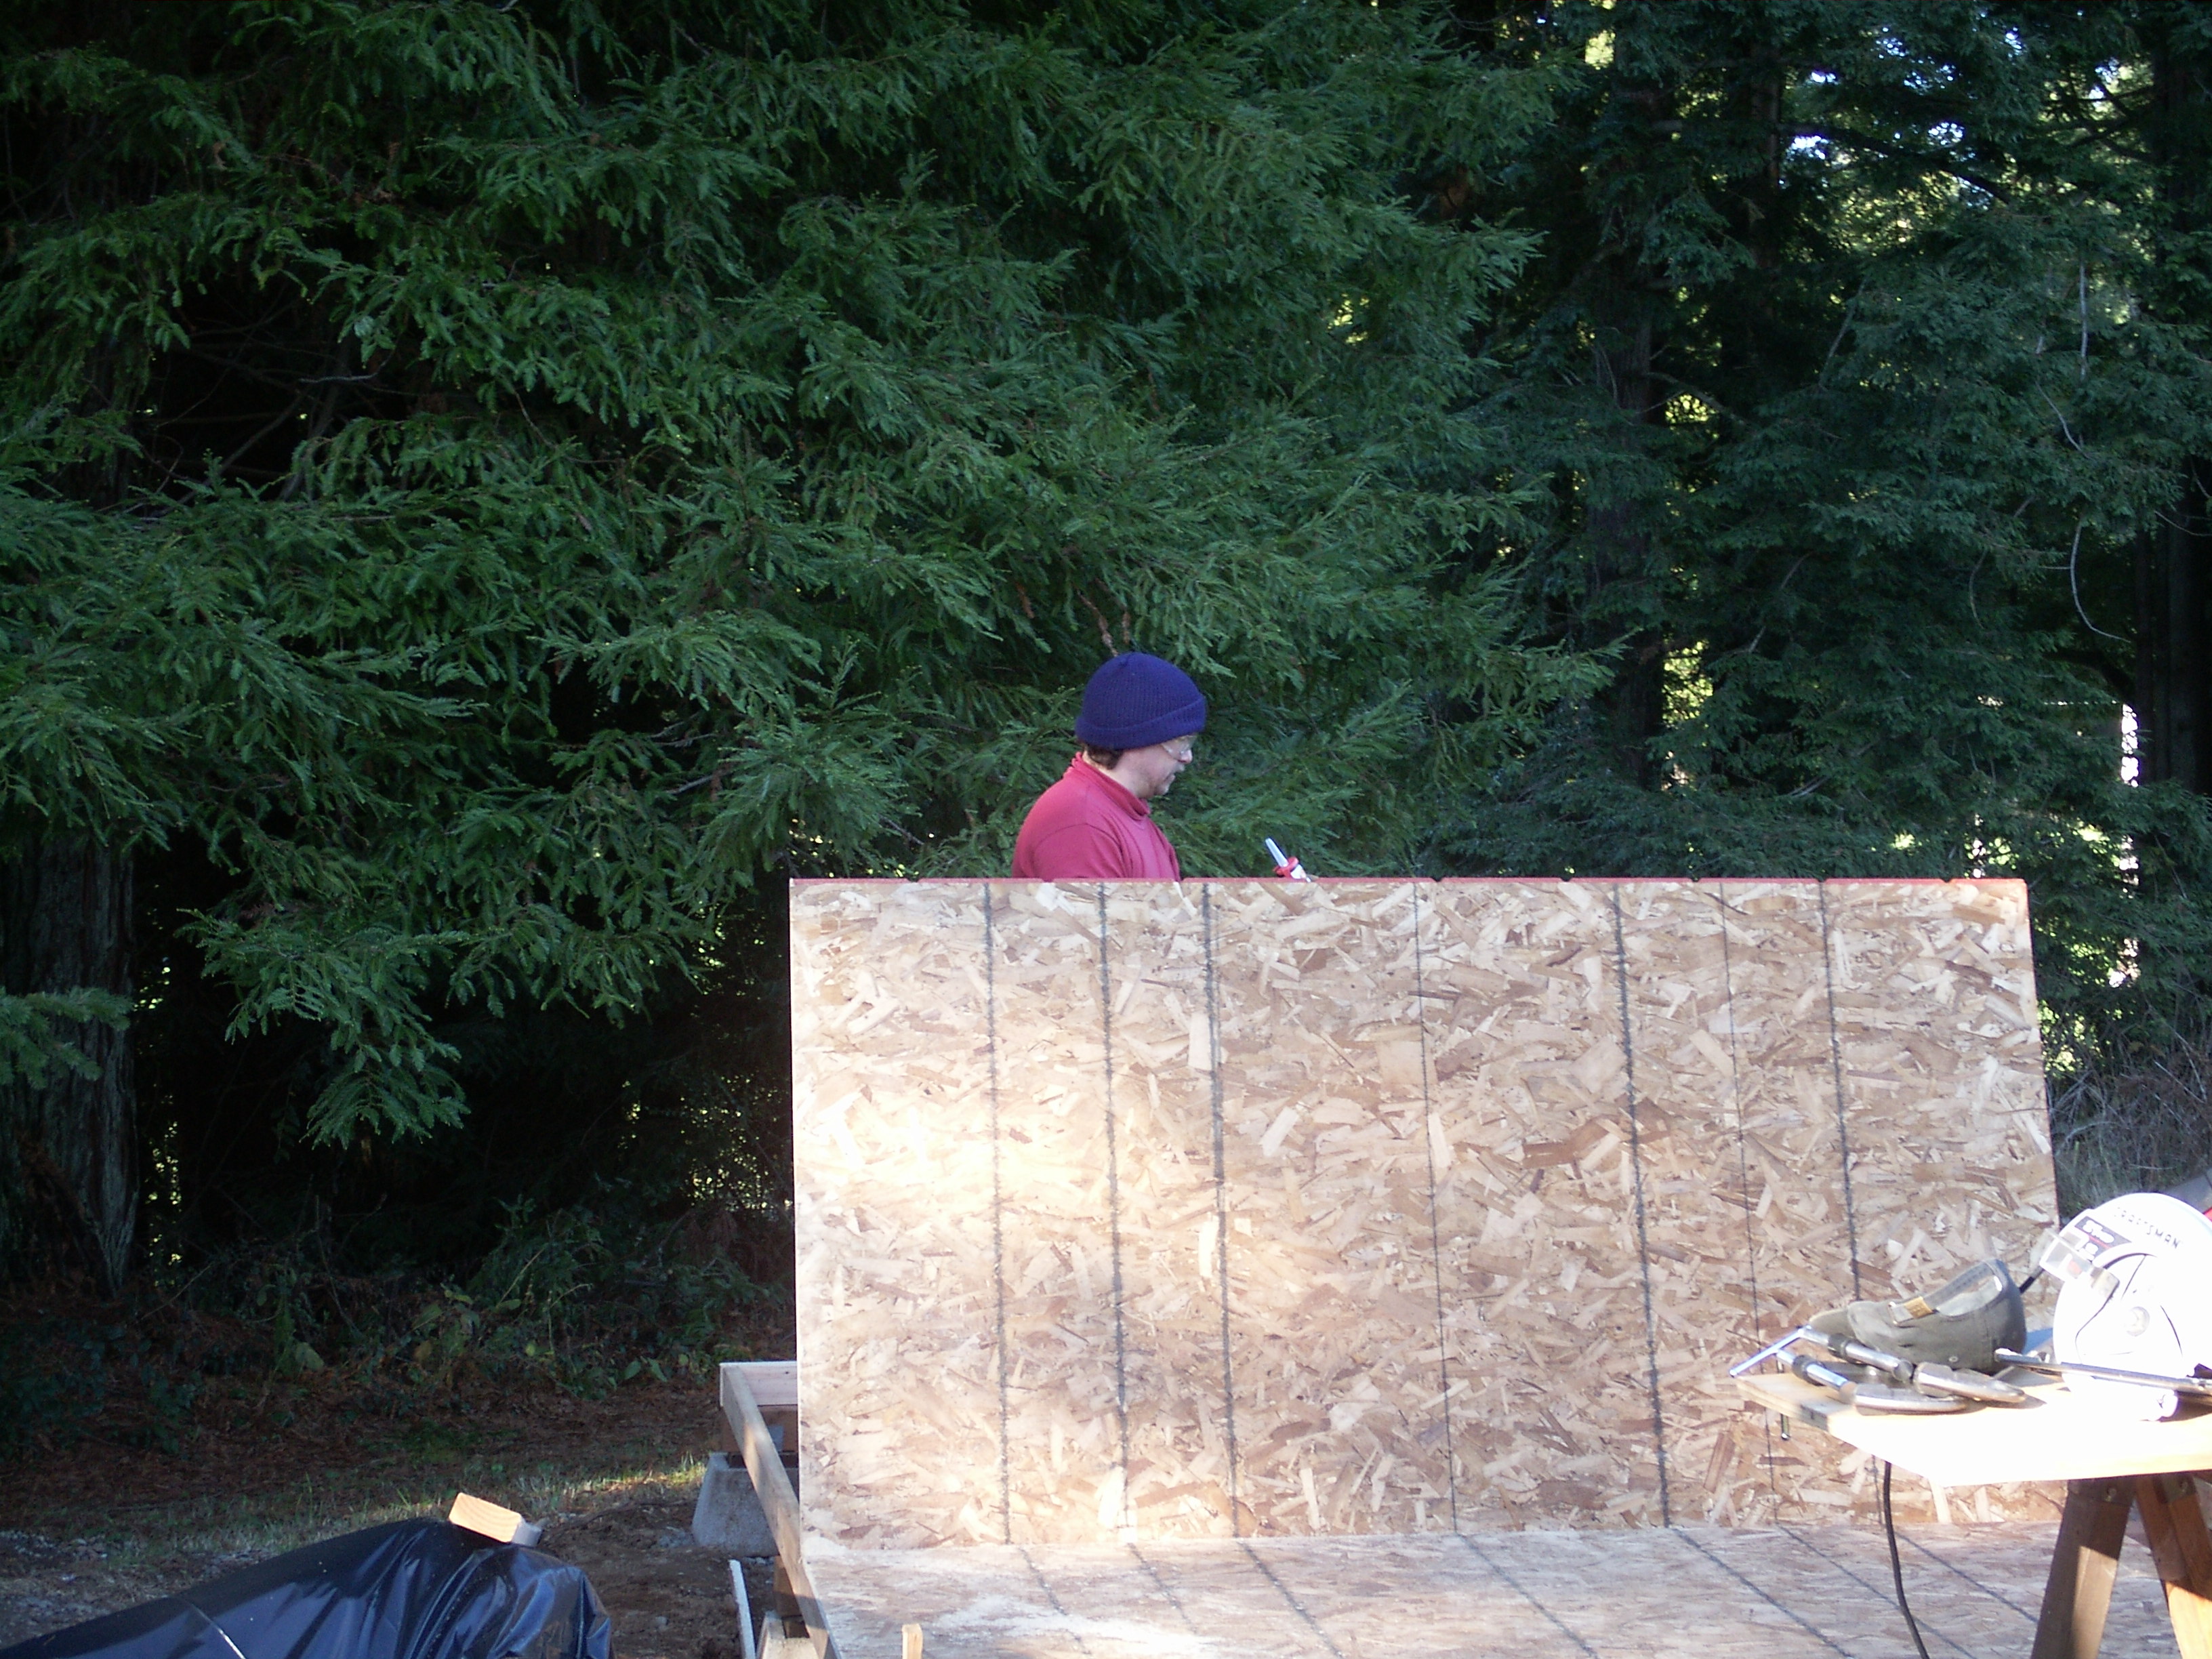
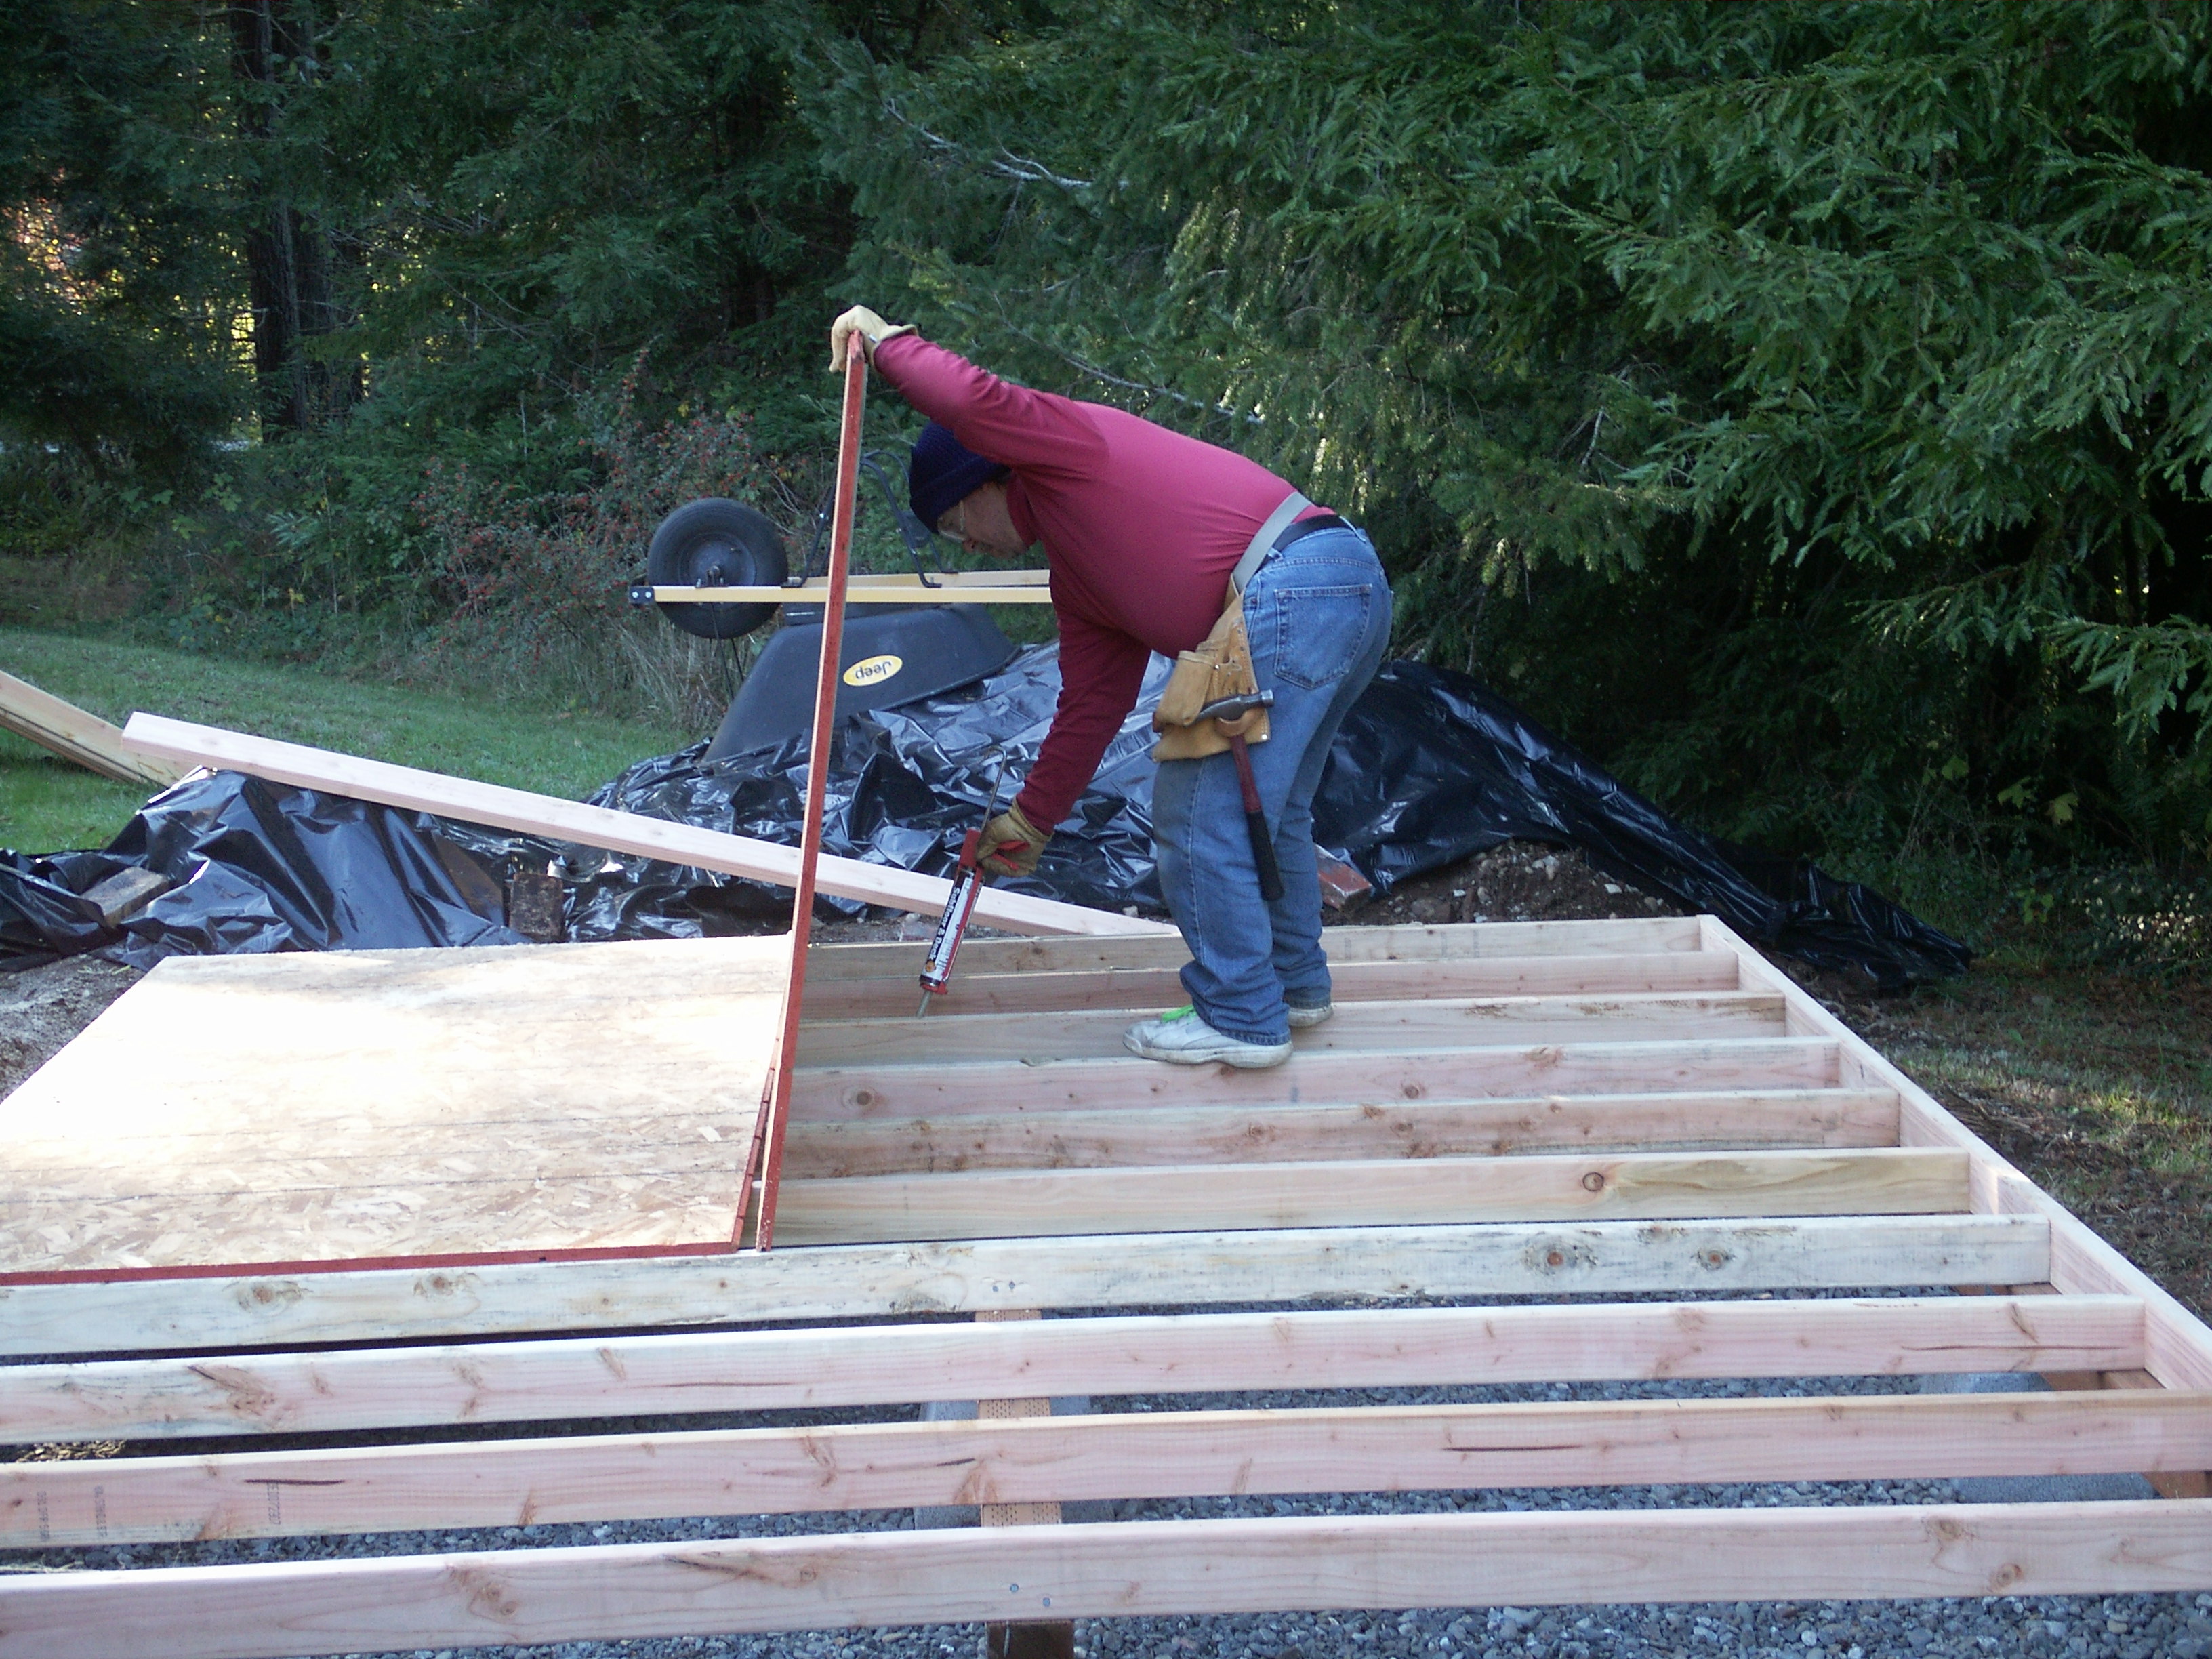
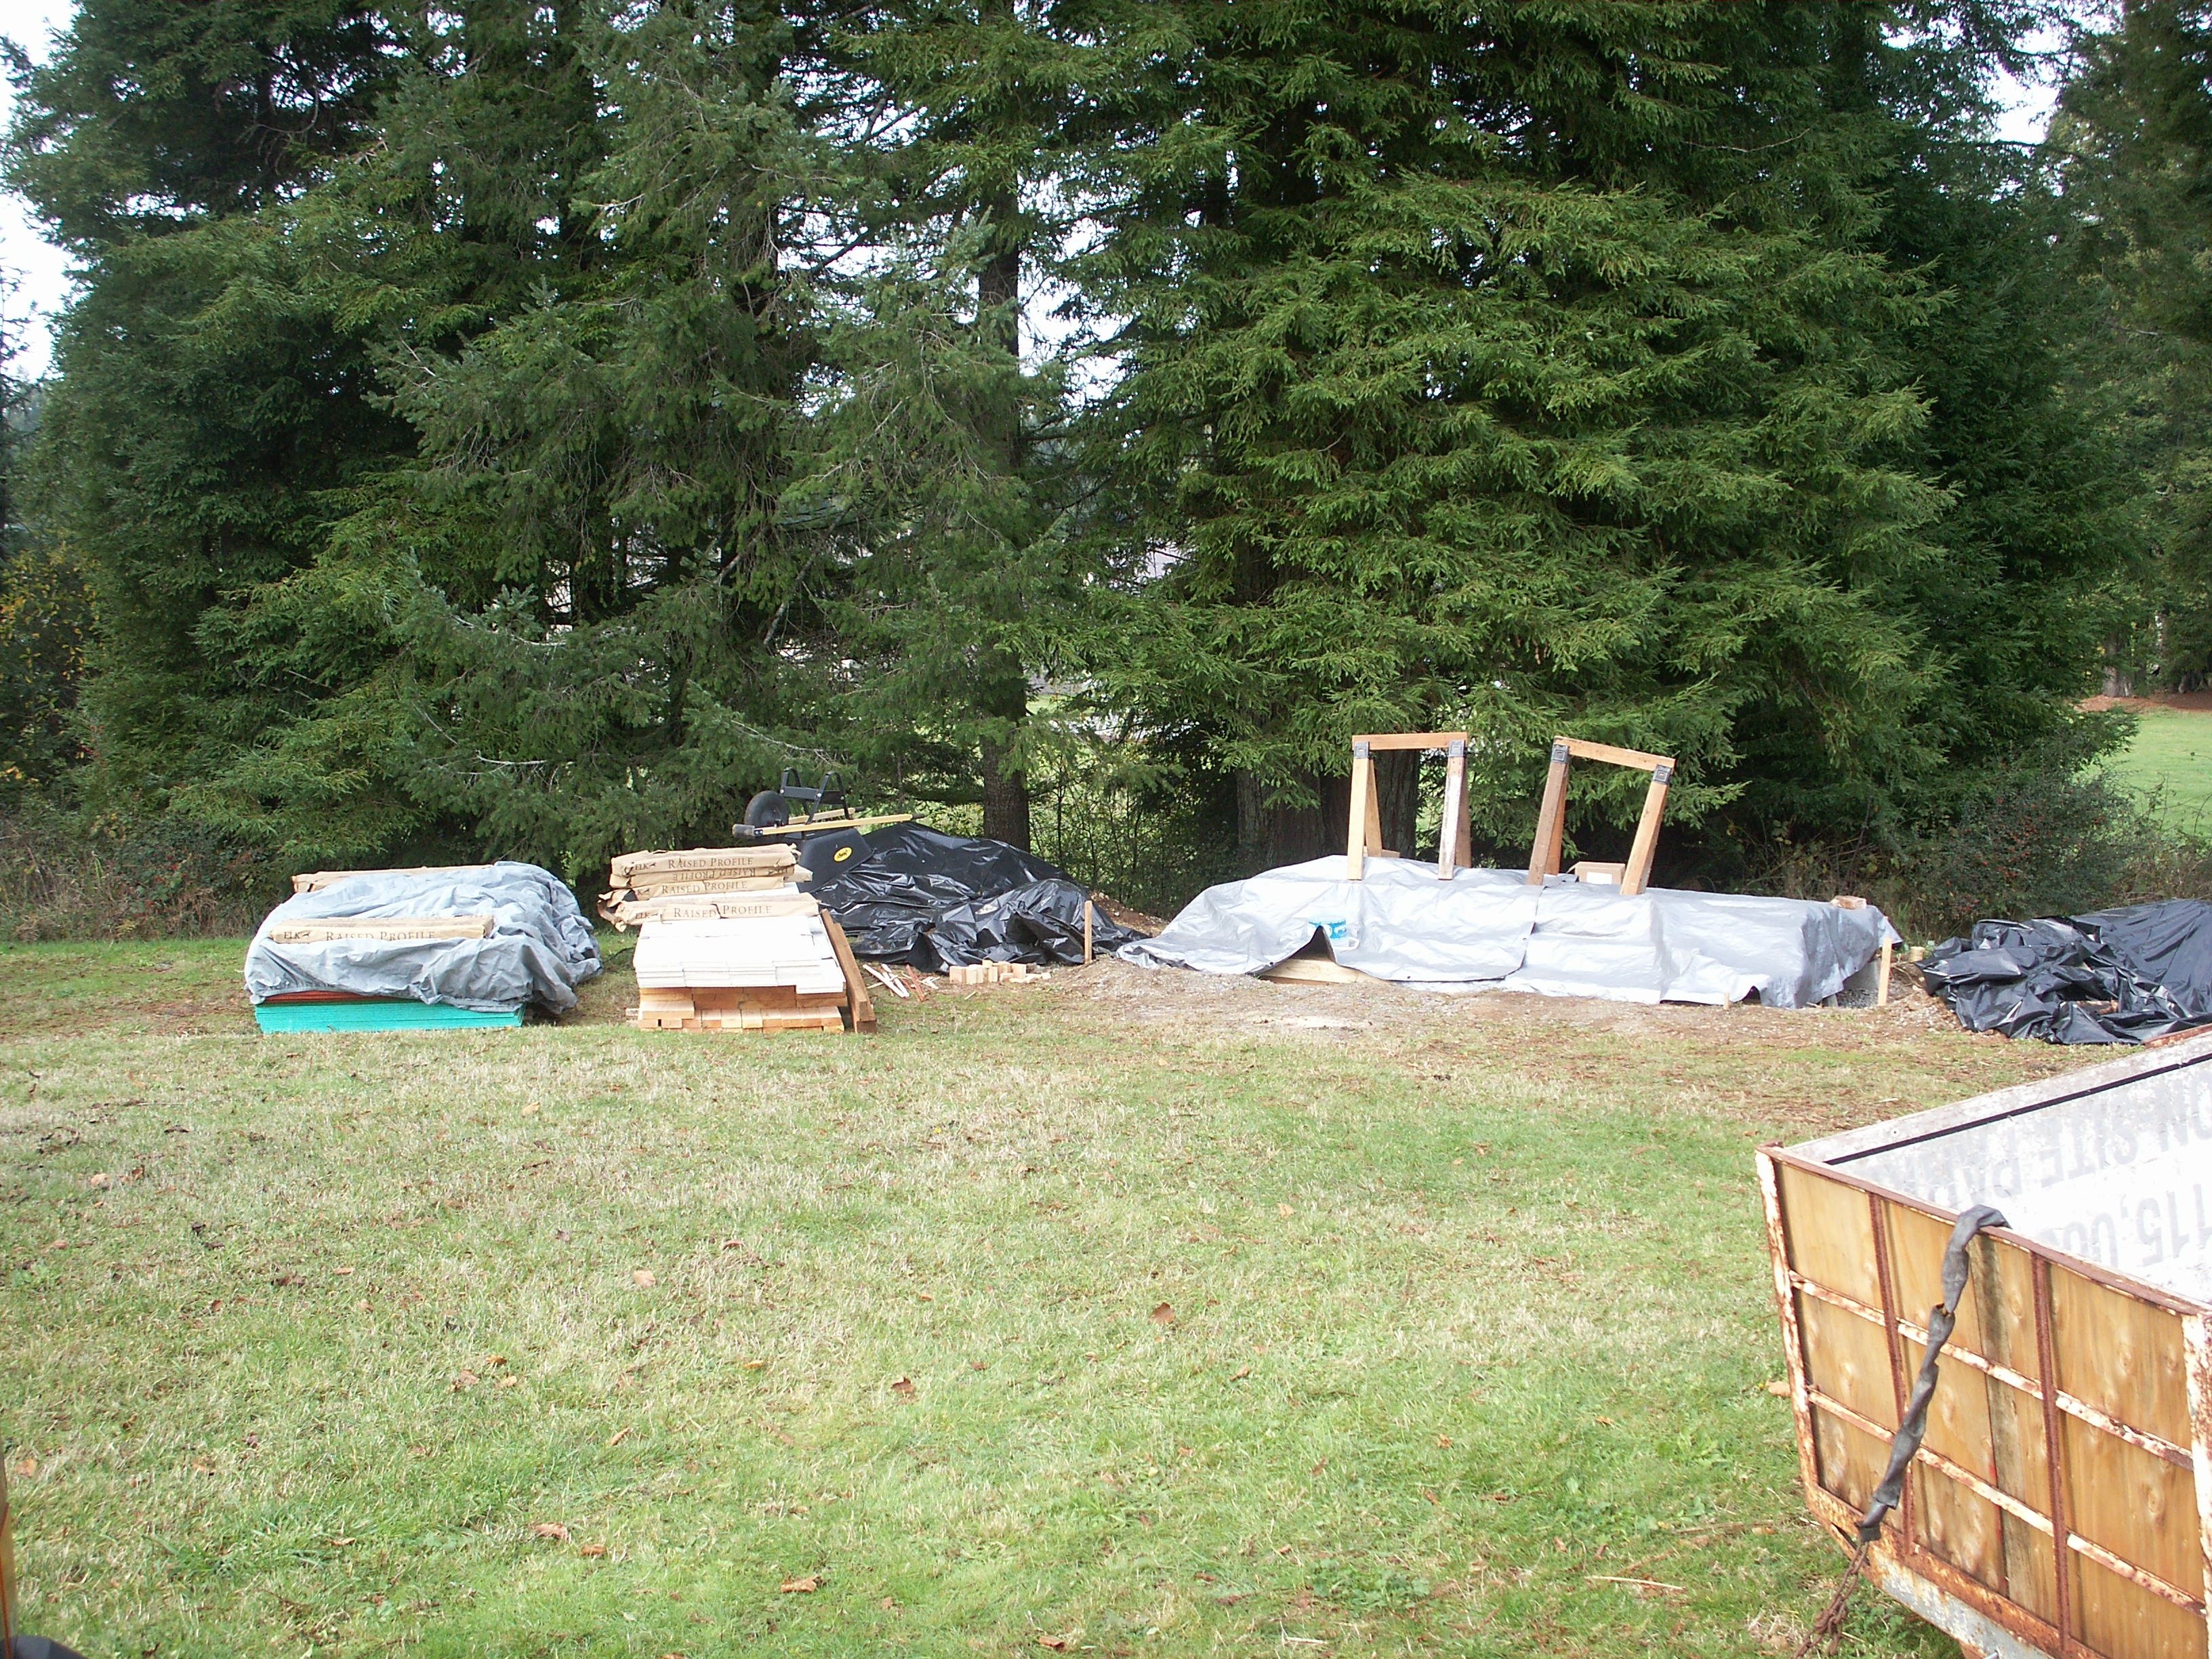
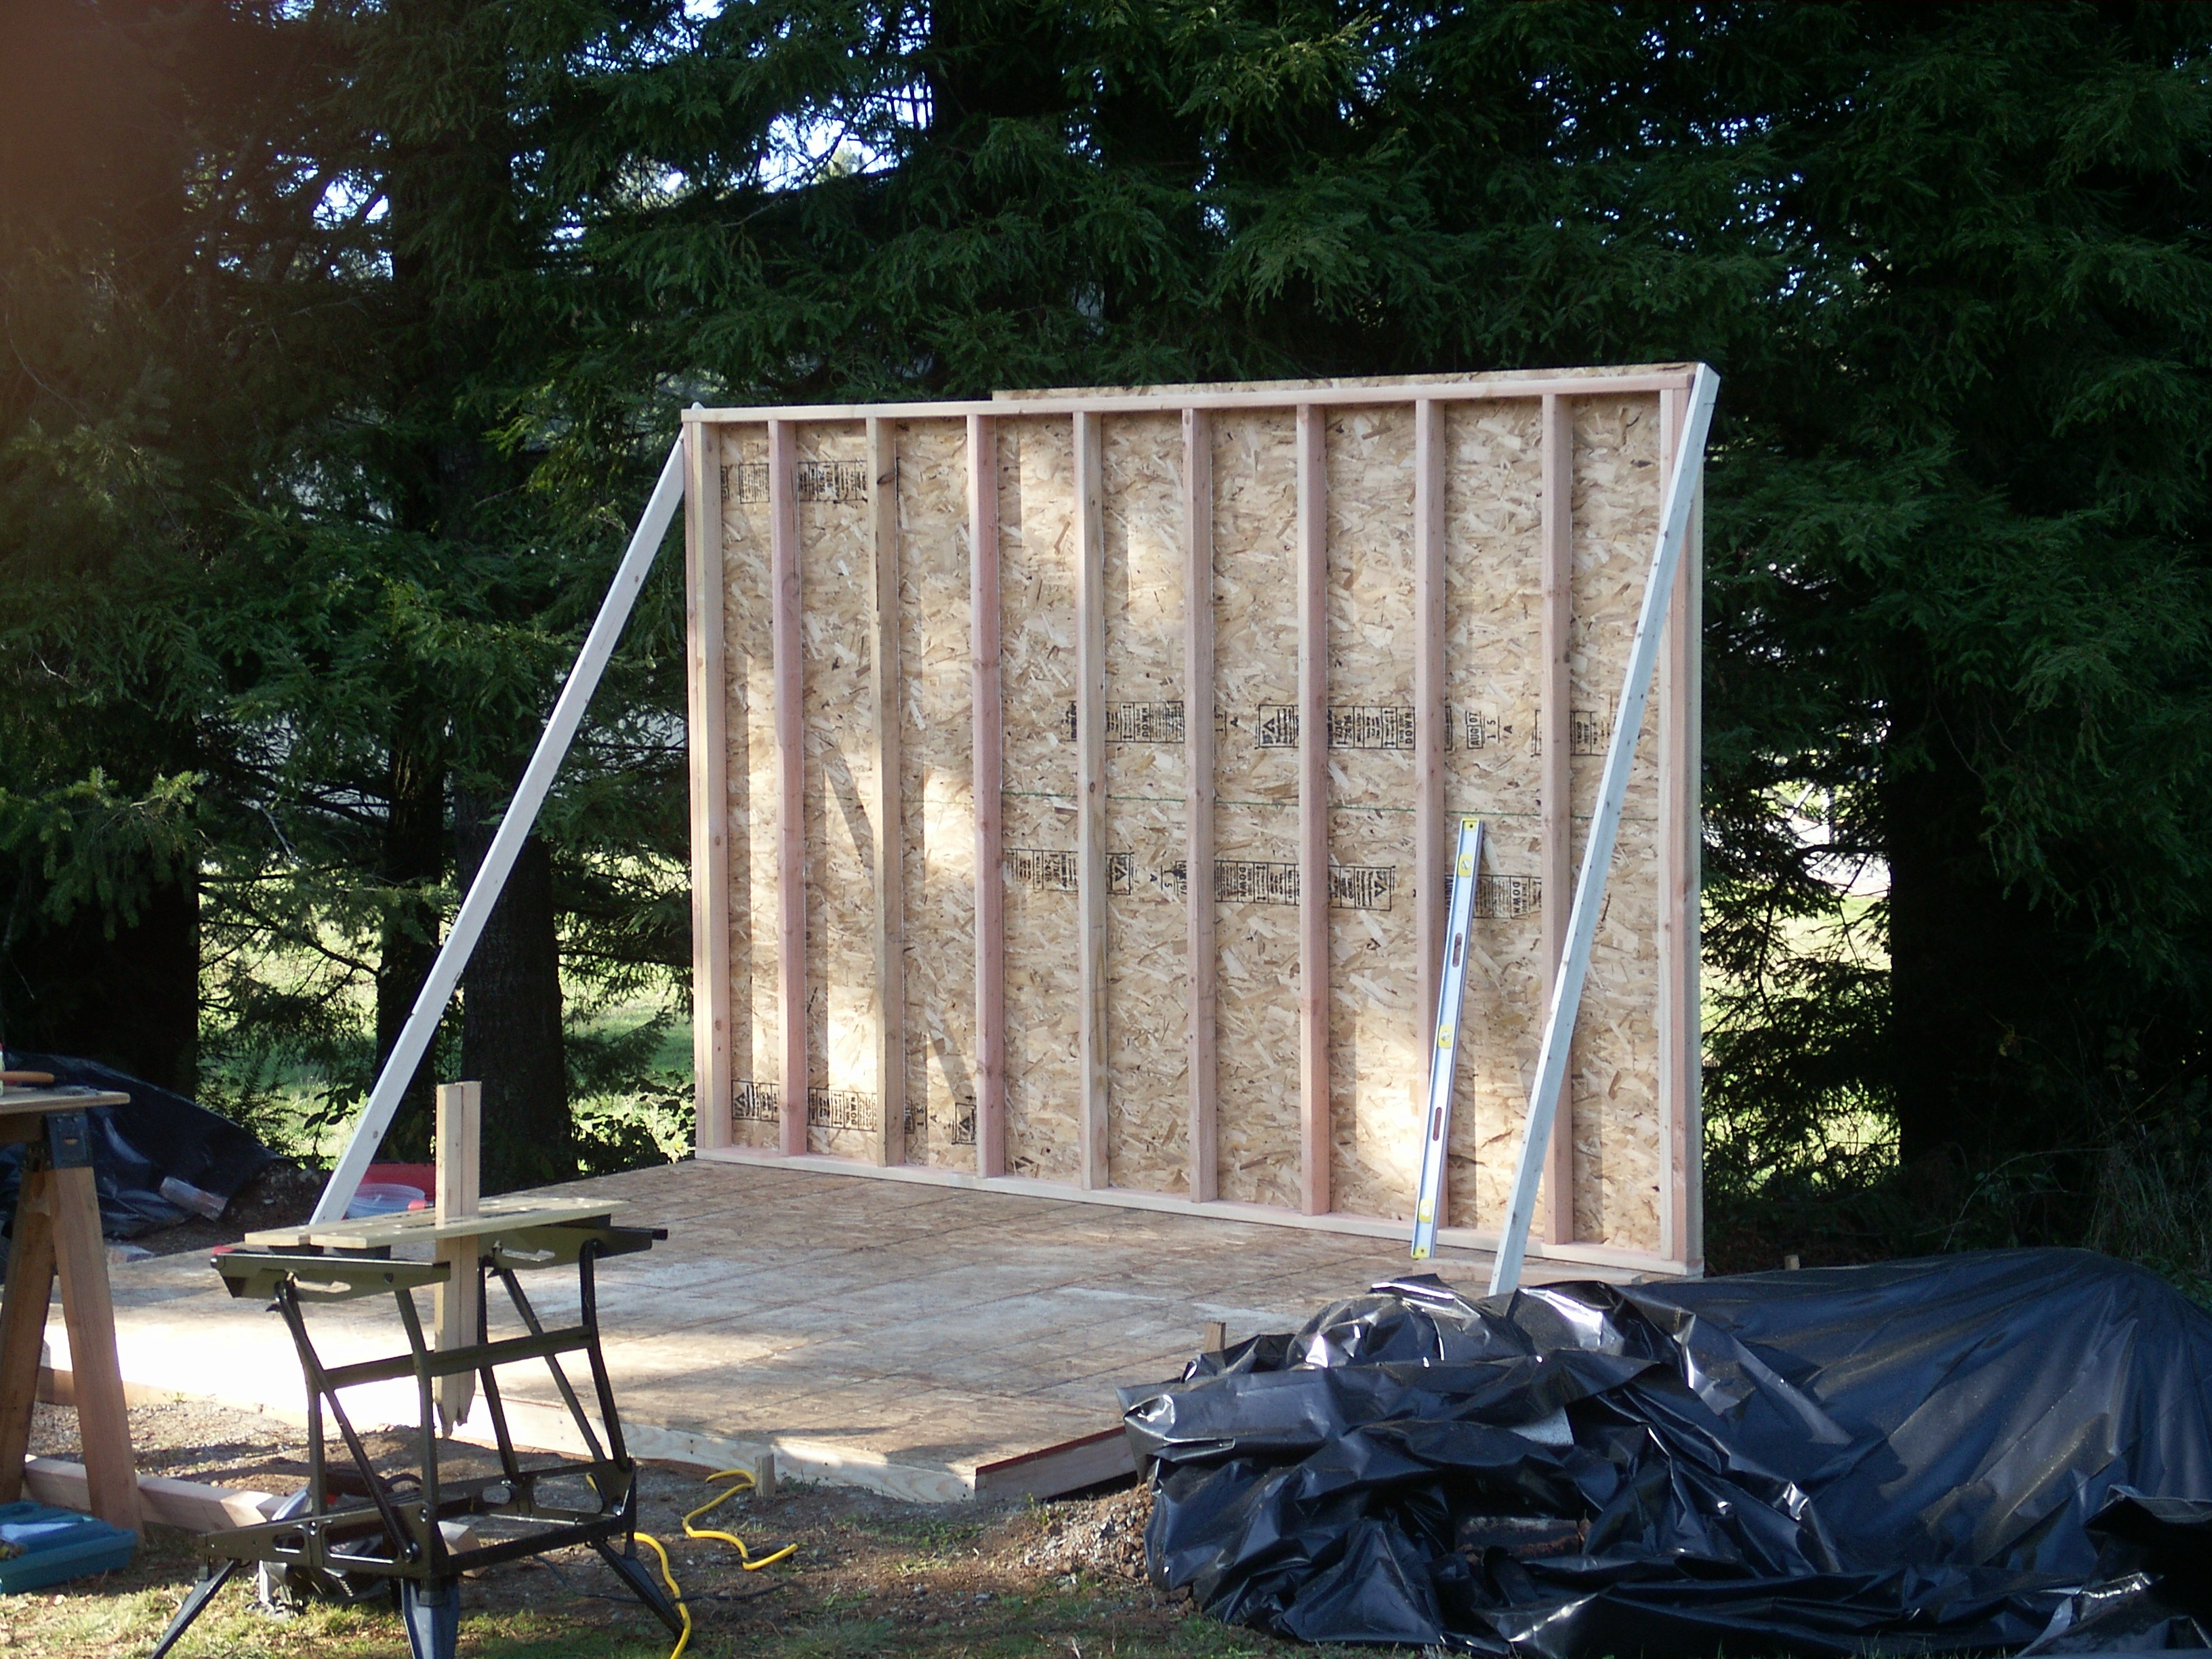
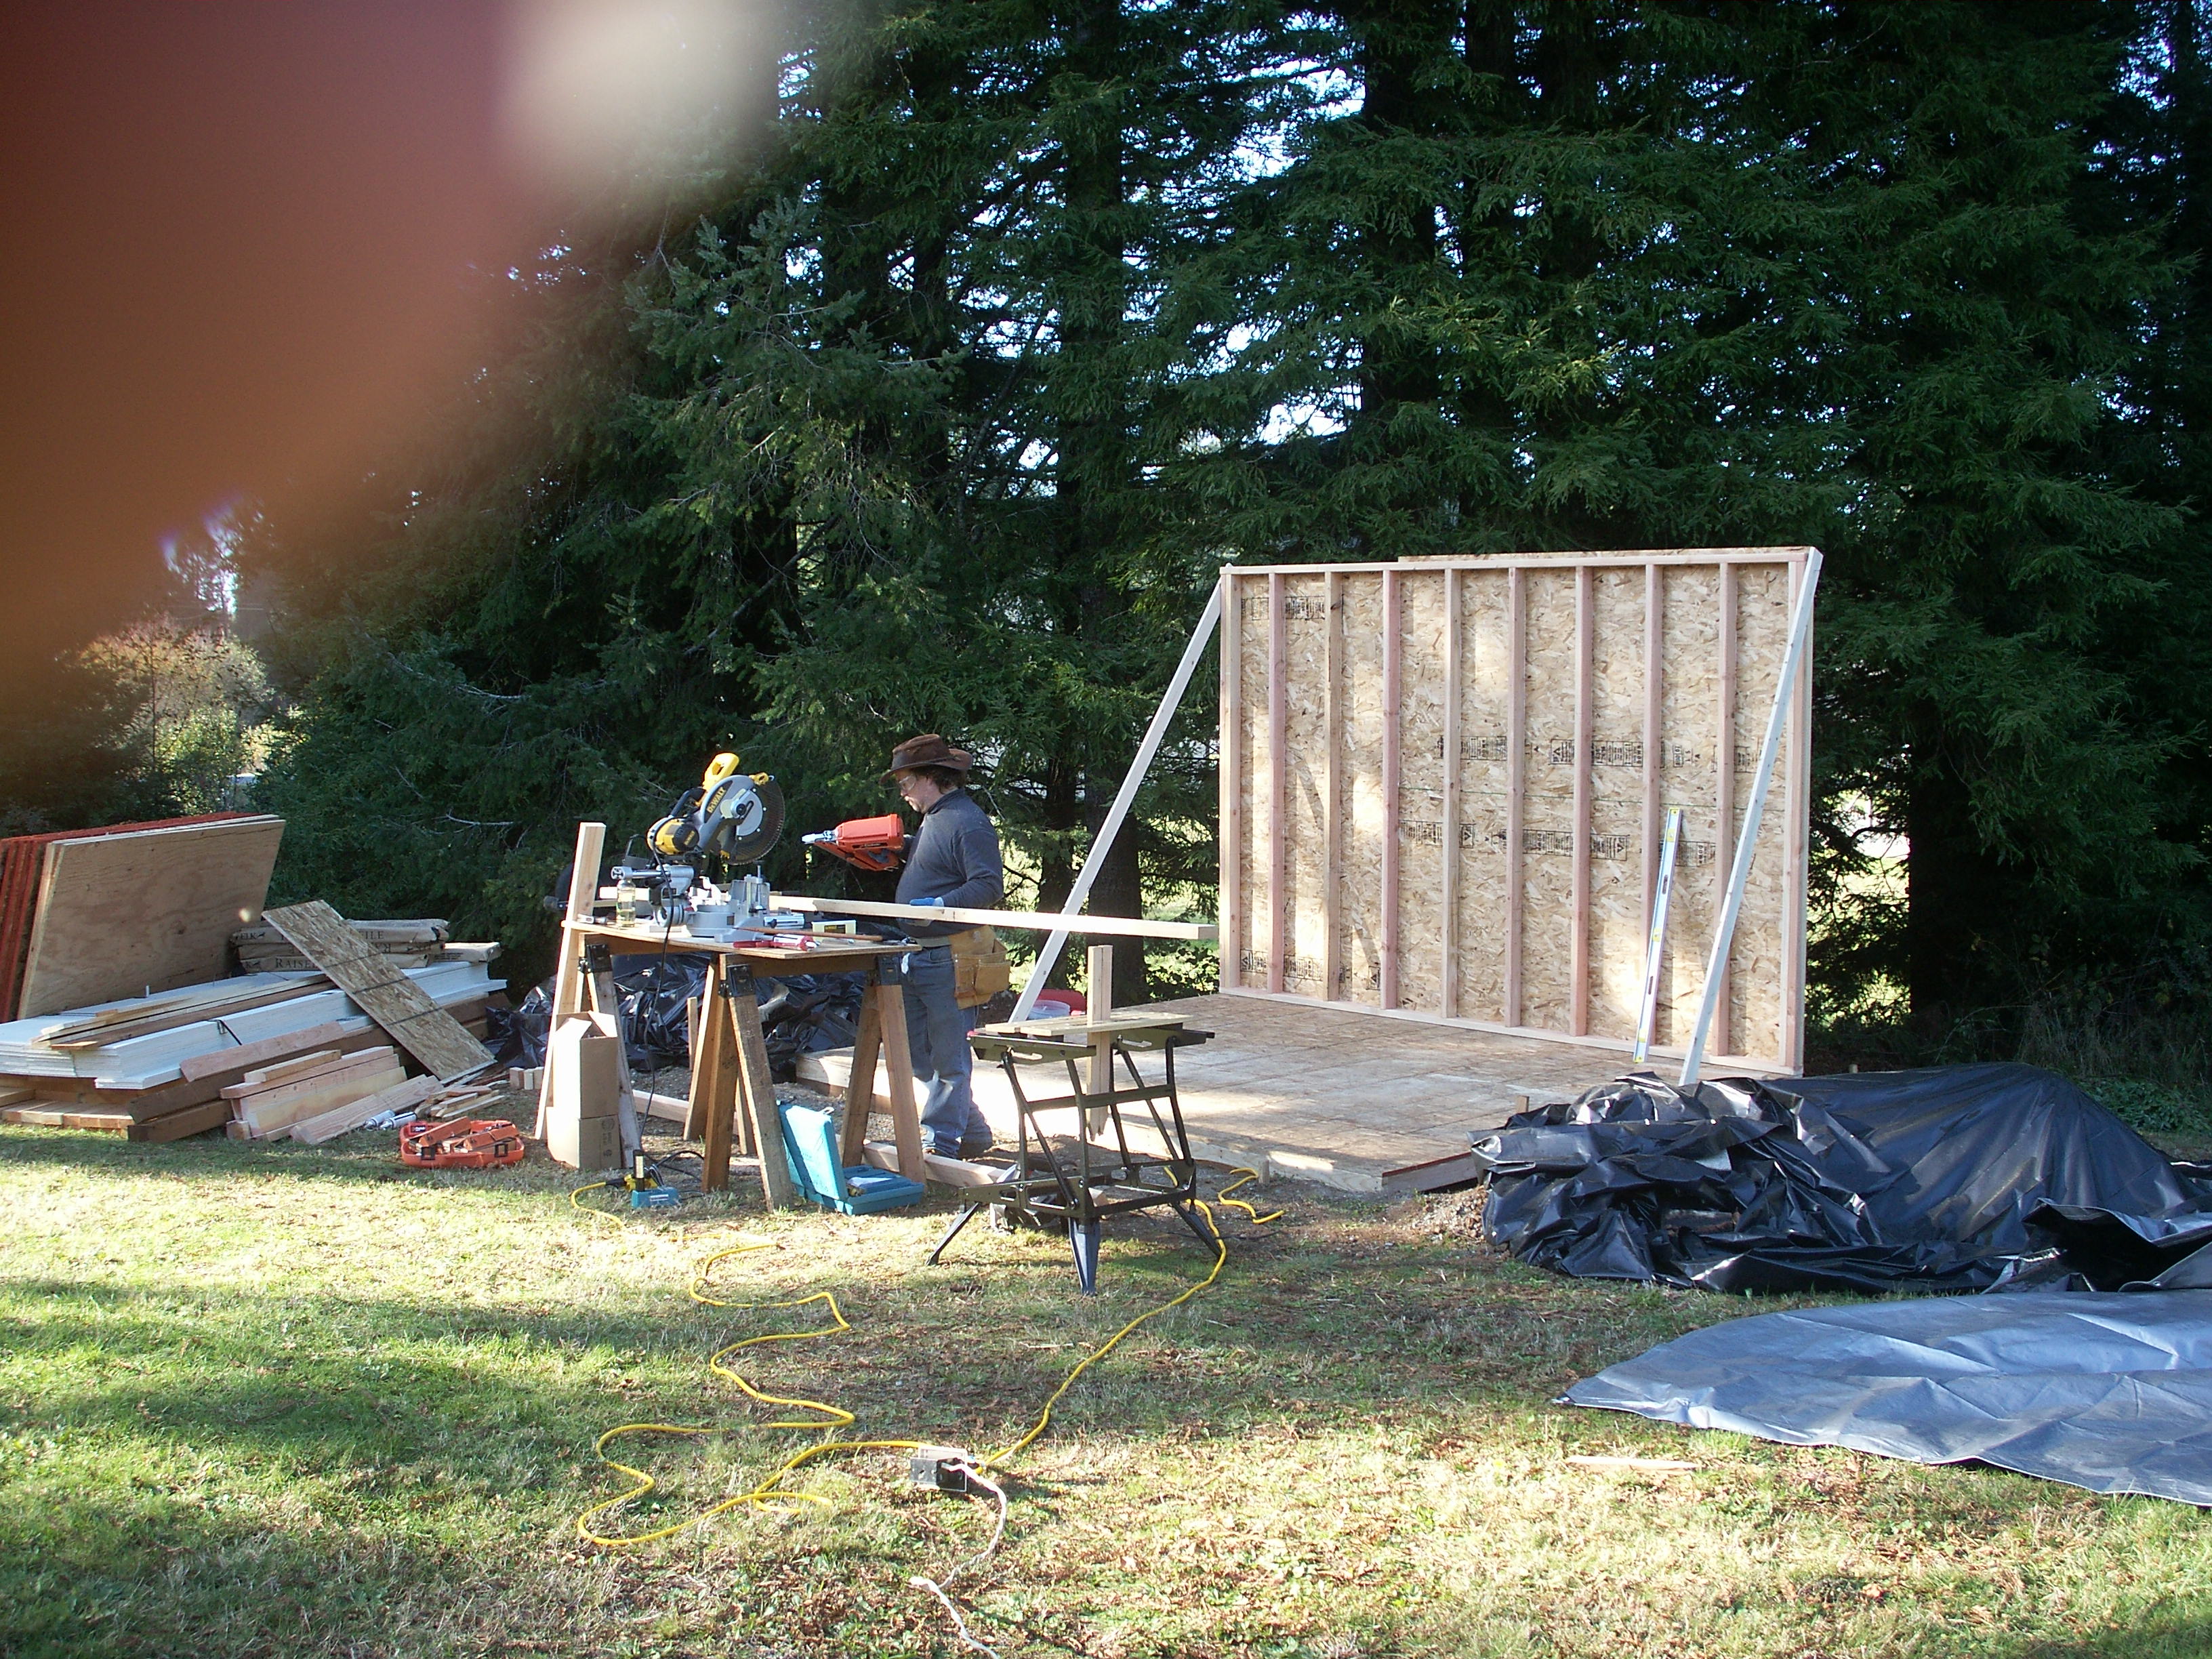
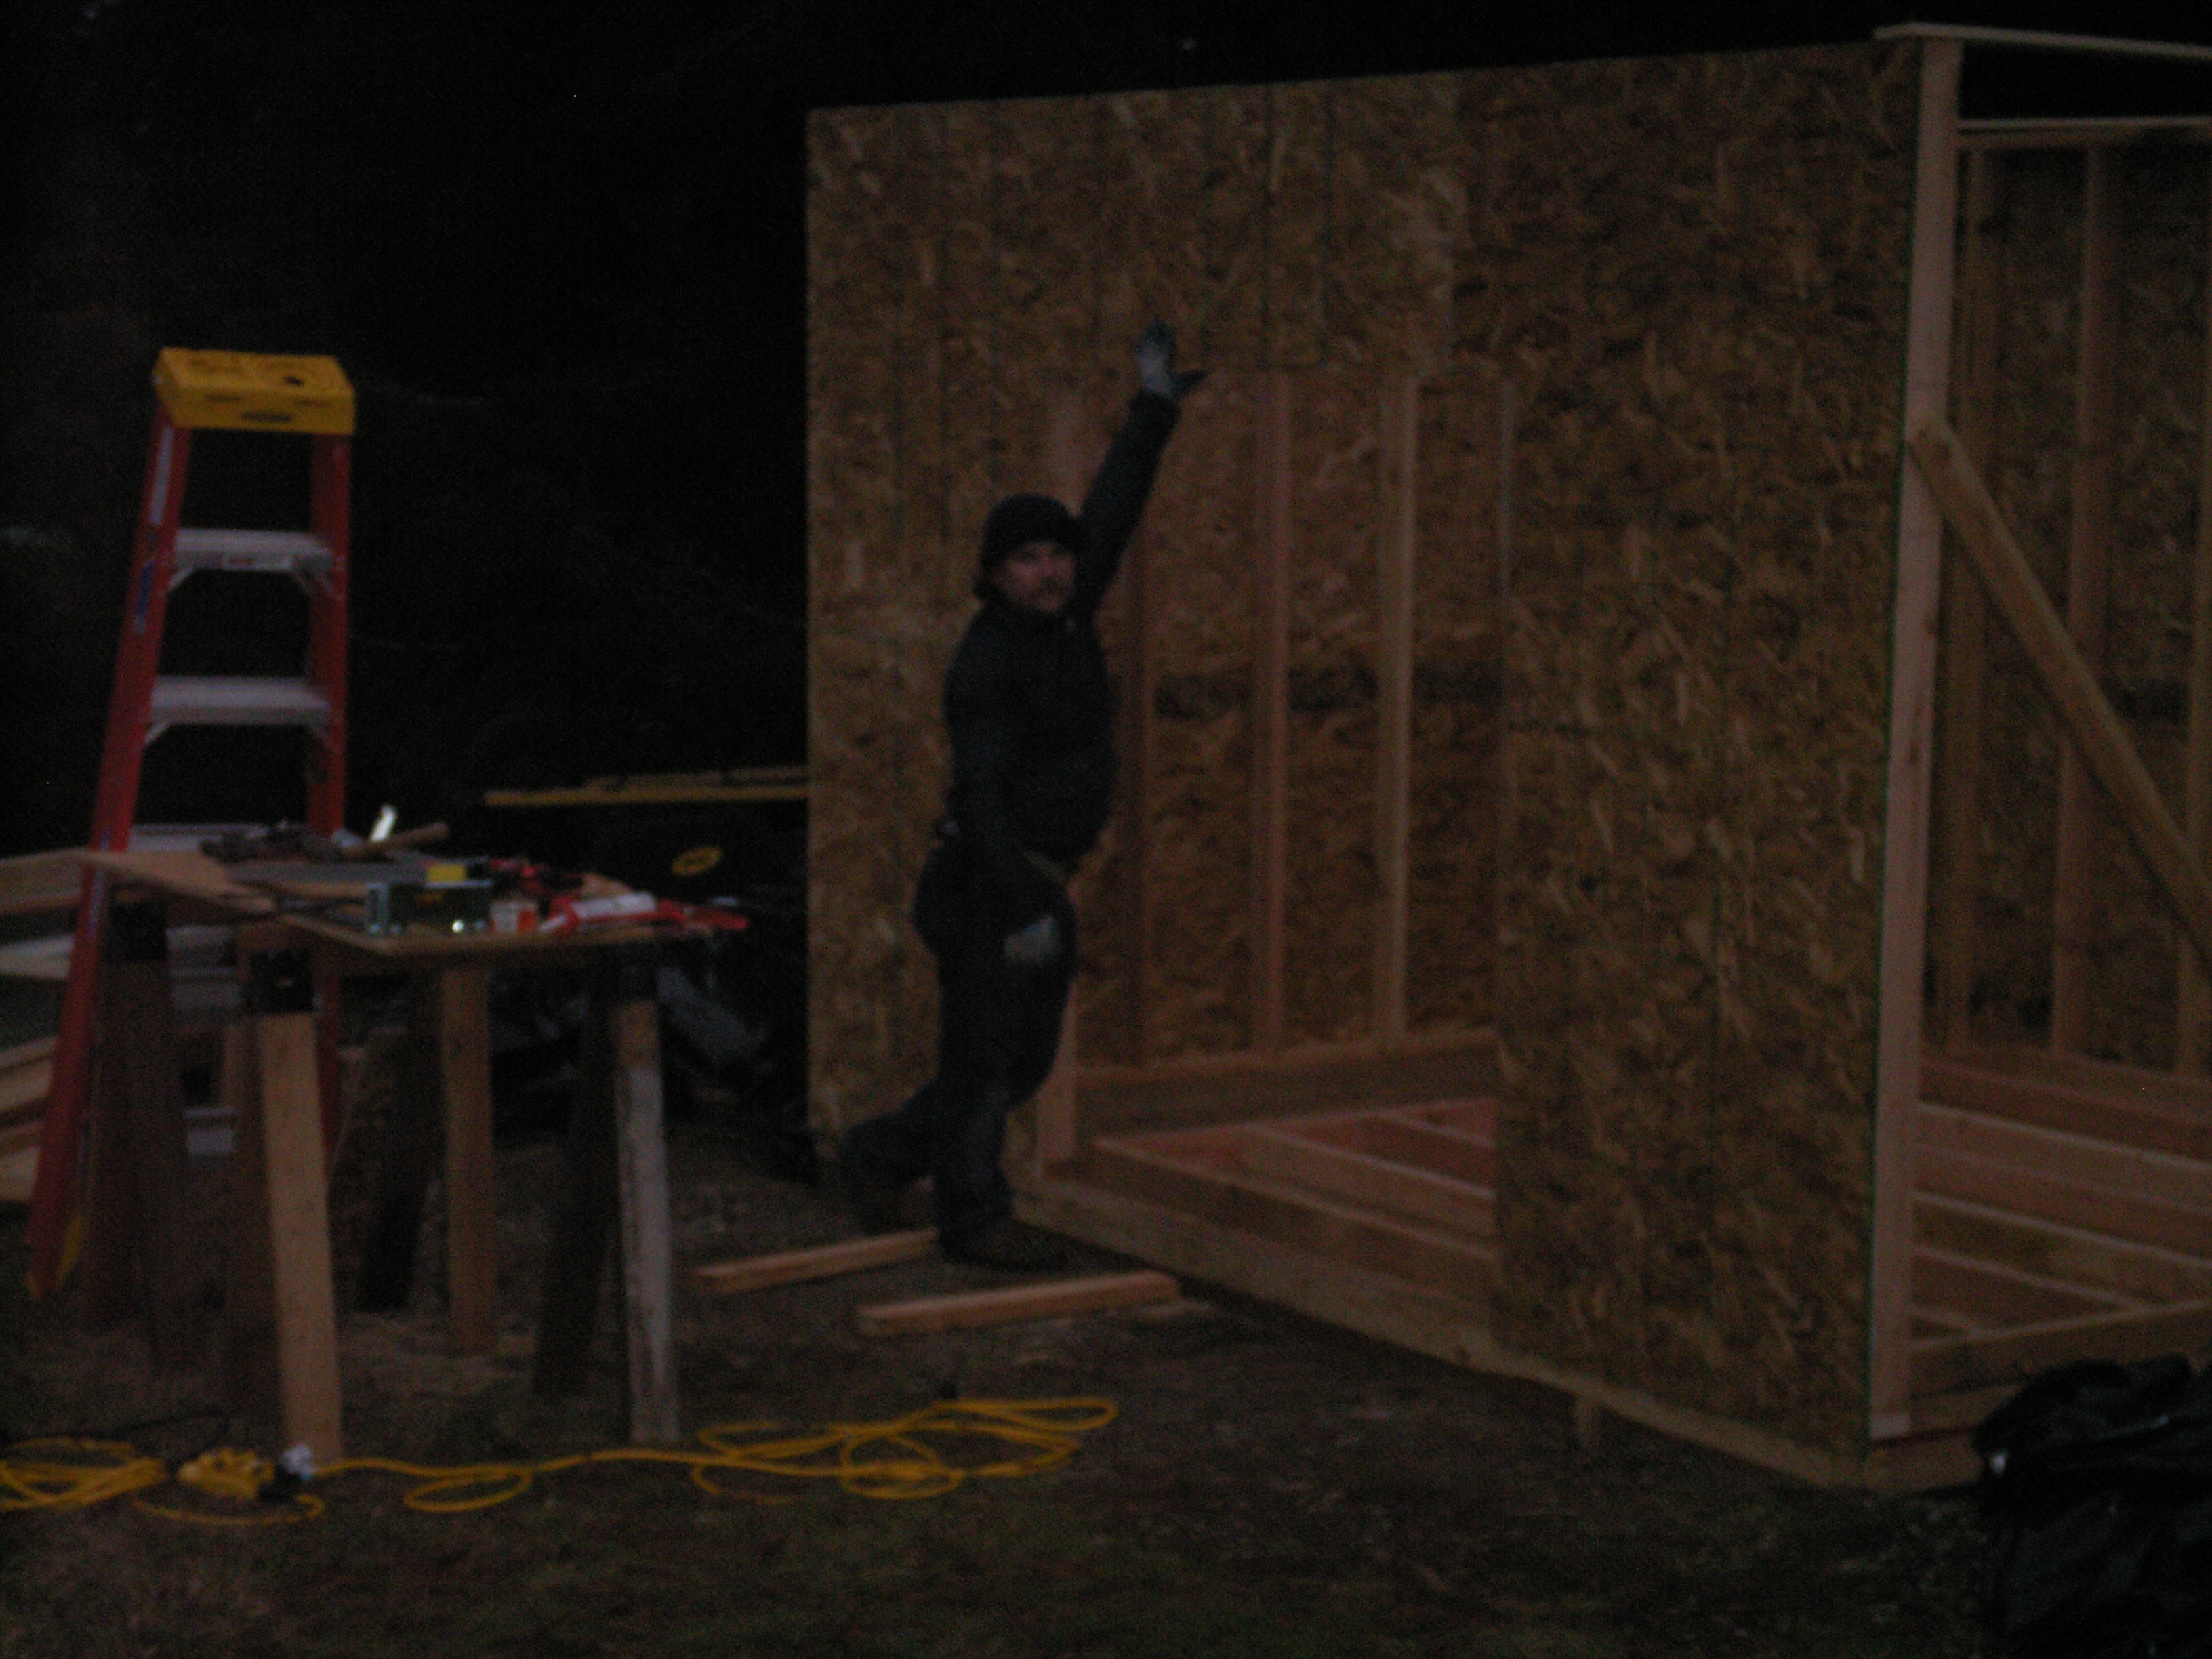
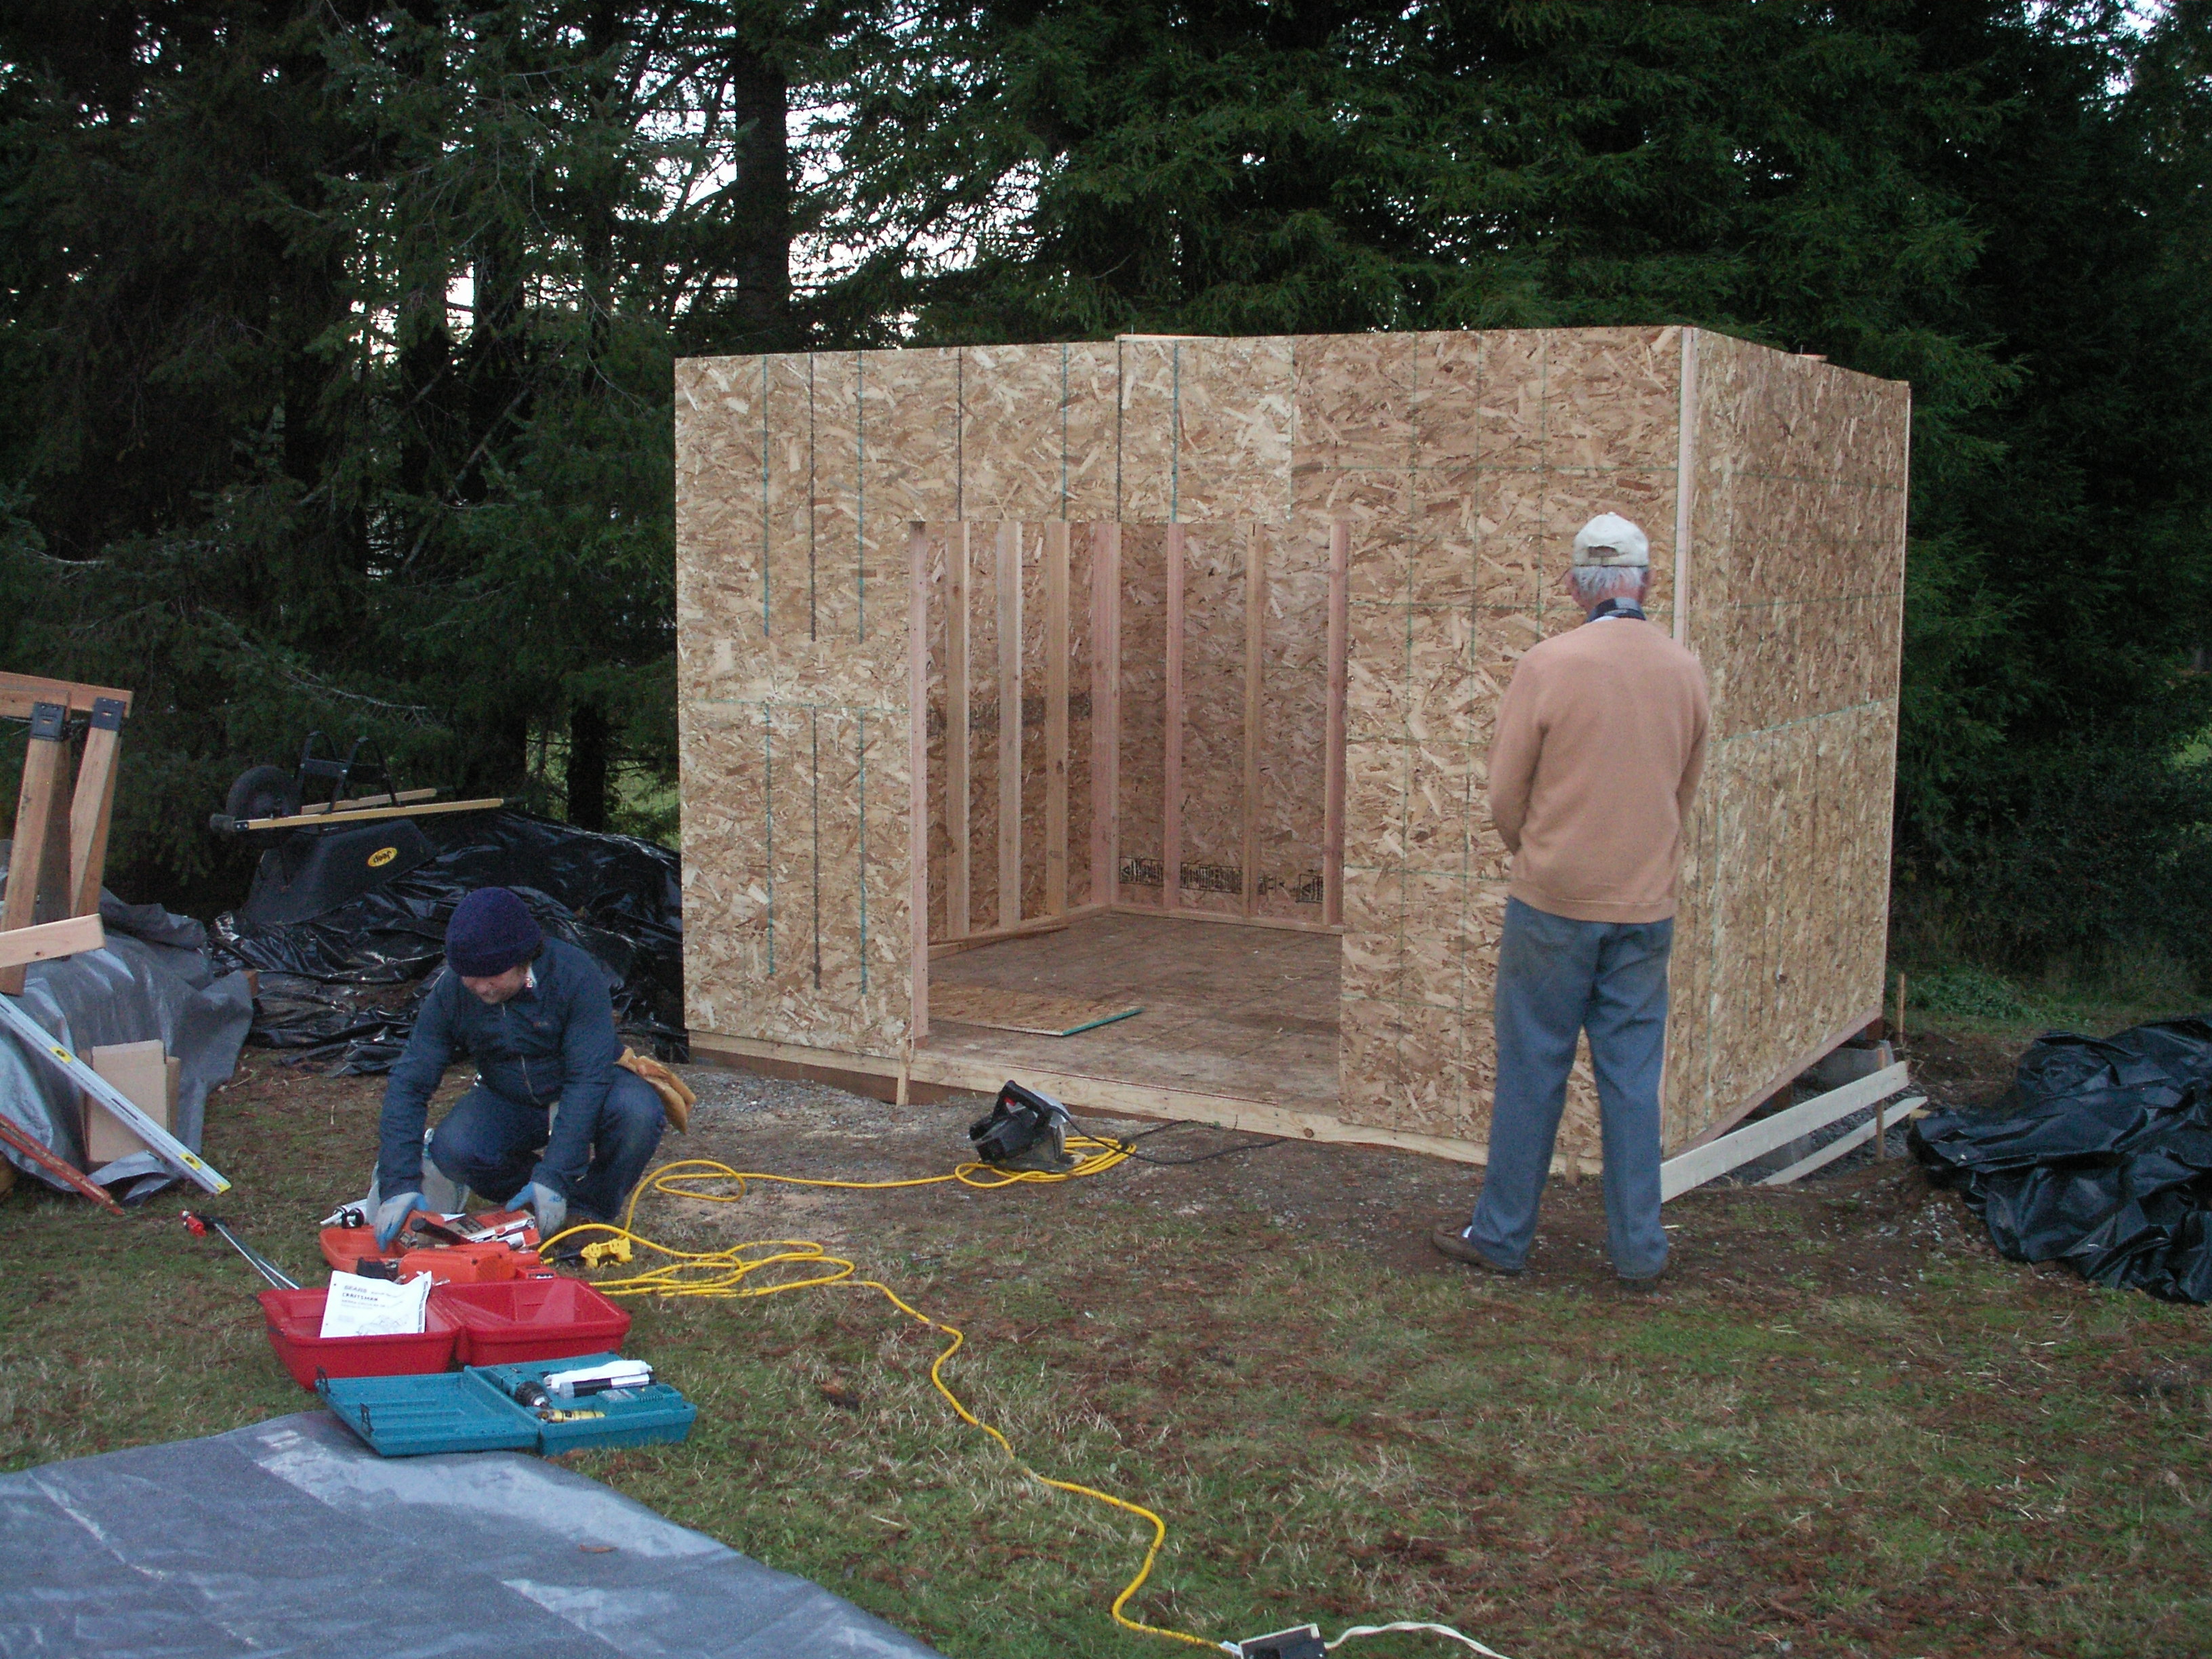
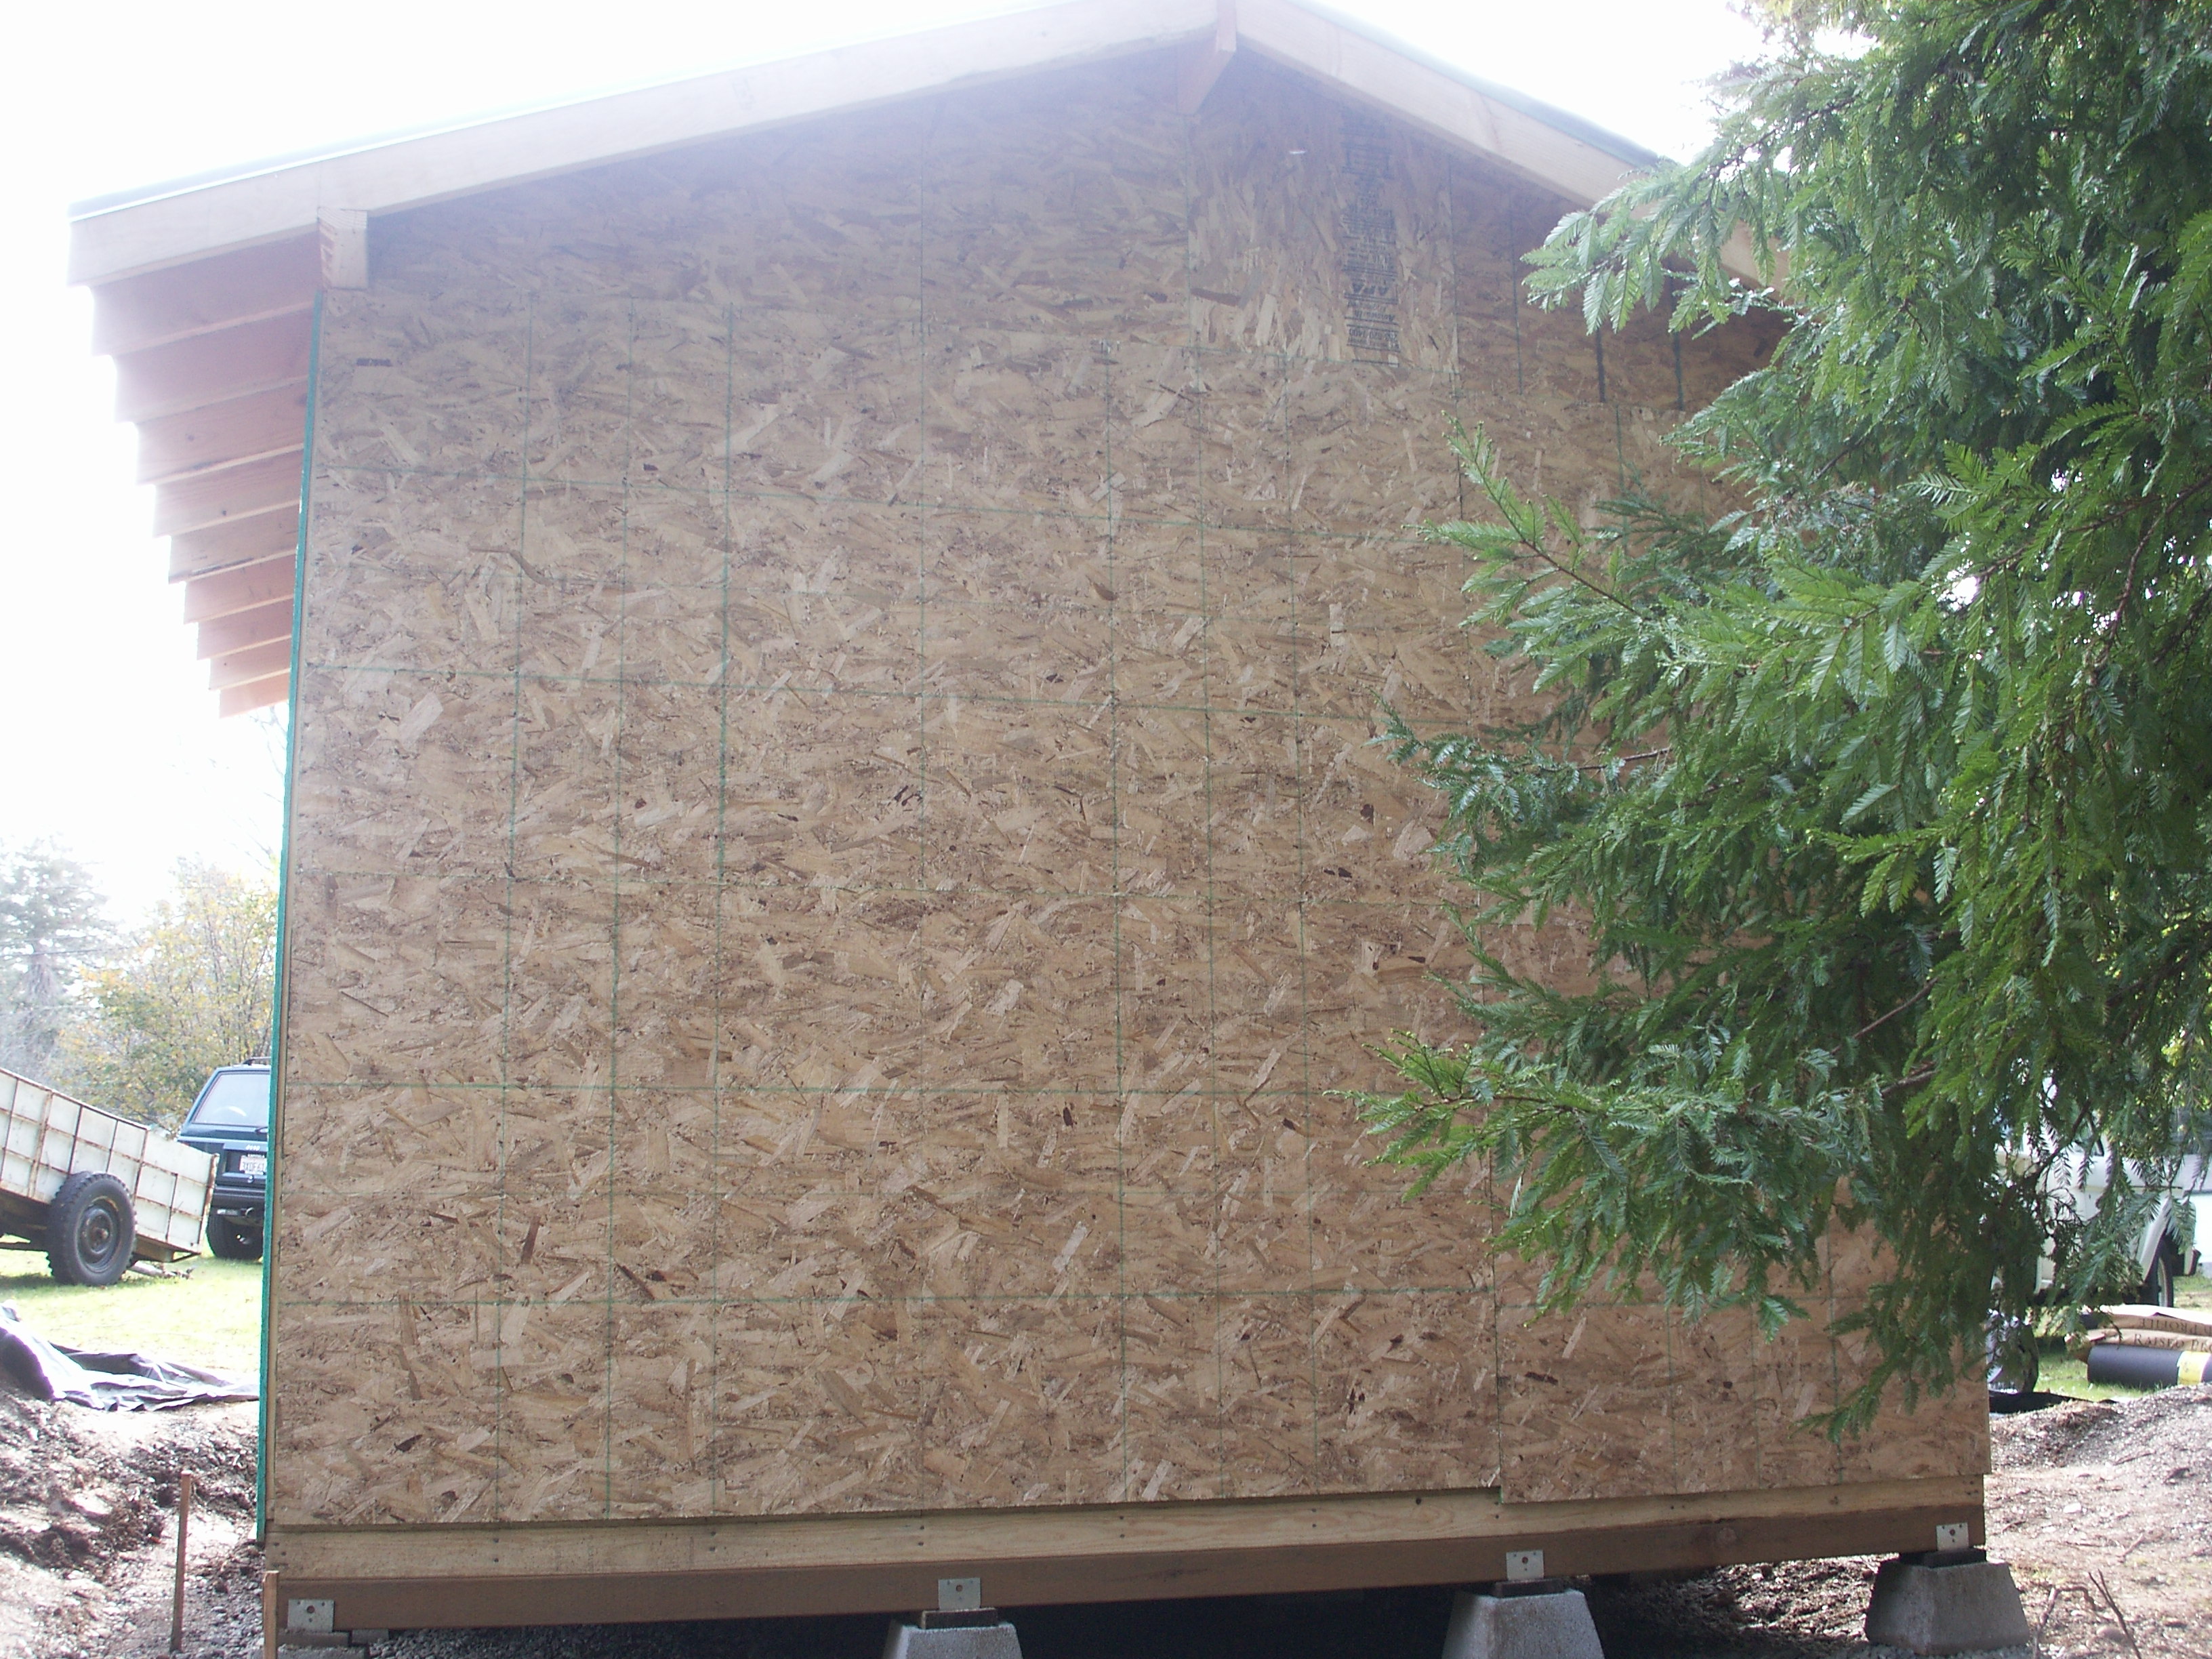
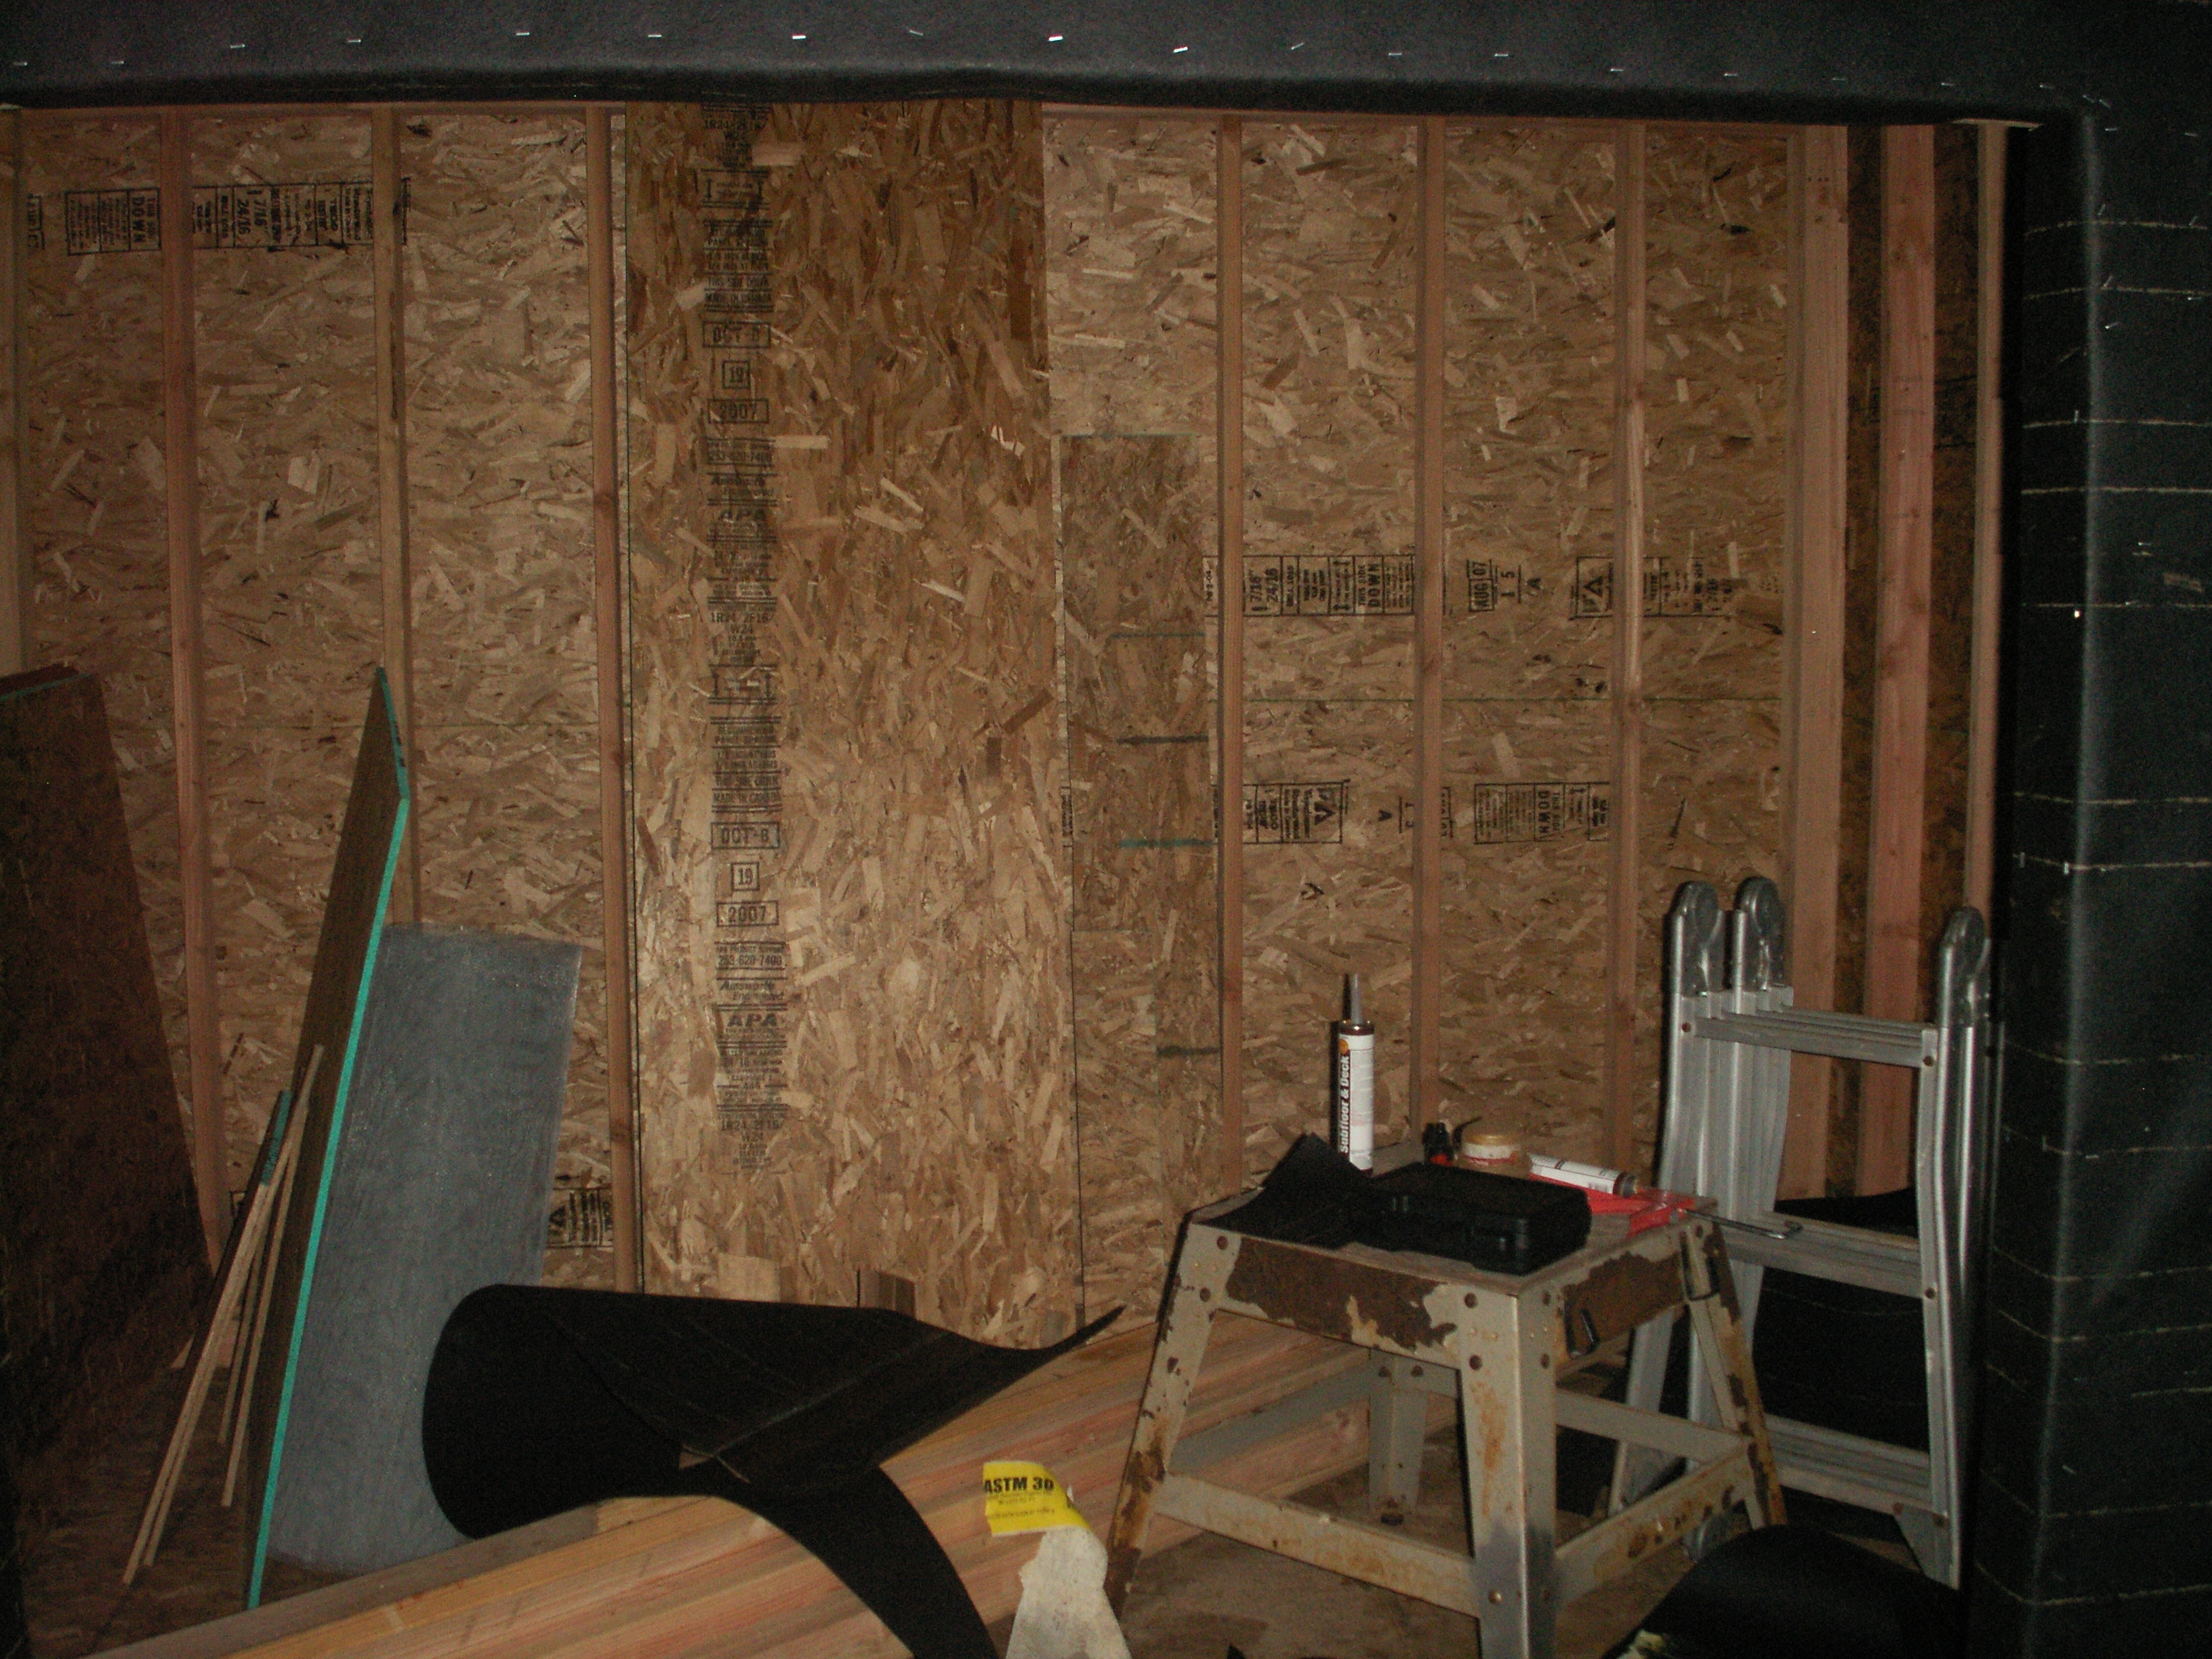
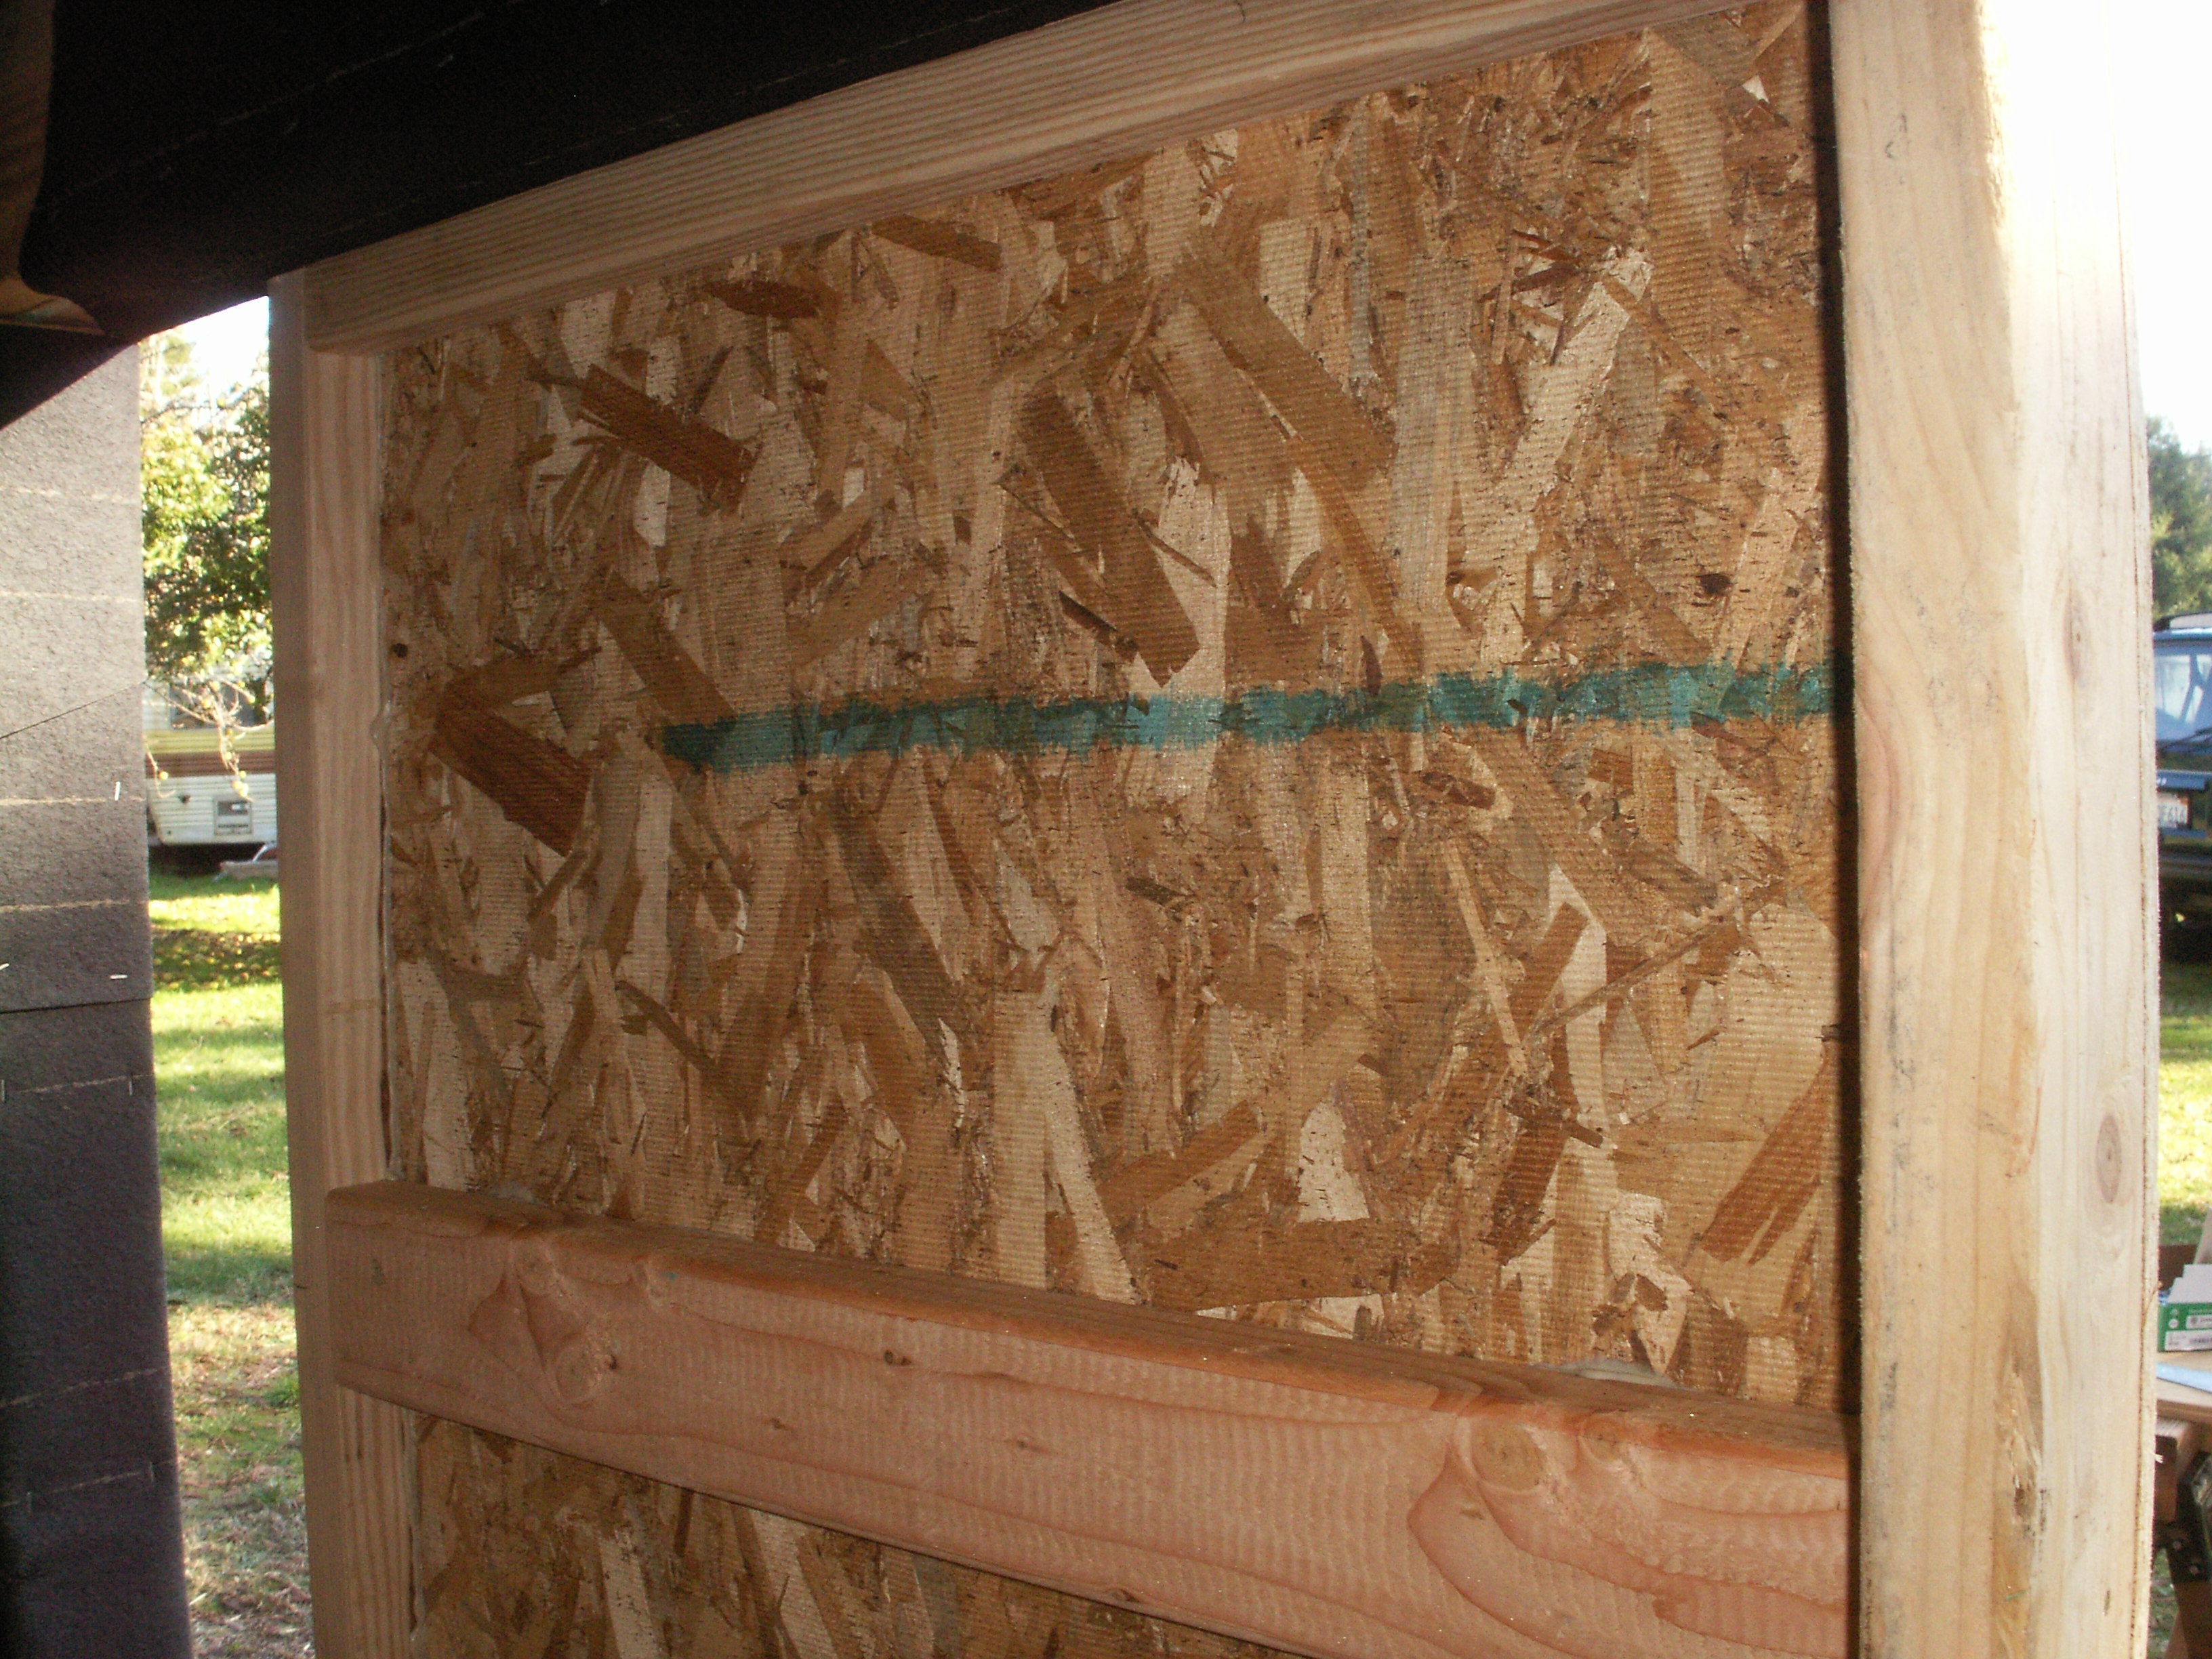
I was back at Ace (electrical stuff this time) and I thought about metal braces for my foundation. The pier blocks have a redwood square on top of them that I did not feel I was going to do a very good job of toe-nailing into from the 4x4's, so I bought a bunch of metal brackets. Not necessarily cheap, but boy did they hold down the 4x4s well! I also bought a bunch of less expensive hangers that I may end up using on the rafters. I was able to set the joists up on the 4x4s so that they and the rim joists had support - sweet! After spending more than two hours trying to get things leveled, I realized that pouring concrete footers would probably make the future jobs easier in that regard. One or two of my piers may not have adequate support to this day, but they finally lined up! I started banging the joists together with 8d galvanized nails, and then realized, as the ends would not meet up, that I had not cut any of them to size yet! Doh! Luckily, the nails were also woefully undersized for the job and came right out :) I got to use my new DeWalt 12" compound miter laser guided chop saw for the first time! After I aligned the laser, that is. The laser is purchased separately (or was in my case) and I spent 4 hours going over the instructions trying to get it to line up with the position of cut and STAY lined up as I brought the arm down. Louis Cobb, our next door neighbor stopped by to help. Even so, it was four hours before I finally felt it was close enough. The laser now shines right where the cut will be when the arm is up, and I just ignore its path as the arm comes down. 9'-9" joists nailed in between 12' rim joists gave me a 12' by 10' platform. I also got to use my Paslode cordless framing nail gun for the first time. I had bought both the nailing gun and the chop saw in Santa Cruz back in June, when I thought I was coming up here to build a back porch and ramp for my in-laws. They scuttled the project, so the tools had been in their packaging, waiting ever since. The manuals weren't so lucky. Remember, I am a computer geek - of course I read the manuals! At this point, I decided that I could probably get a break from Ace if I ordered most of the material I was going to need at once. I made the fatal mistake of ordering what I thought I needed while standing at the contractor's desk. Just to give you an idea, I was framing the shed with 2x4's, and I ordered 2x10s for the rafters with a 2x12 ridge - OVERKILL! We also discussed siding, and they talked me into Hardiplank, and we settled on asphalt roofing shingles. I had read in the Home and Garden's Build a Shed book that tongue and groove plywood was better than the CDX I had bought before, so we went for OSB T&G 3/4" (wafer board). I guessed at the quantities of all of the above. I took some of the 2x4's and 4 of the 3/4" wafer boards with me then, along with glue and nails. Thursday morning, Thanksgiving. No football for me! I measured the 3/4" plywood on the joists several times, and then began nailing. As I was starting on the next sheet, I realized that I had forgotten to put down glue first. Oh, well. I would call it the "Thanksgiving Squeak," if it ever started making noises. I was able to lift the second sheet at an angle and get glue under most of it. It took me a bit to realize that not only did I have to cut off the tip of the glue cartridge, but that I had to poke a hole in the top of the cartridge down the tube. I now have some nice dried glue on the top of my hand-squeezed glue gun. The rest went pretty quick. I was left with one piece missing, as I had aligned things to get them to line up with the joists on 16" center, and ended up with a sheet slightly too short. I needed the rest of the materials. They delivered the rest for free on Friday, after Thanksgiving. When Rusty got here with the truck, he fork-lifted the two pallets over to my building site. I went over the materials and discovered that I had received ½" wafer board (its really 7/16ths) instead of the 3/4". I realized that I only needed ½" for the walls, so we struck a deal. He would bring some of the extra 3/4" and I would trade back some of the ½" I did not think I would need. They were very accommodating, and he was back within the hour. Unfortunately, during this time is when I discovered that one of our beloved cats, Gani, had died. I met him with eyes brimming and a gruff voice. We did the exchange and I went back in the house to cry. Later that day, I needed to do something to get my mind off of my sorrow, so I went ahead and started working with the new materials. First, I finished the floor. Then, I figured that 7'7-½" studs, along with the sill, the top frame and the cap board would give me 8' walls that would lend themselves to easier coverage by 4x8 sheets. The saw made quick, accurate work of the lumber. With Diane's help, I lifted the wall and tacked it in place with 1x4s. As I had forgotten to check for squareness before I started nailing in the sheeting, I was fortunate that it was pretty close.
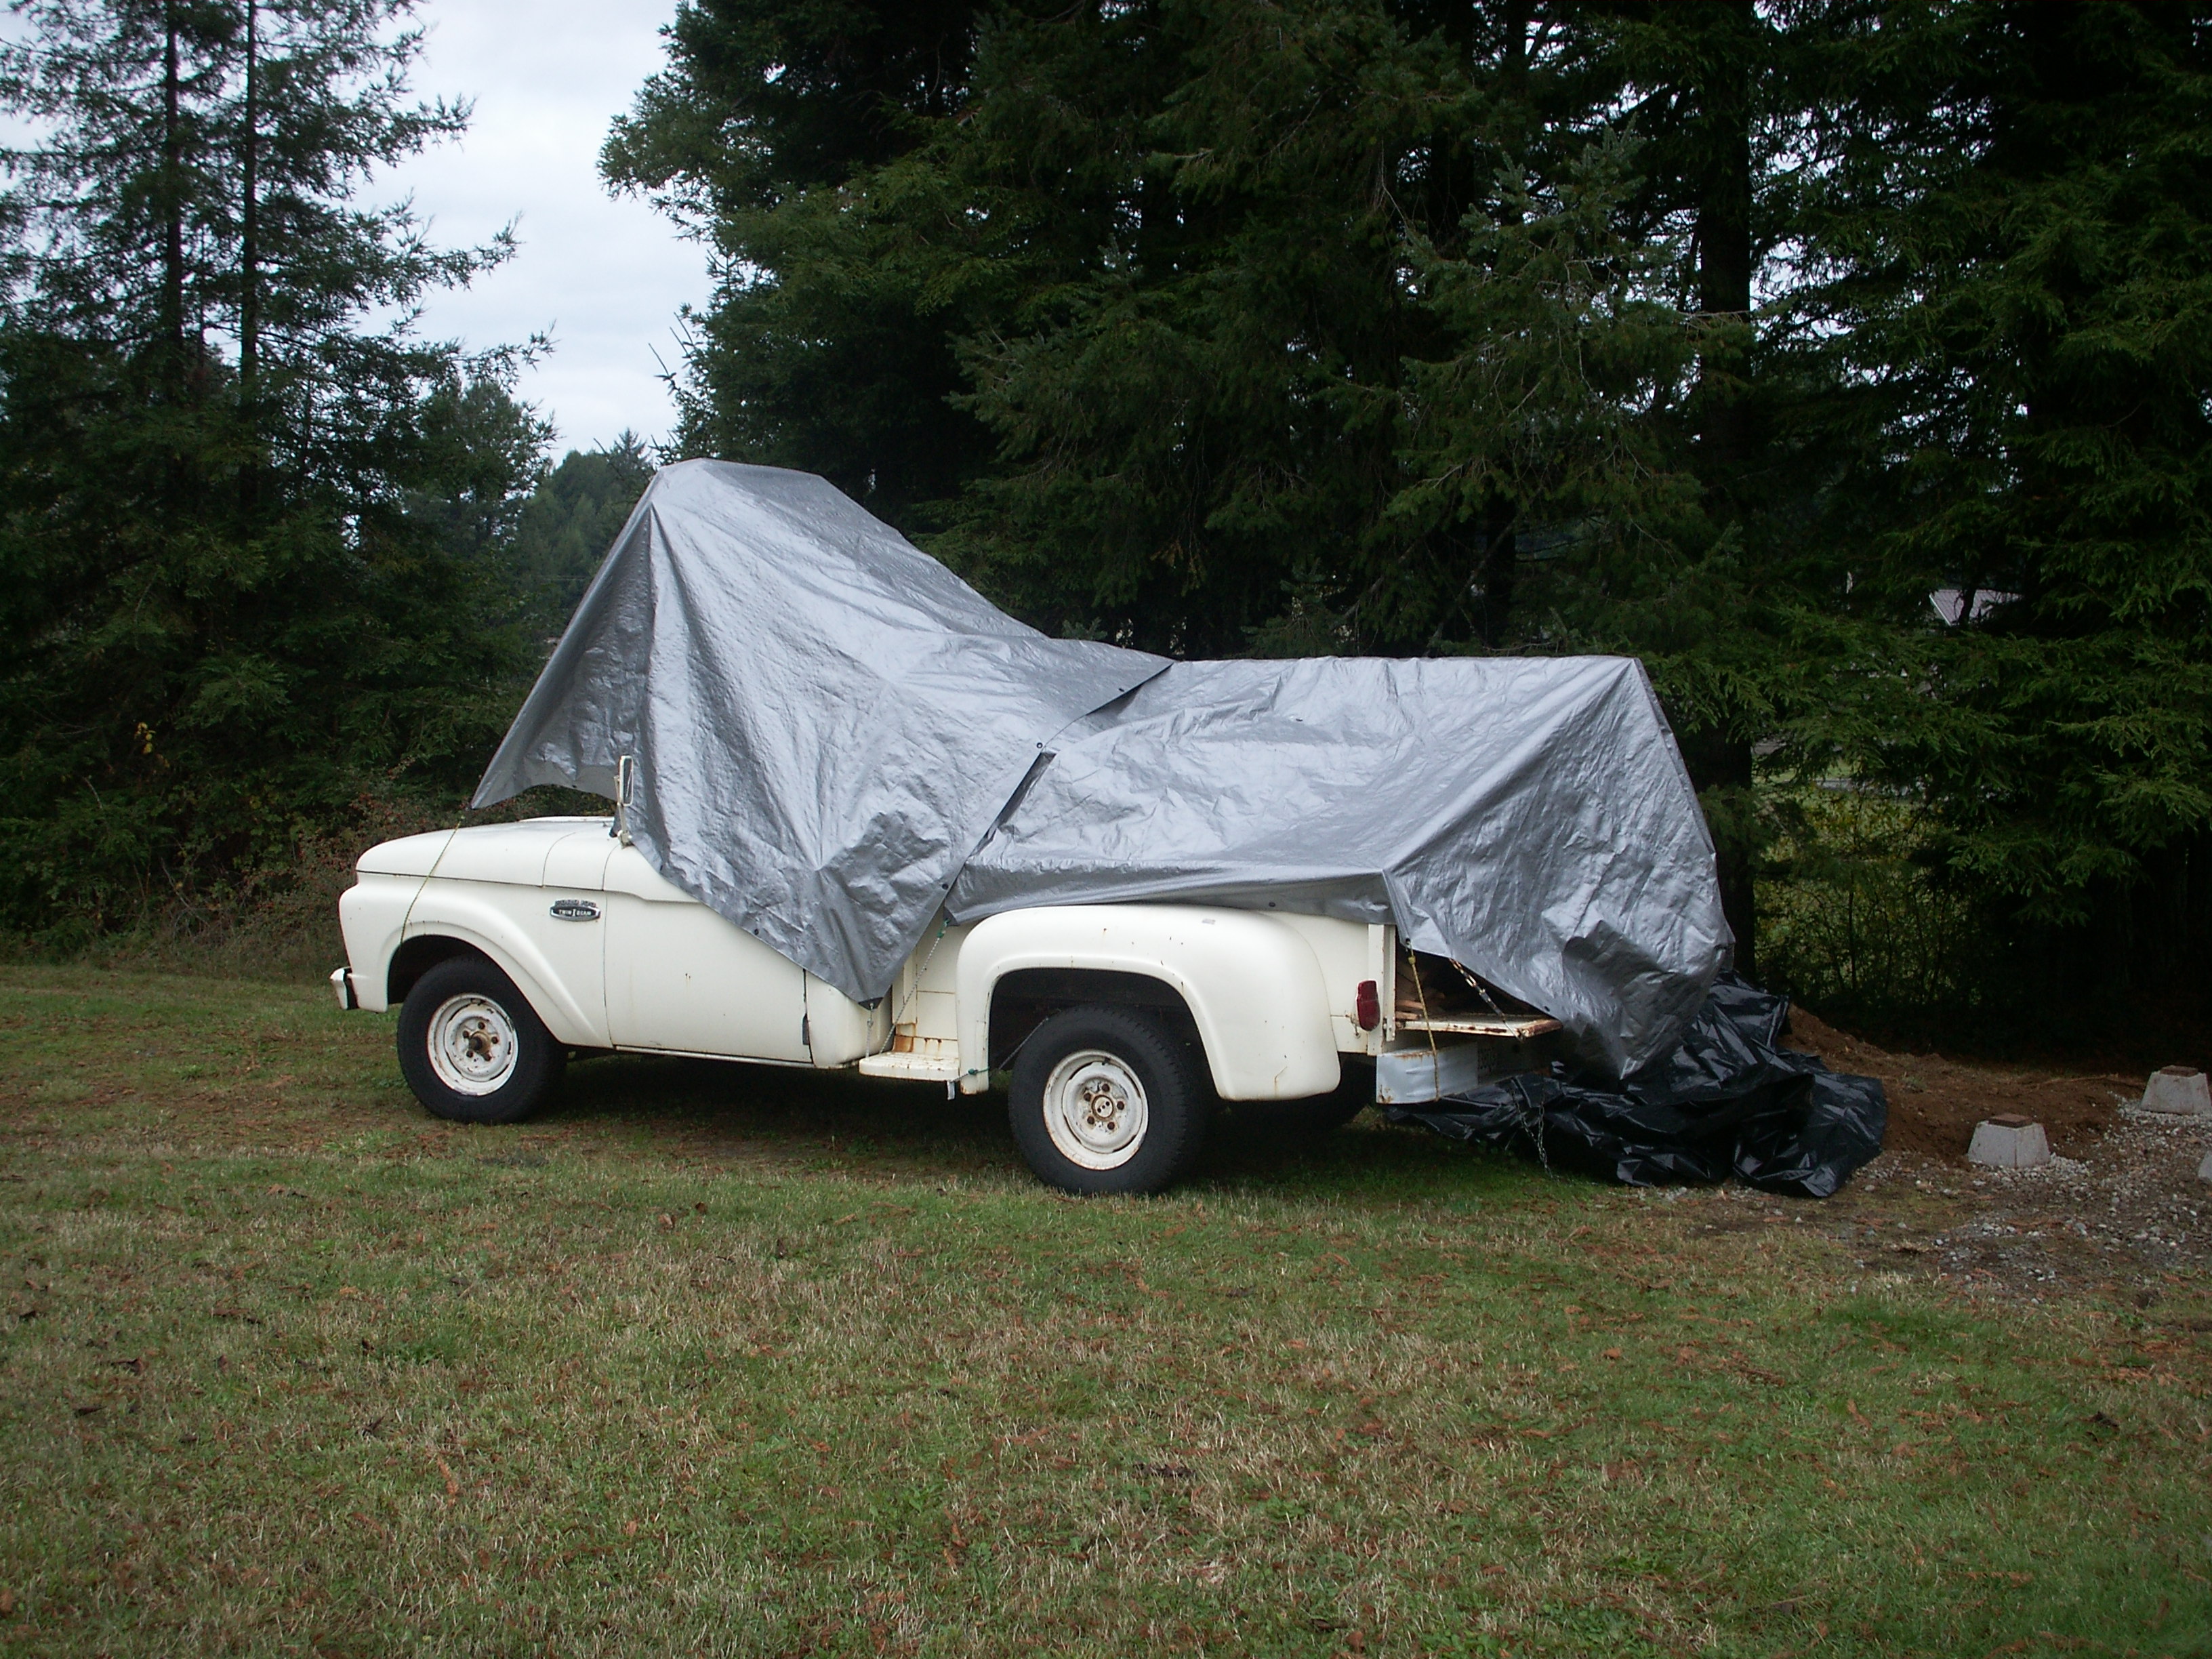
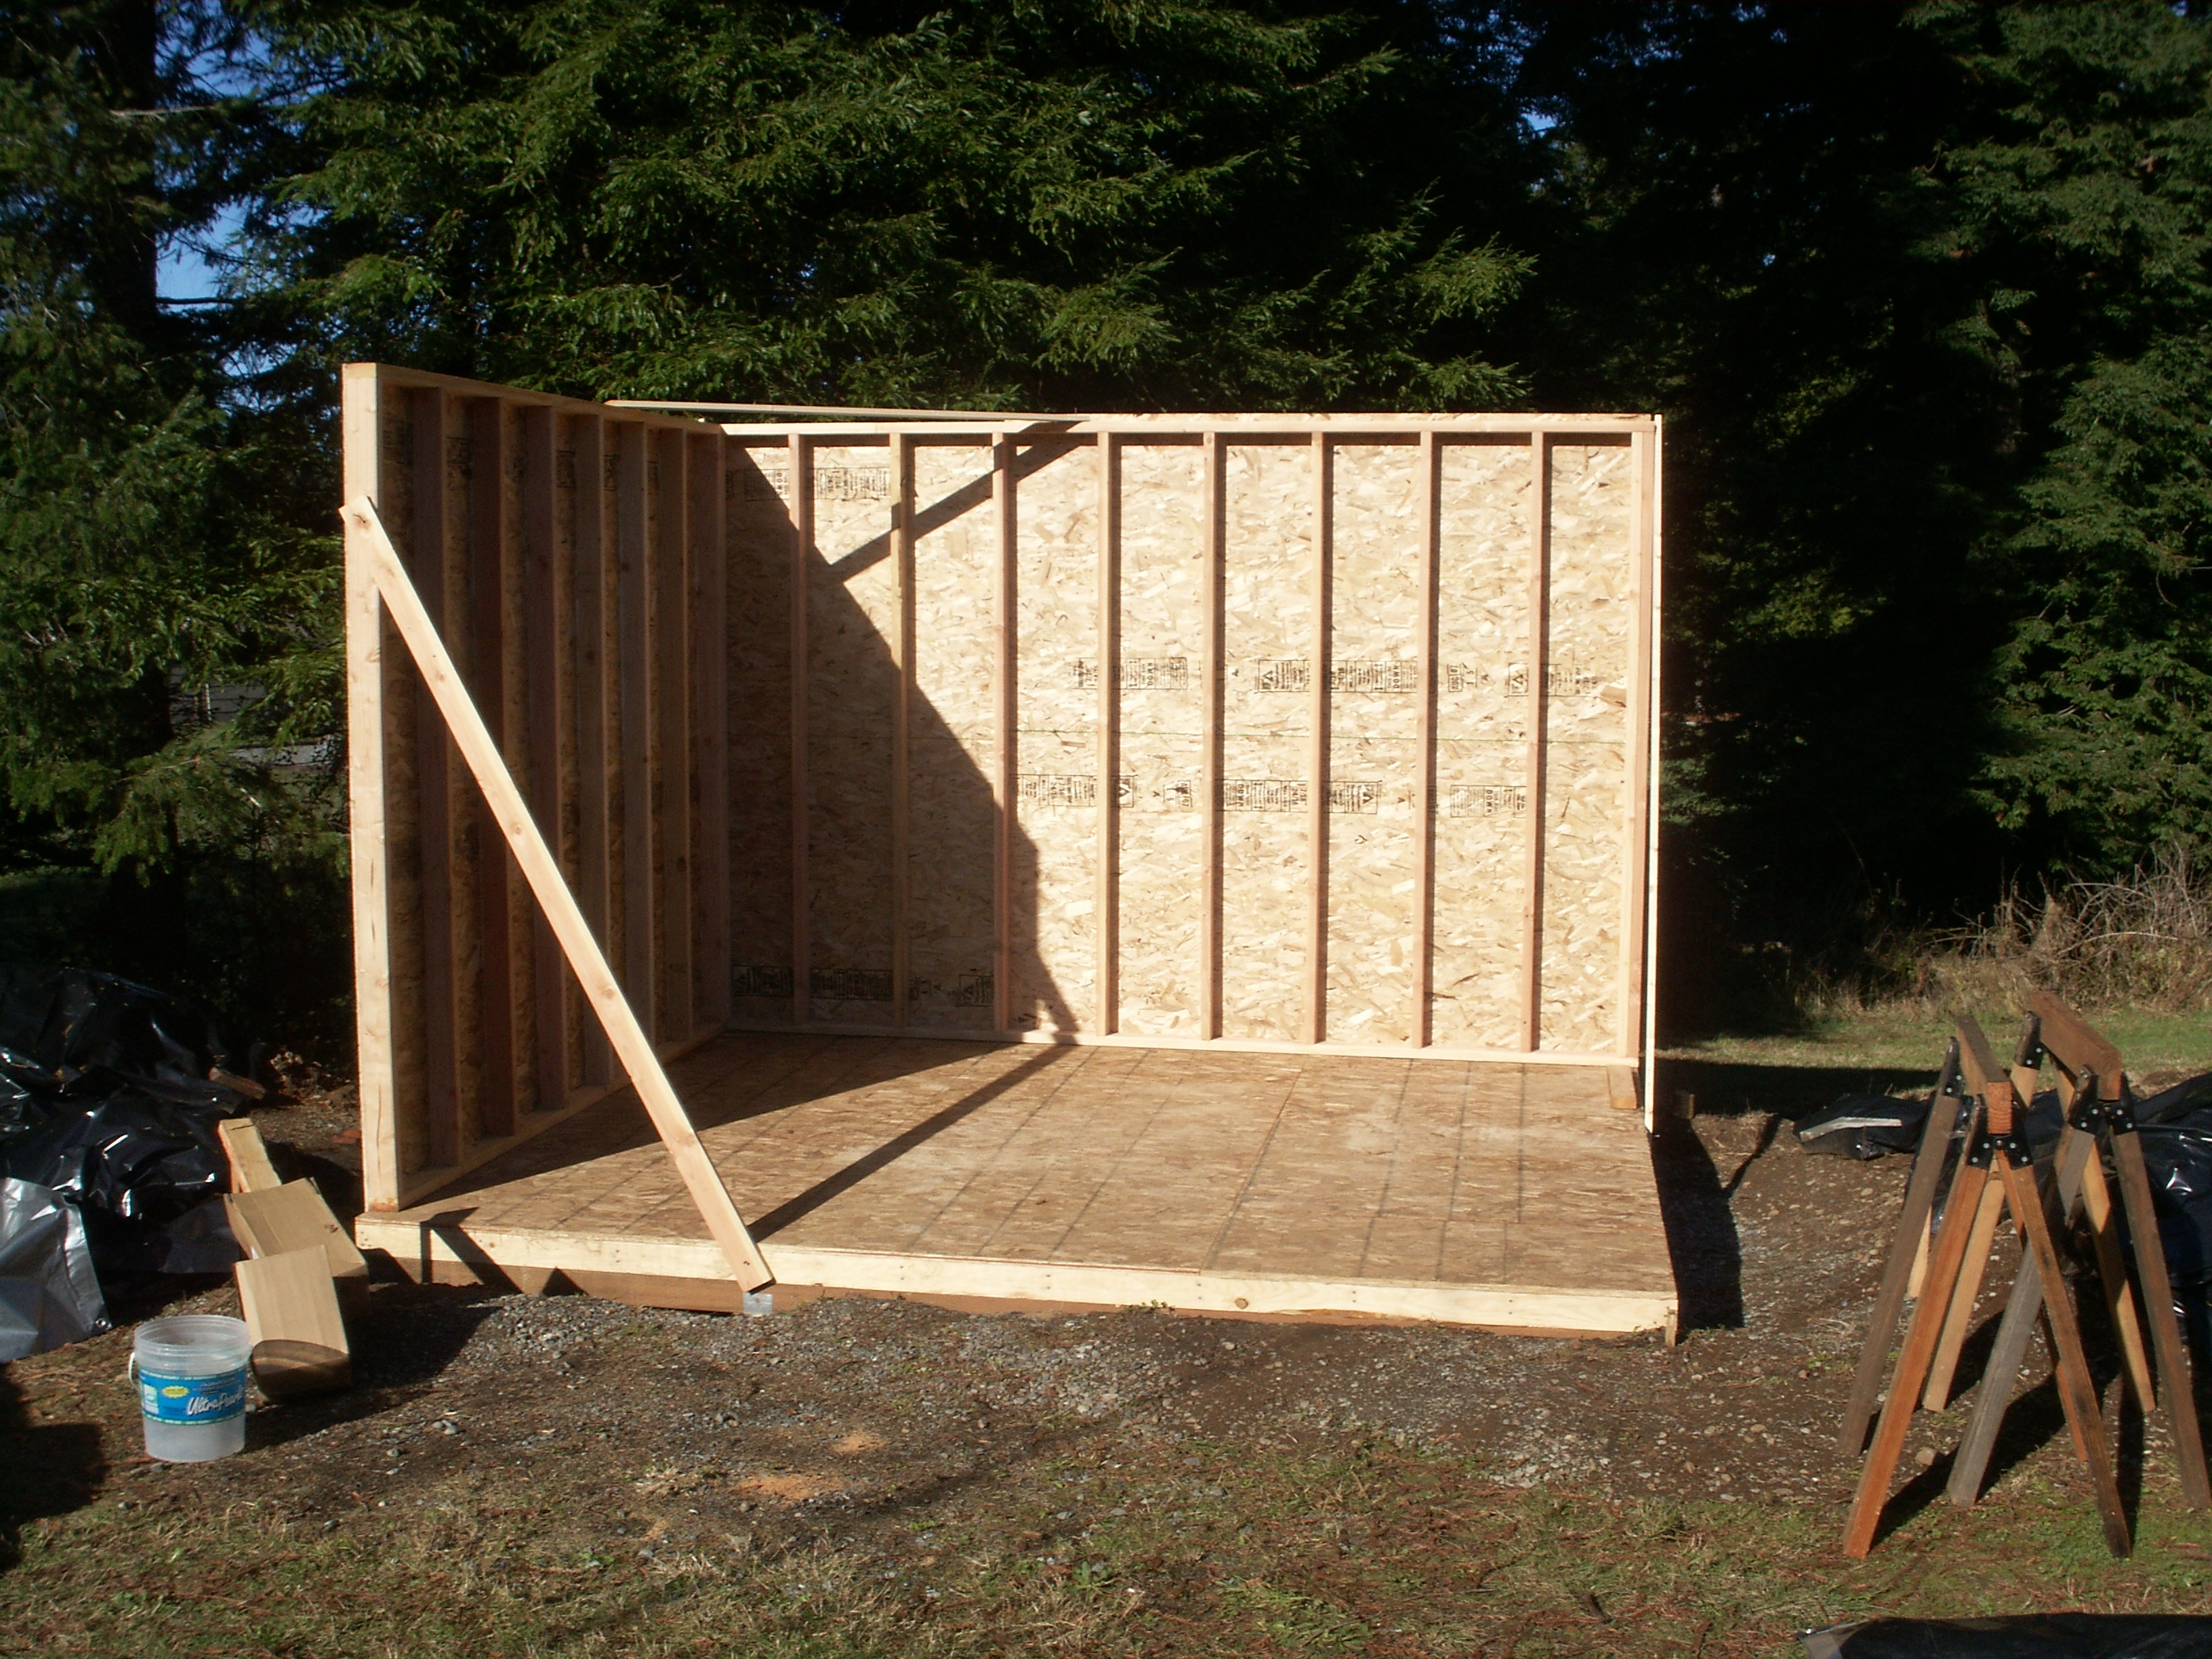
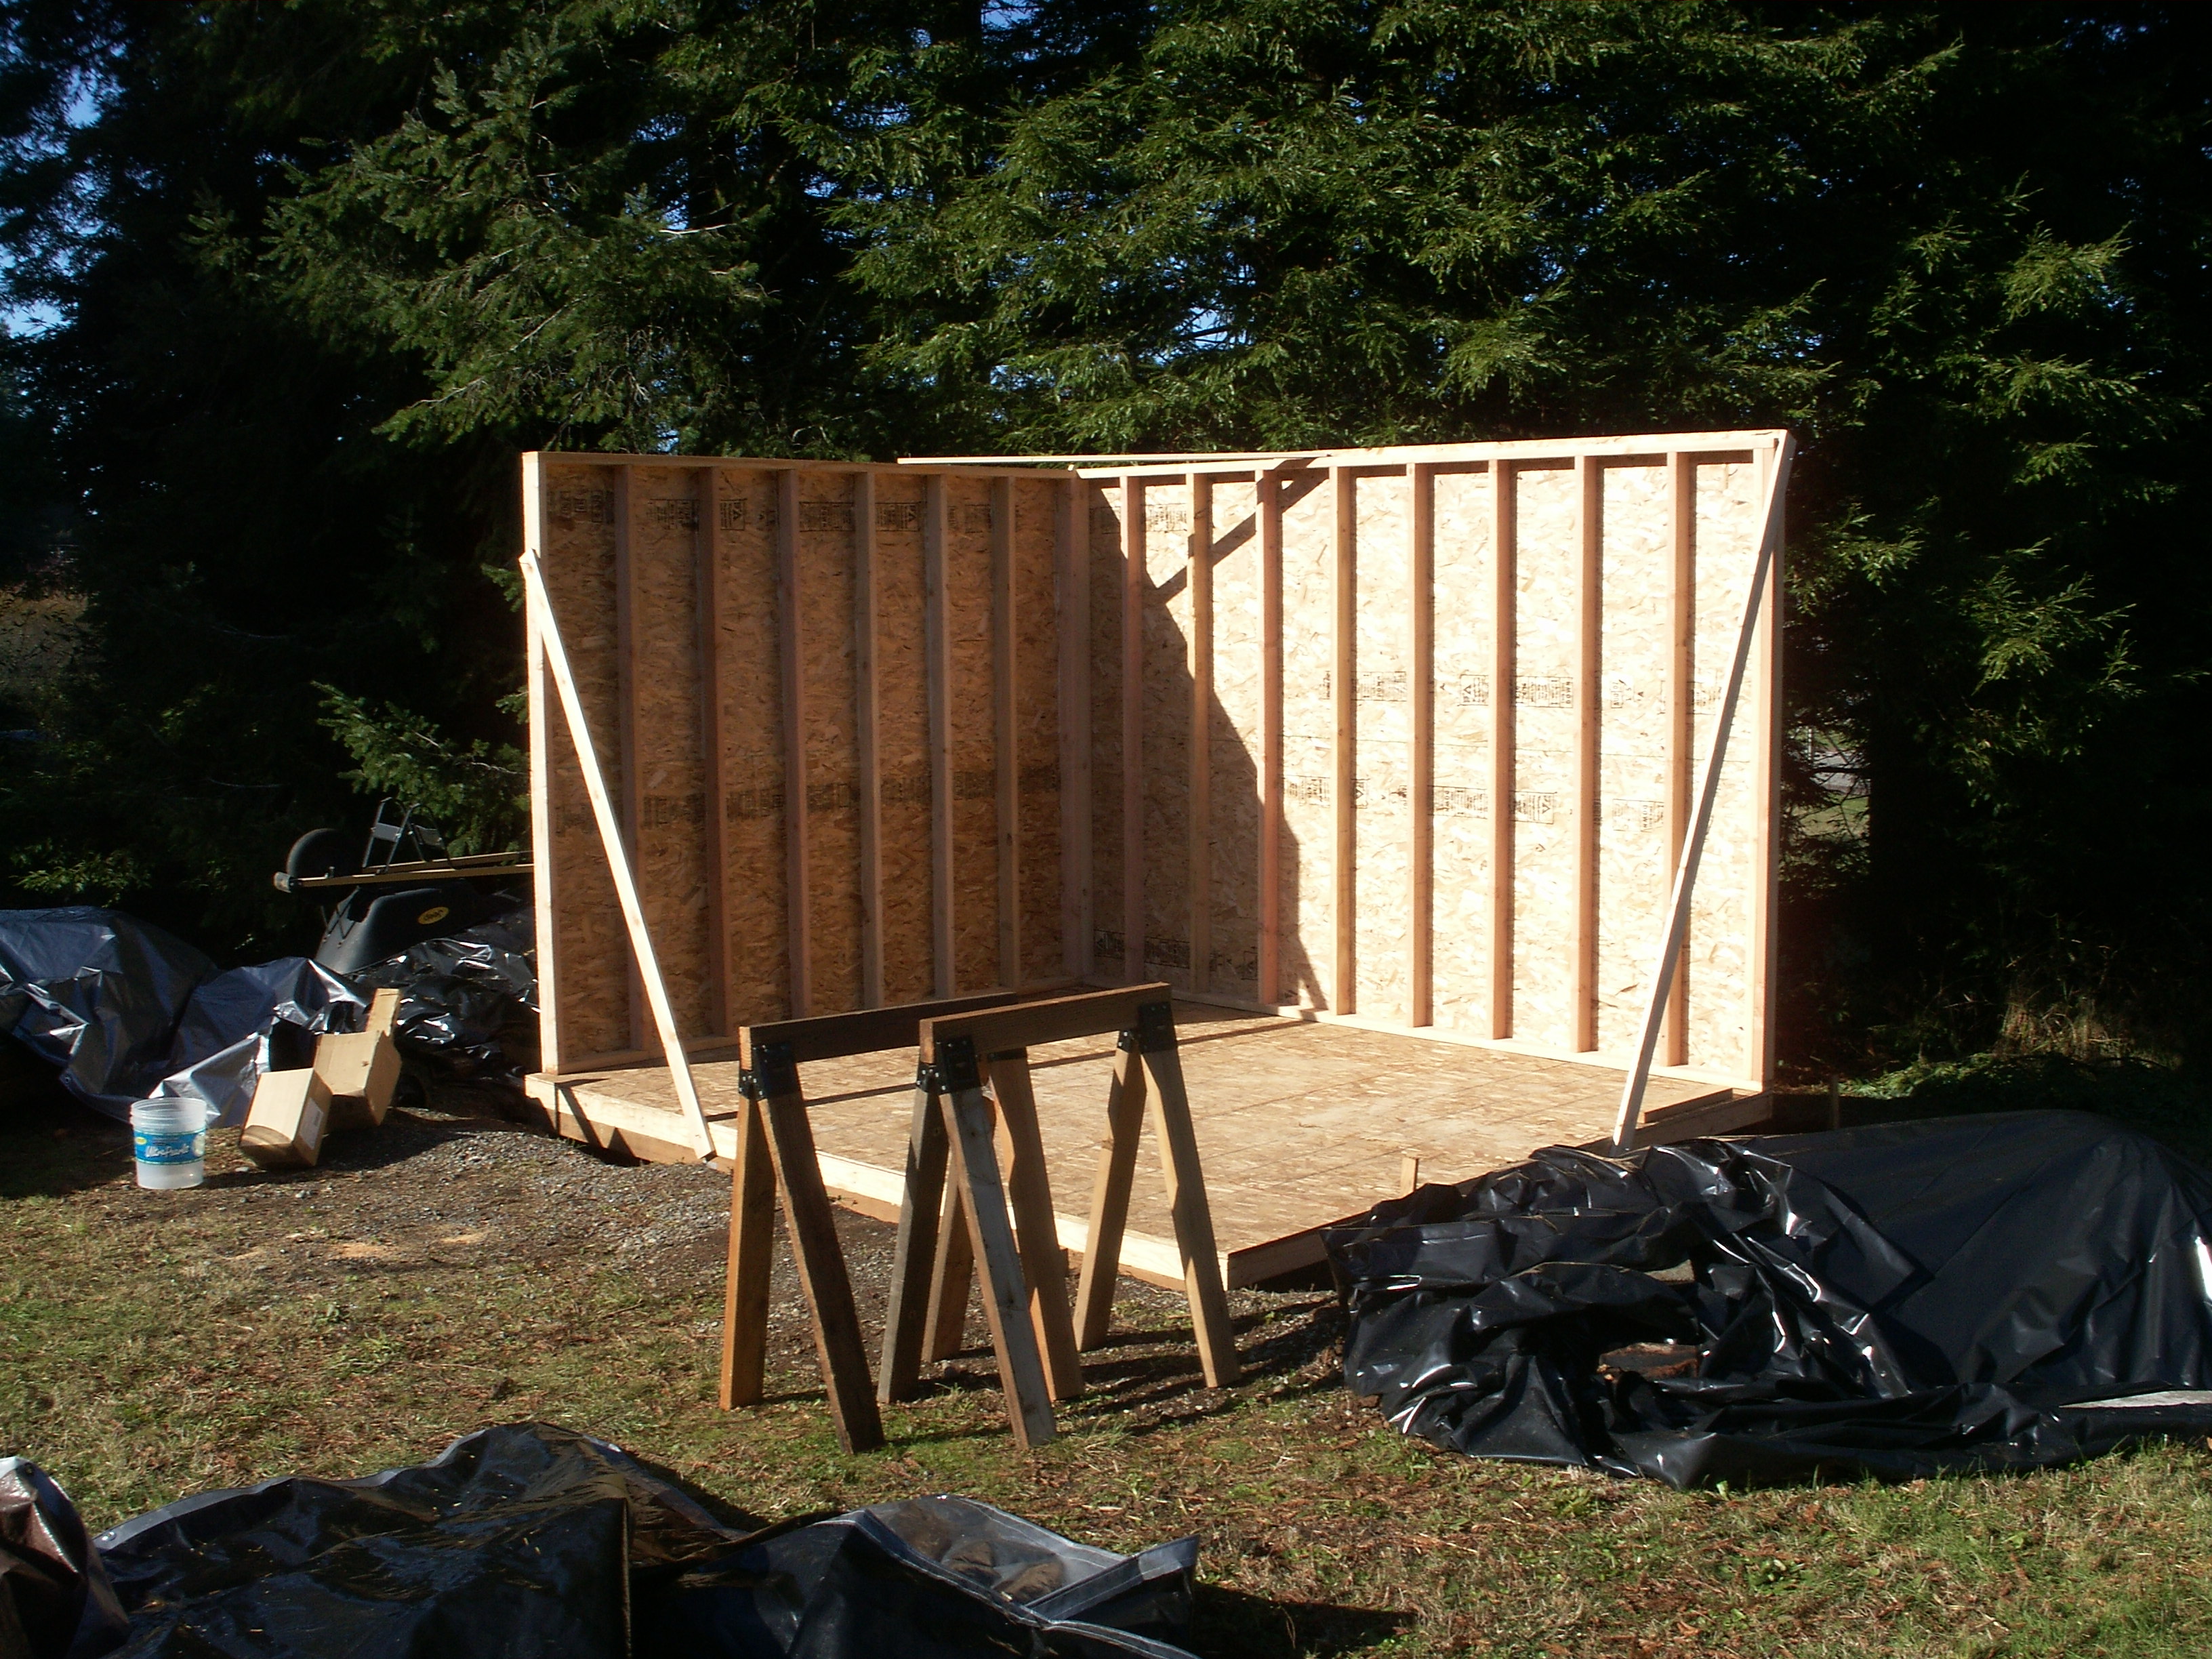
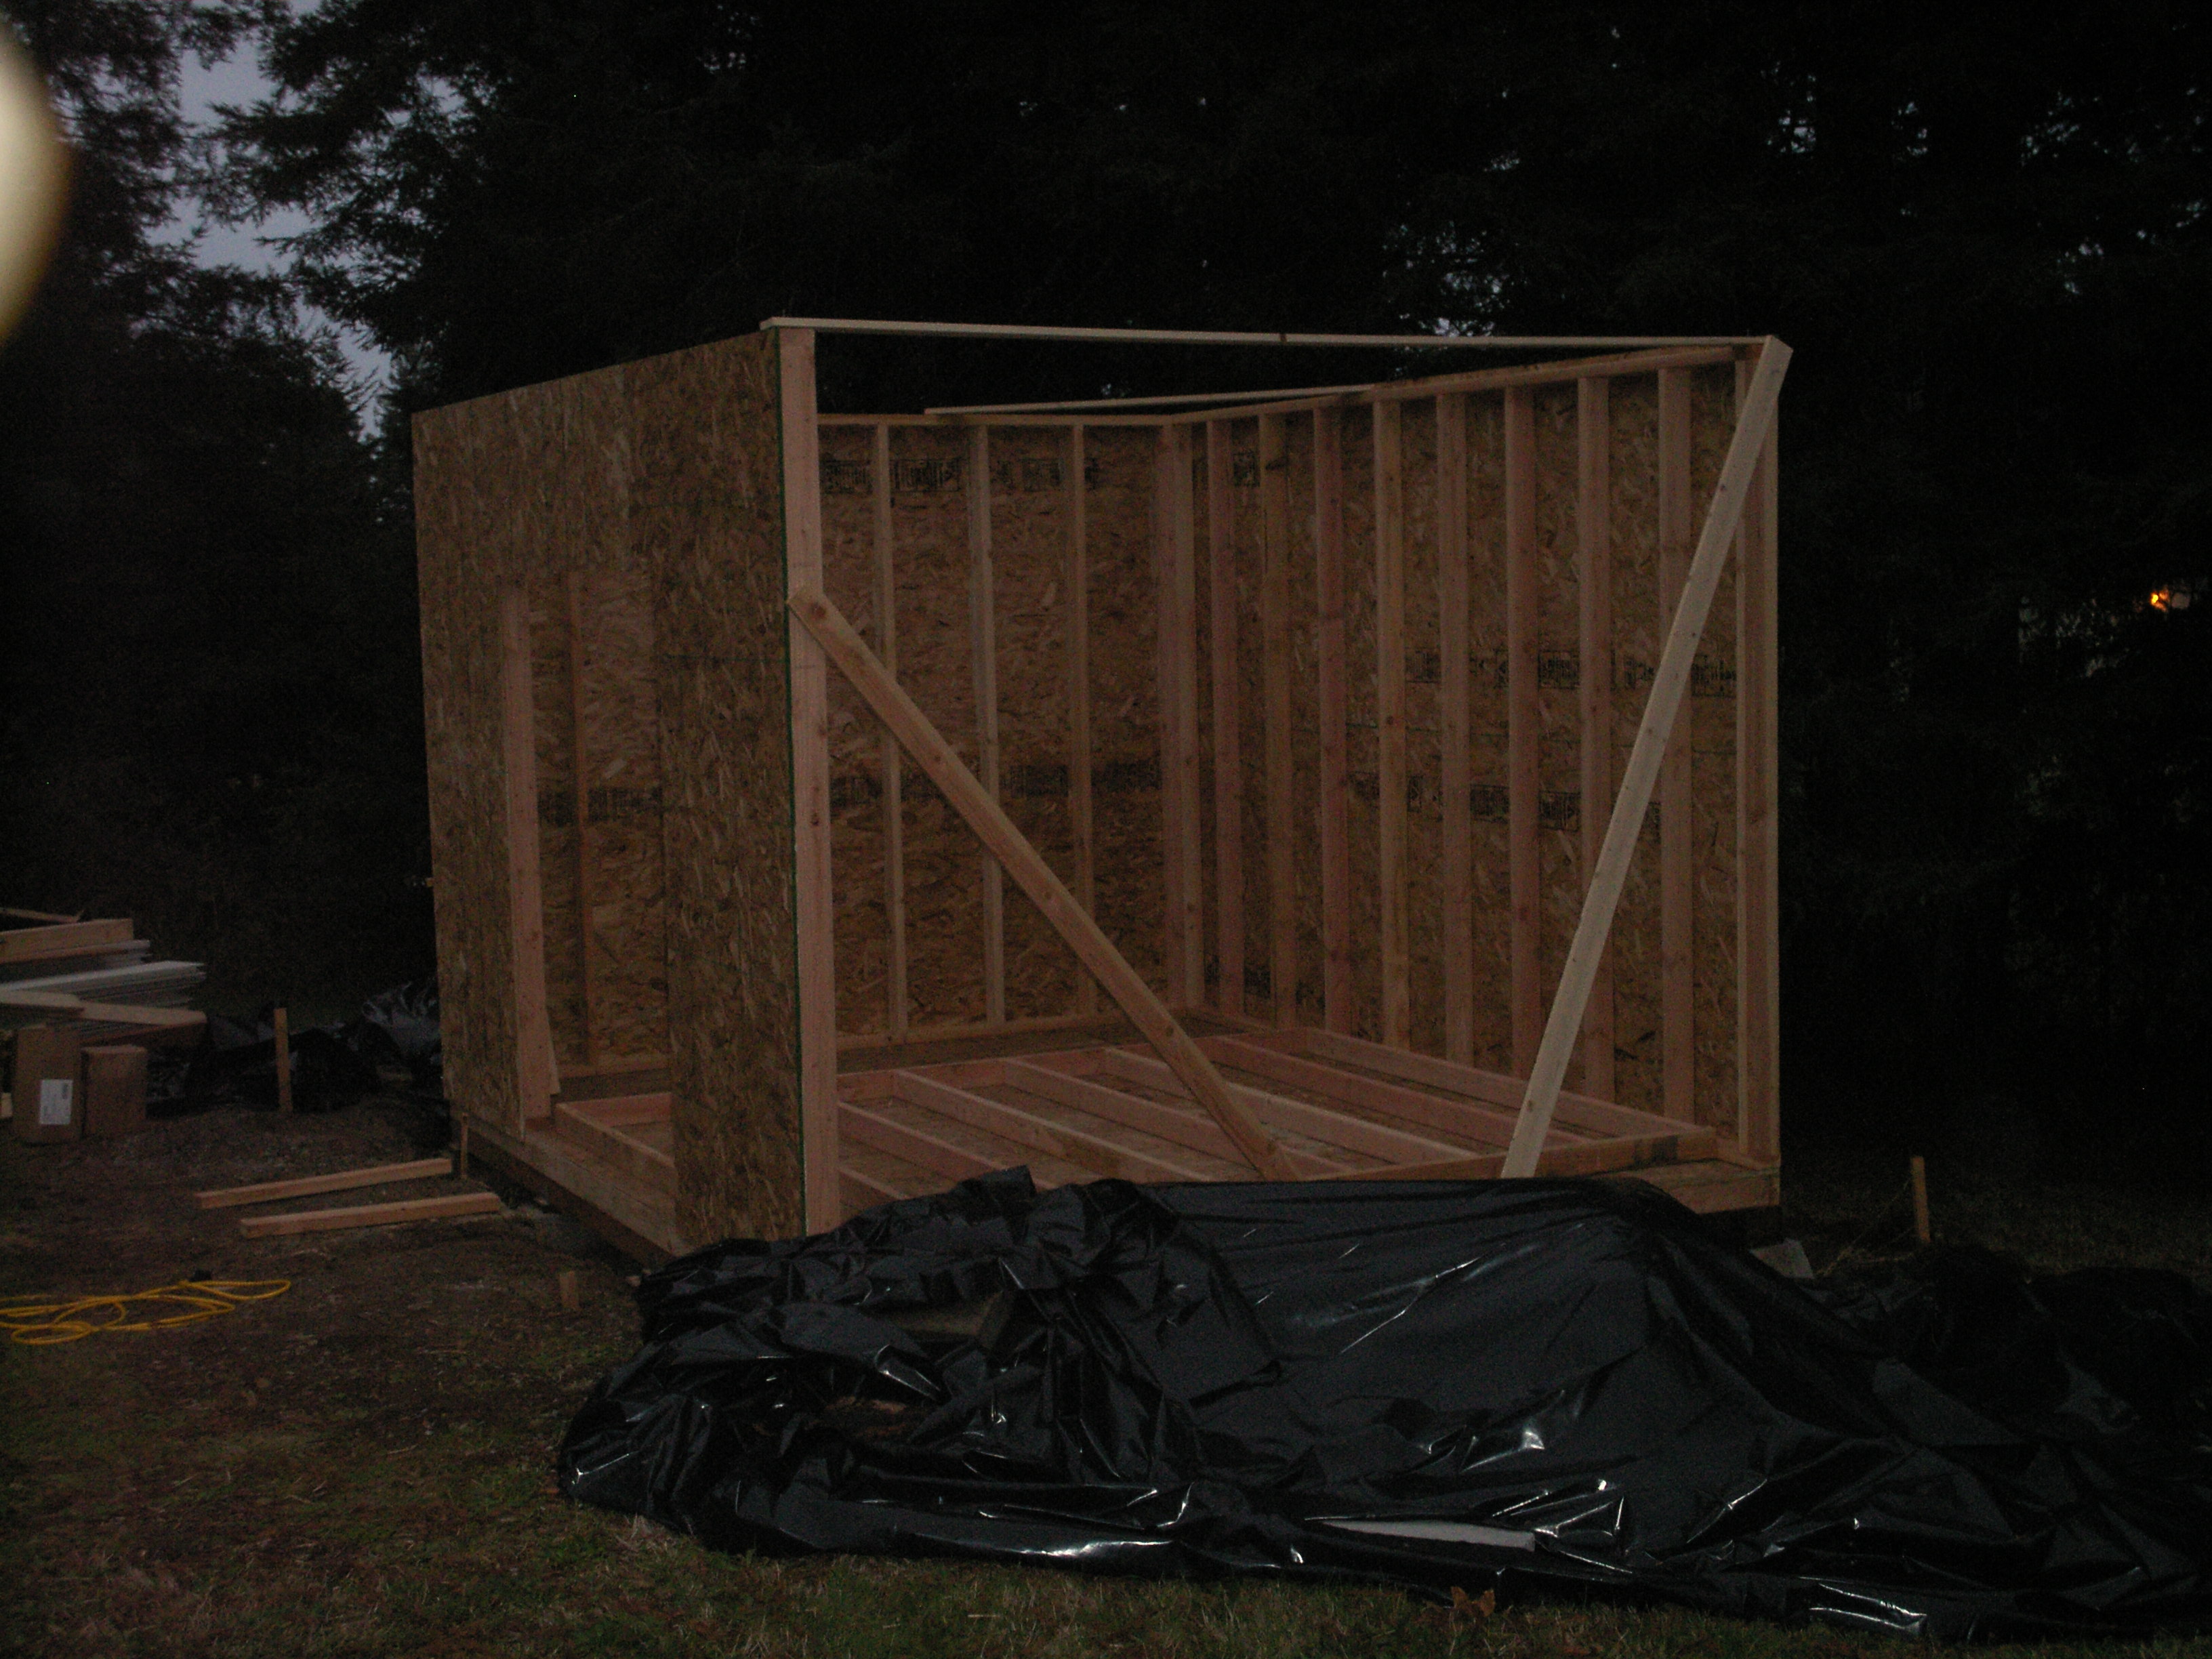
The second wall went up the next day, much quicker, now that I had a rhythm. It made a nice wind break, as the wind normally blows up through the trees. We had some rain, so I tarped what I had and waited it out. The next day I decided I should do the front wall with the door frame, since the last side wall could be lifted in place with the other three already up. Framed it, but decided not to use a long 2x4 along the bottom, but used two individual pieces cut to correct size instead. I did not check that one for squareness either. Luckily, it was pretty close. I made the door header out of two 2x6's and a sheet of ½" wafer board. Nice and strong! The last wall went up Thursday, the 29th. Tom helped, as well as Diane. I had to take the braces off to get it to fit. The center of the wall sat on the flooring correctly, but the two ends bowed up by a quarter inch. I ended up ripping a couple of pieces of 2x4 into shimming to make the caps fit, as I wanted 12' long caps on the 10' sides to tie into the 12' fronts. The 12' caps are off the same quarter inch, but the blocking should be able to deal with it.
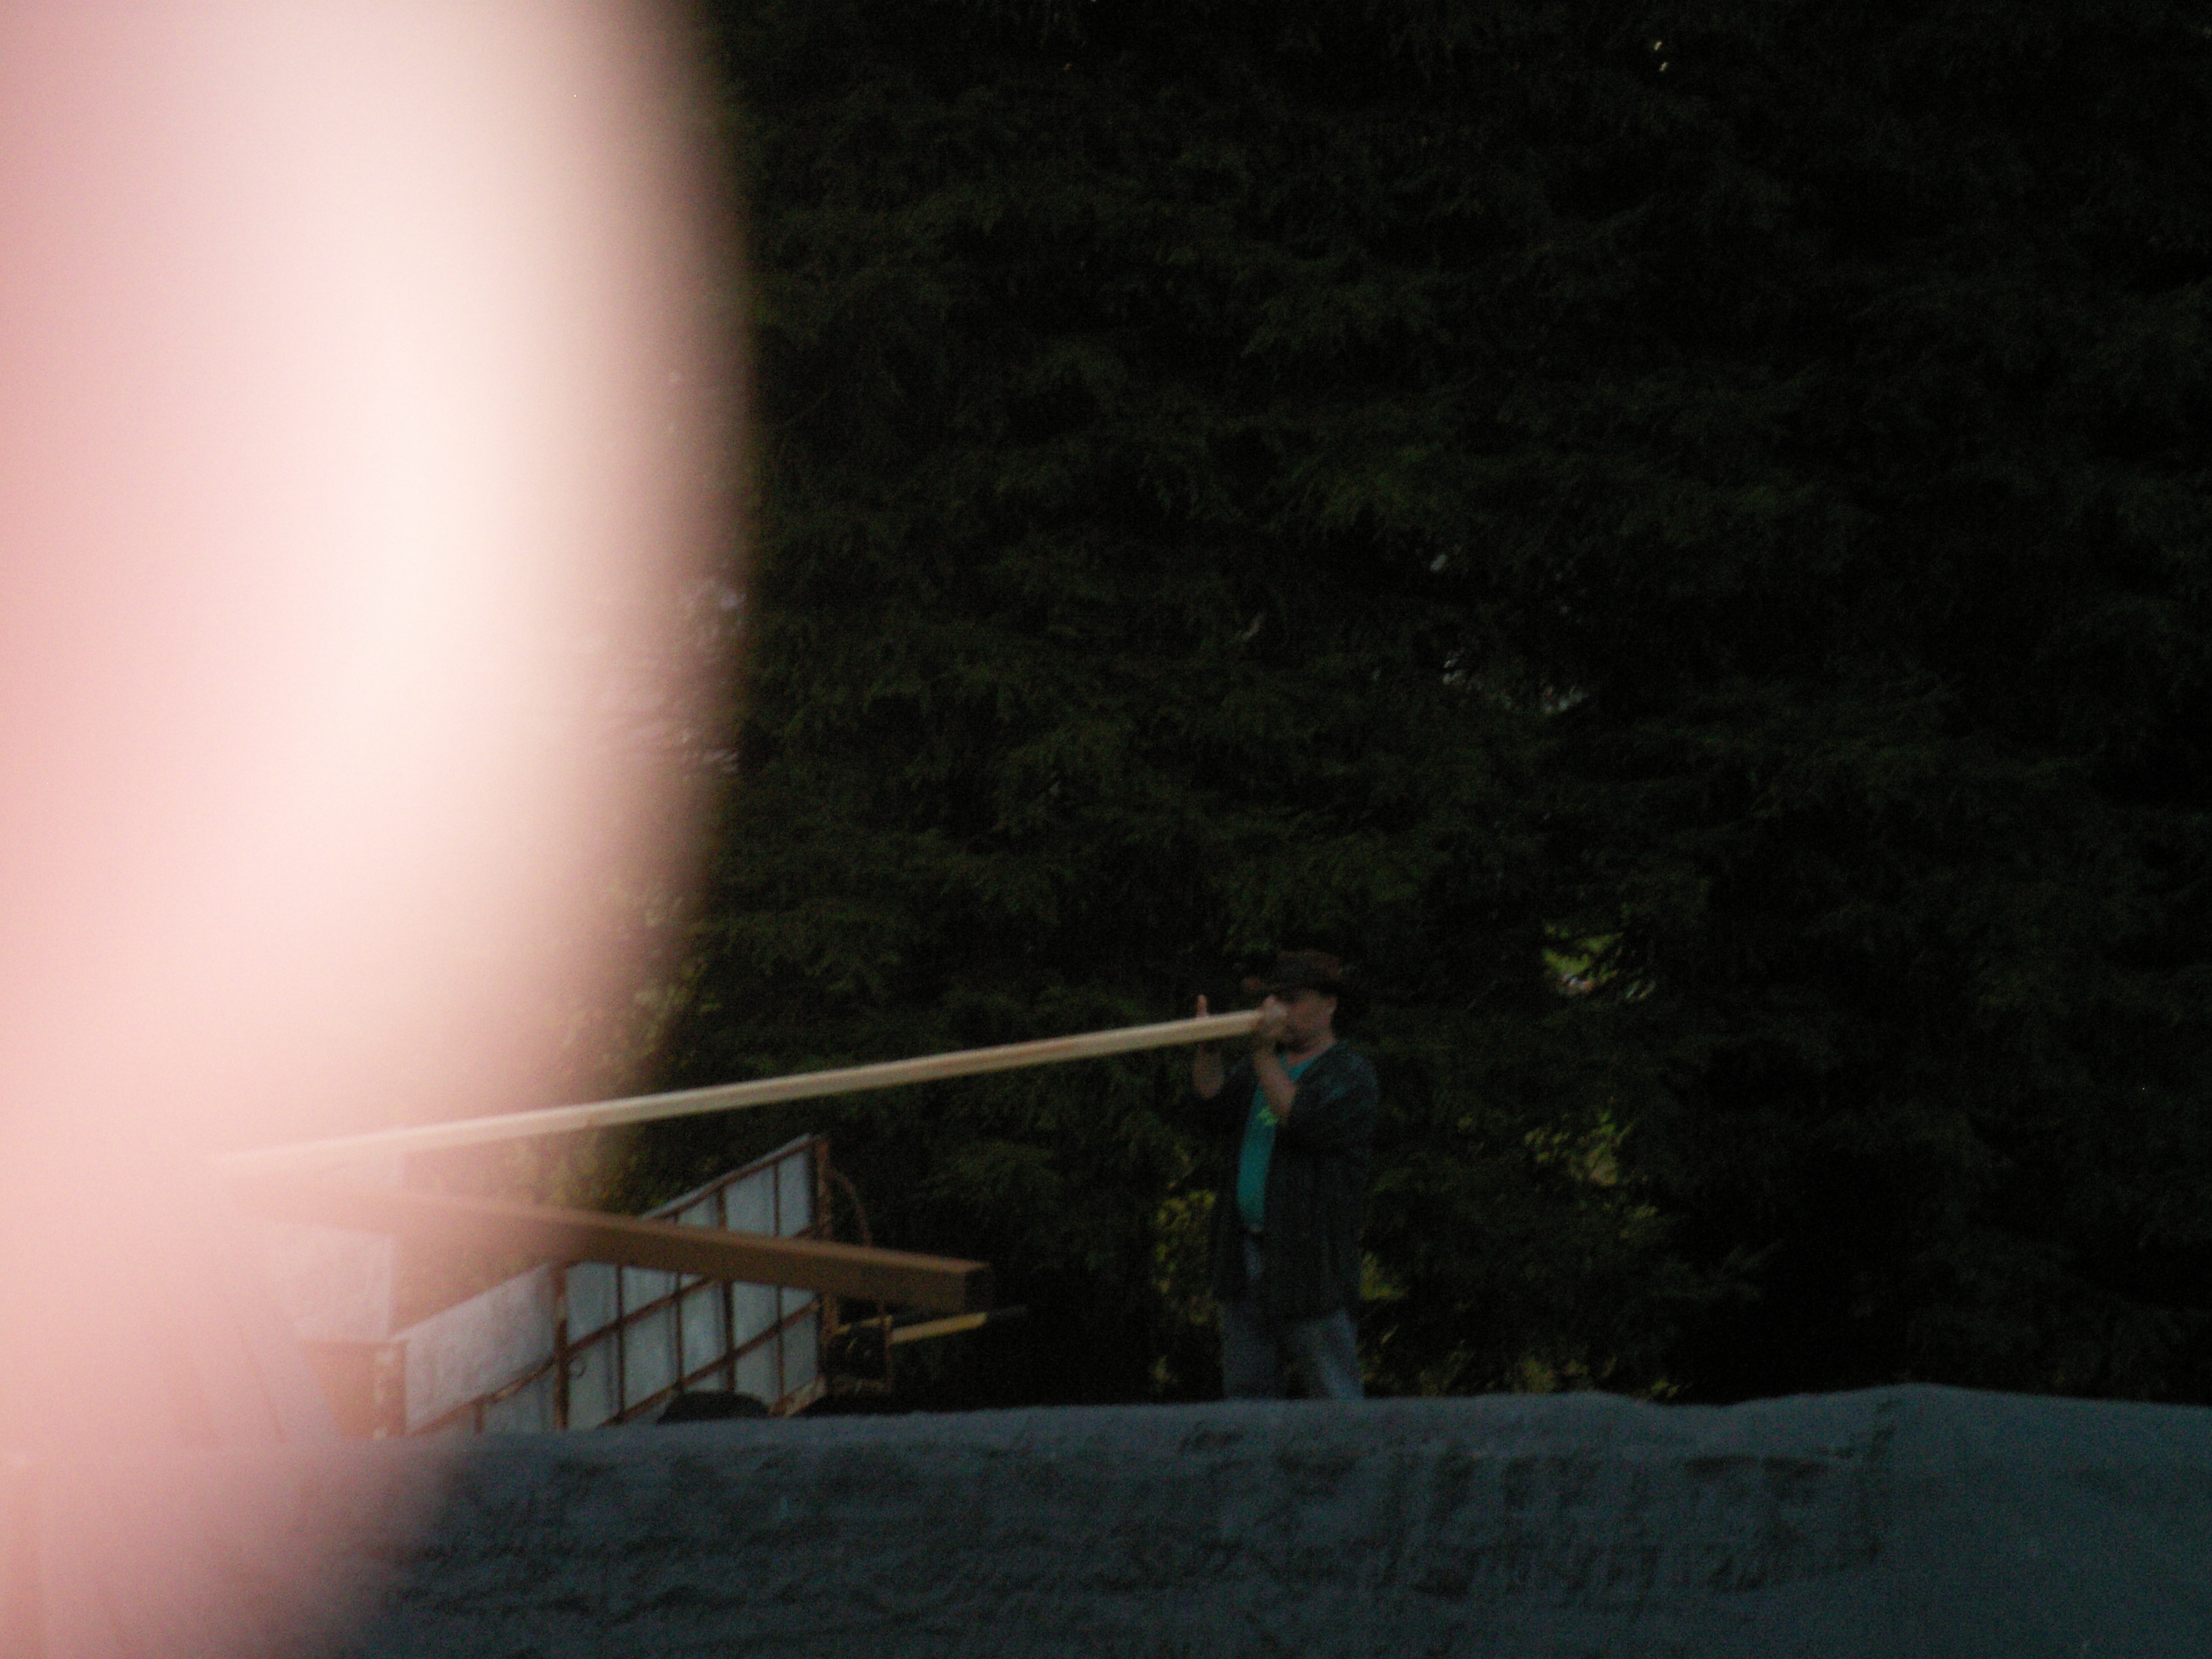
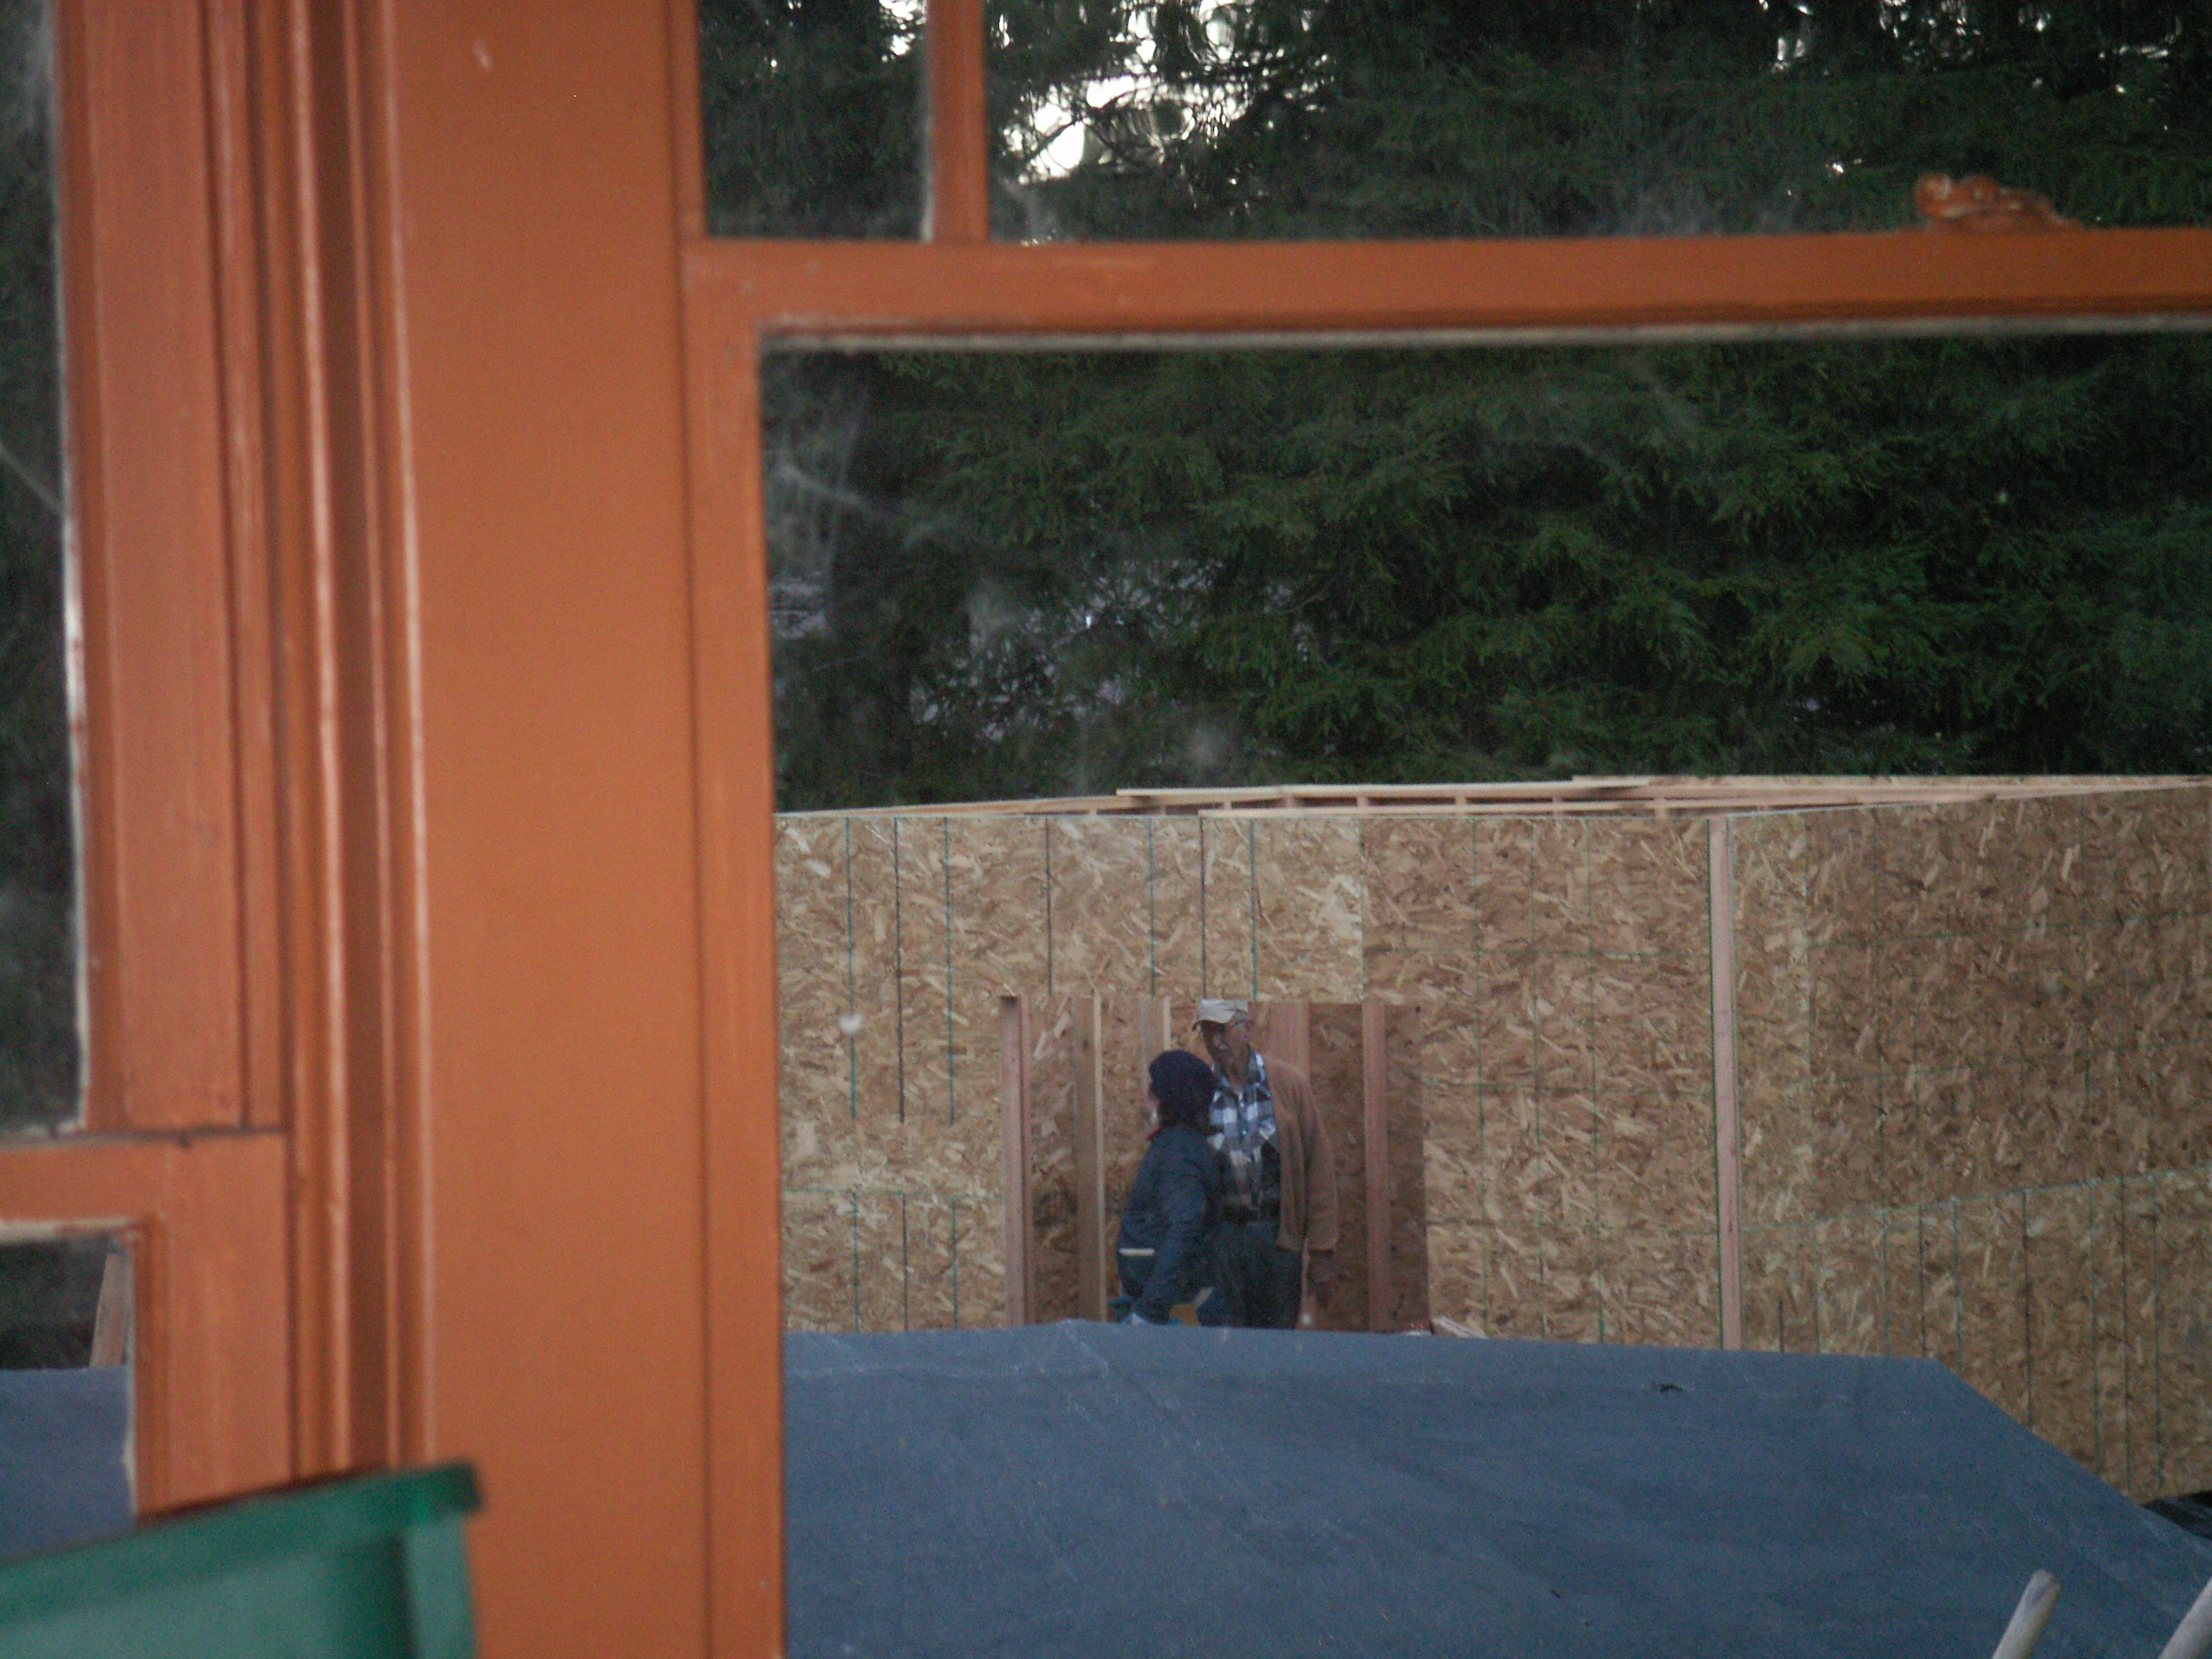
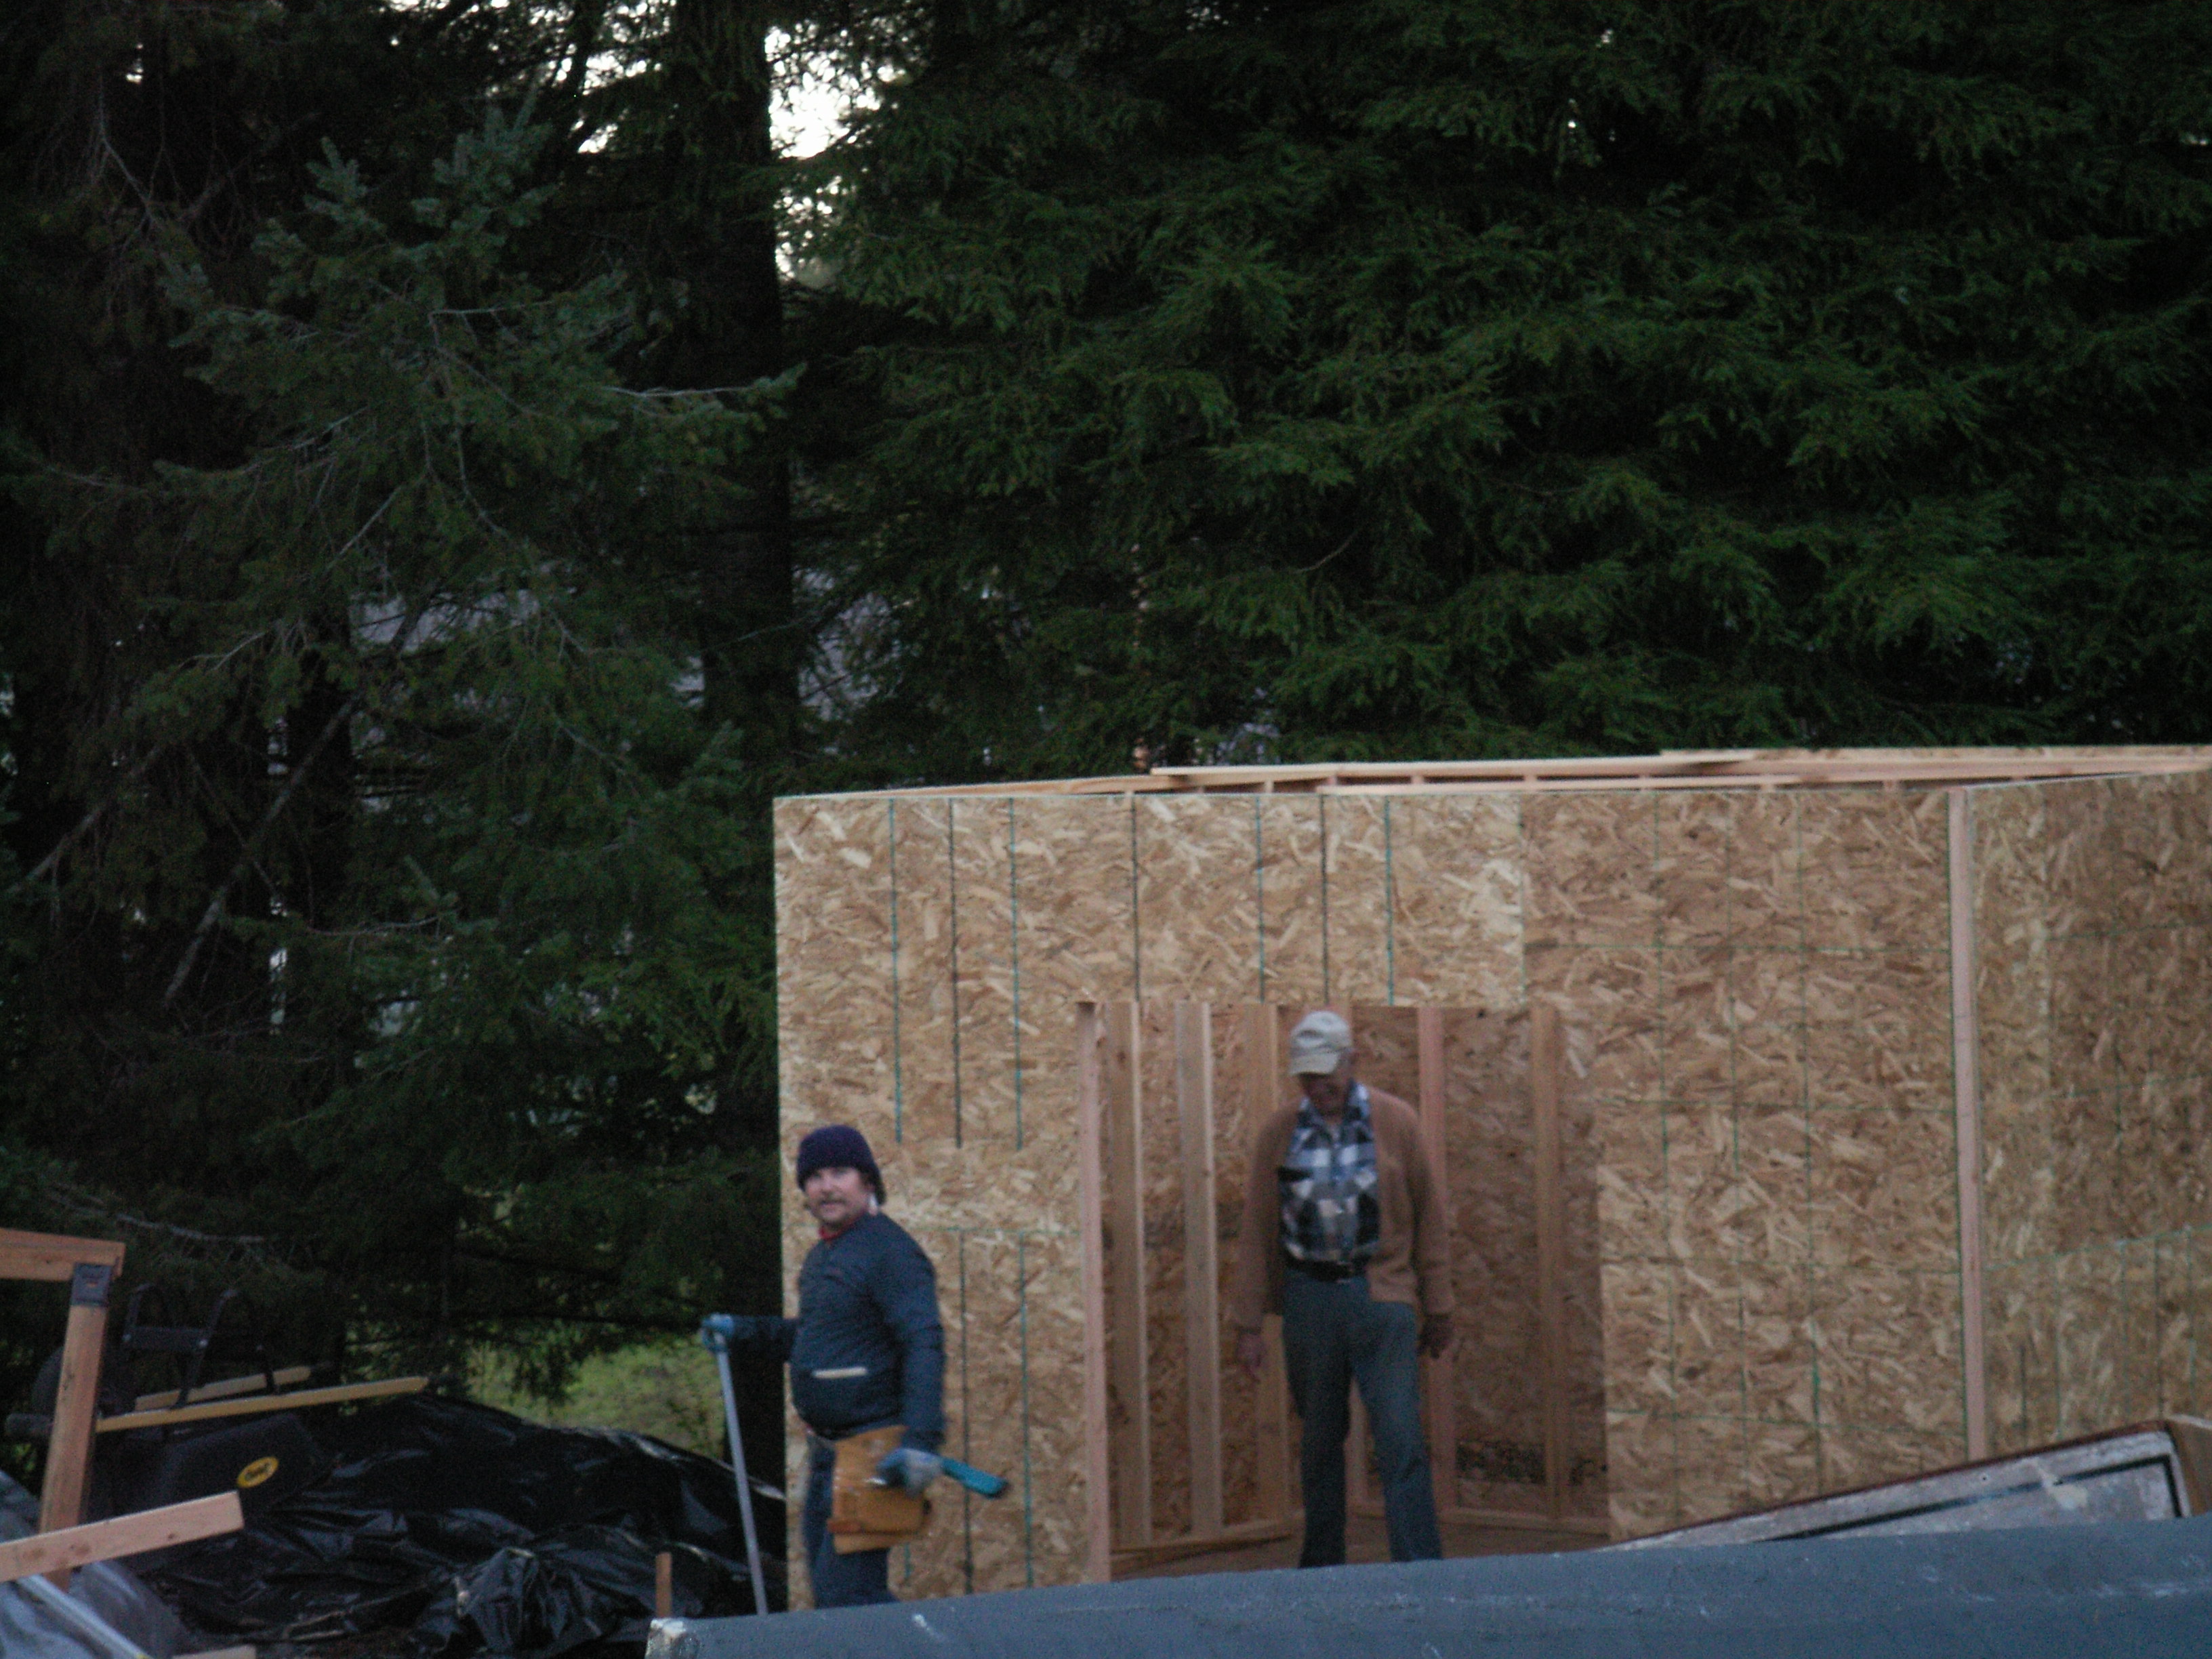
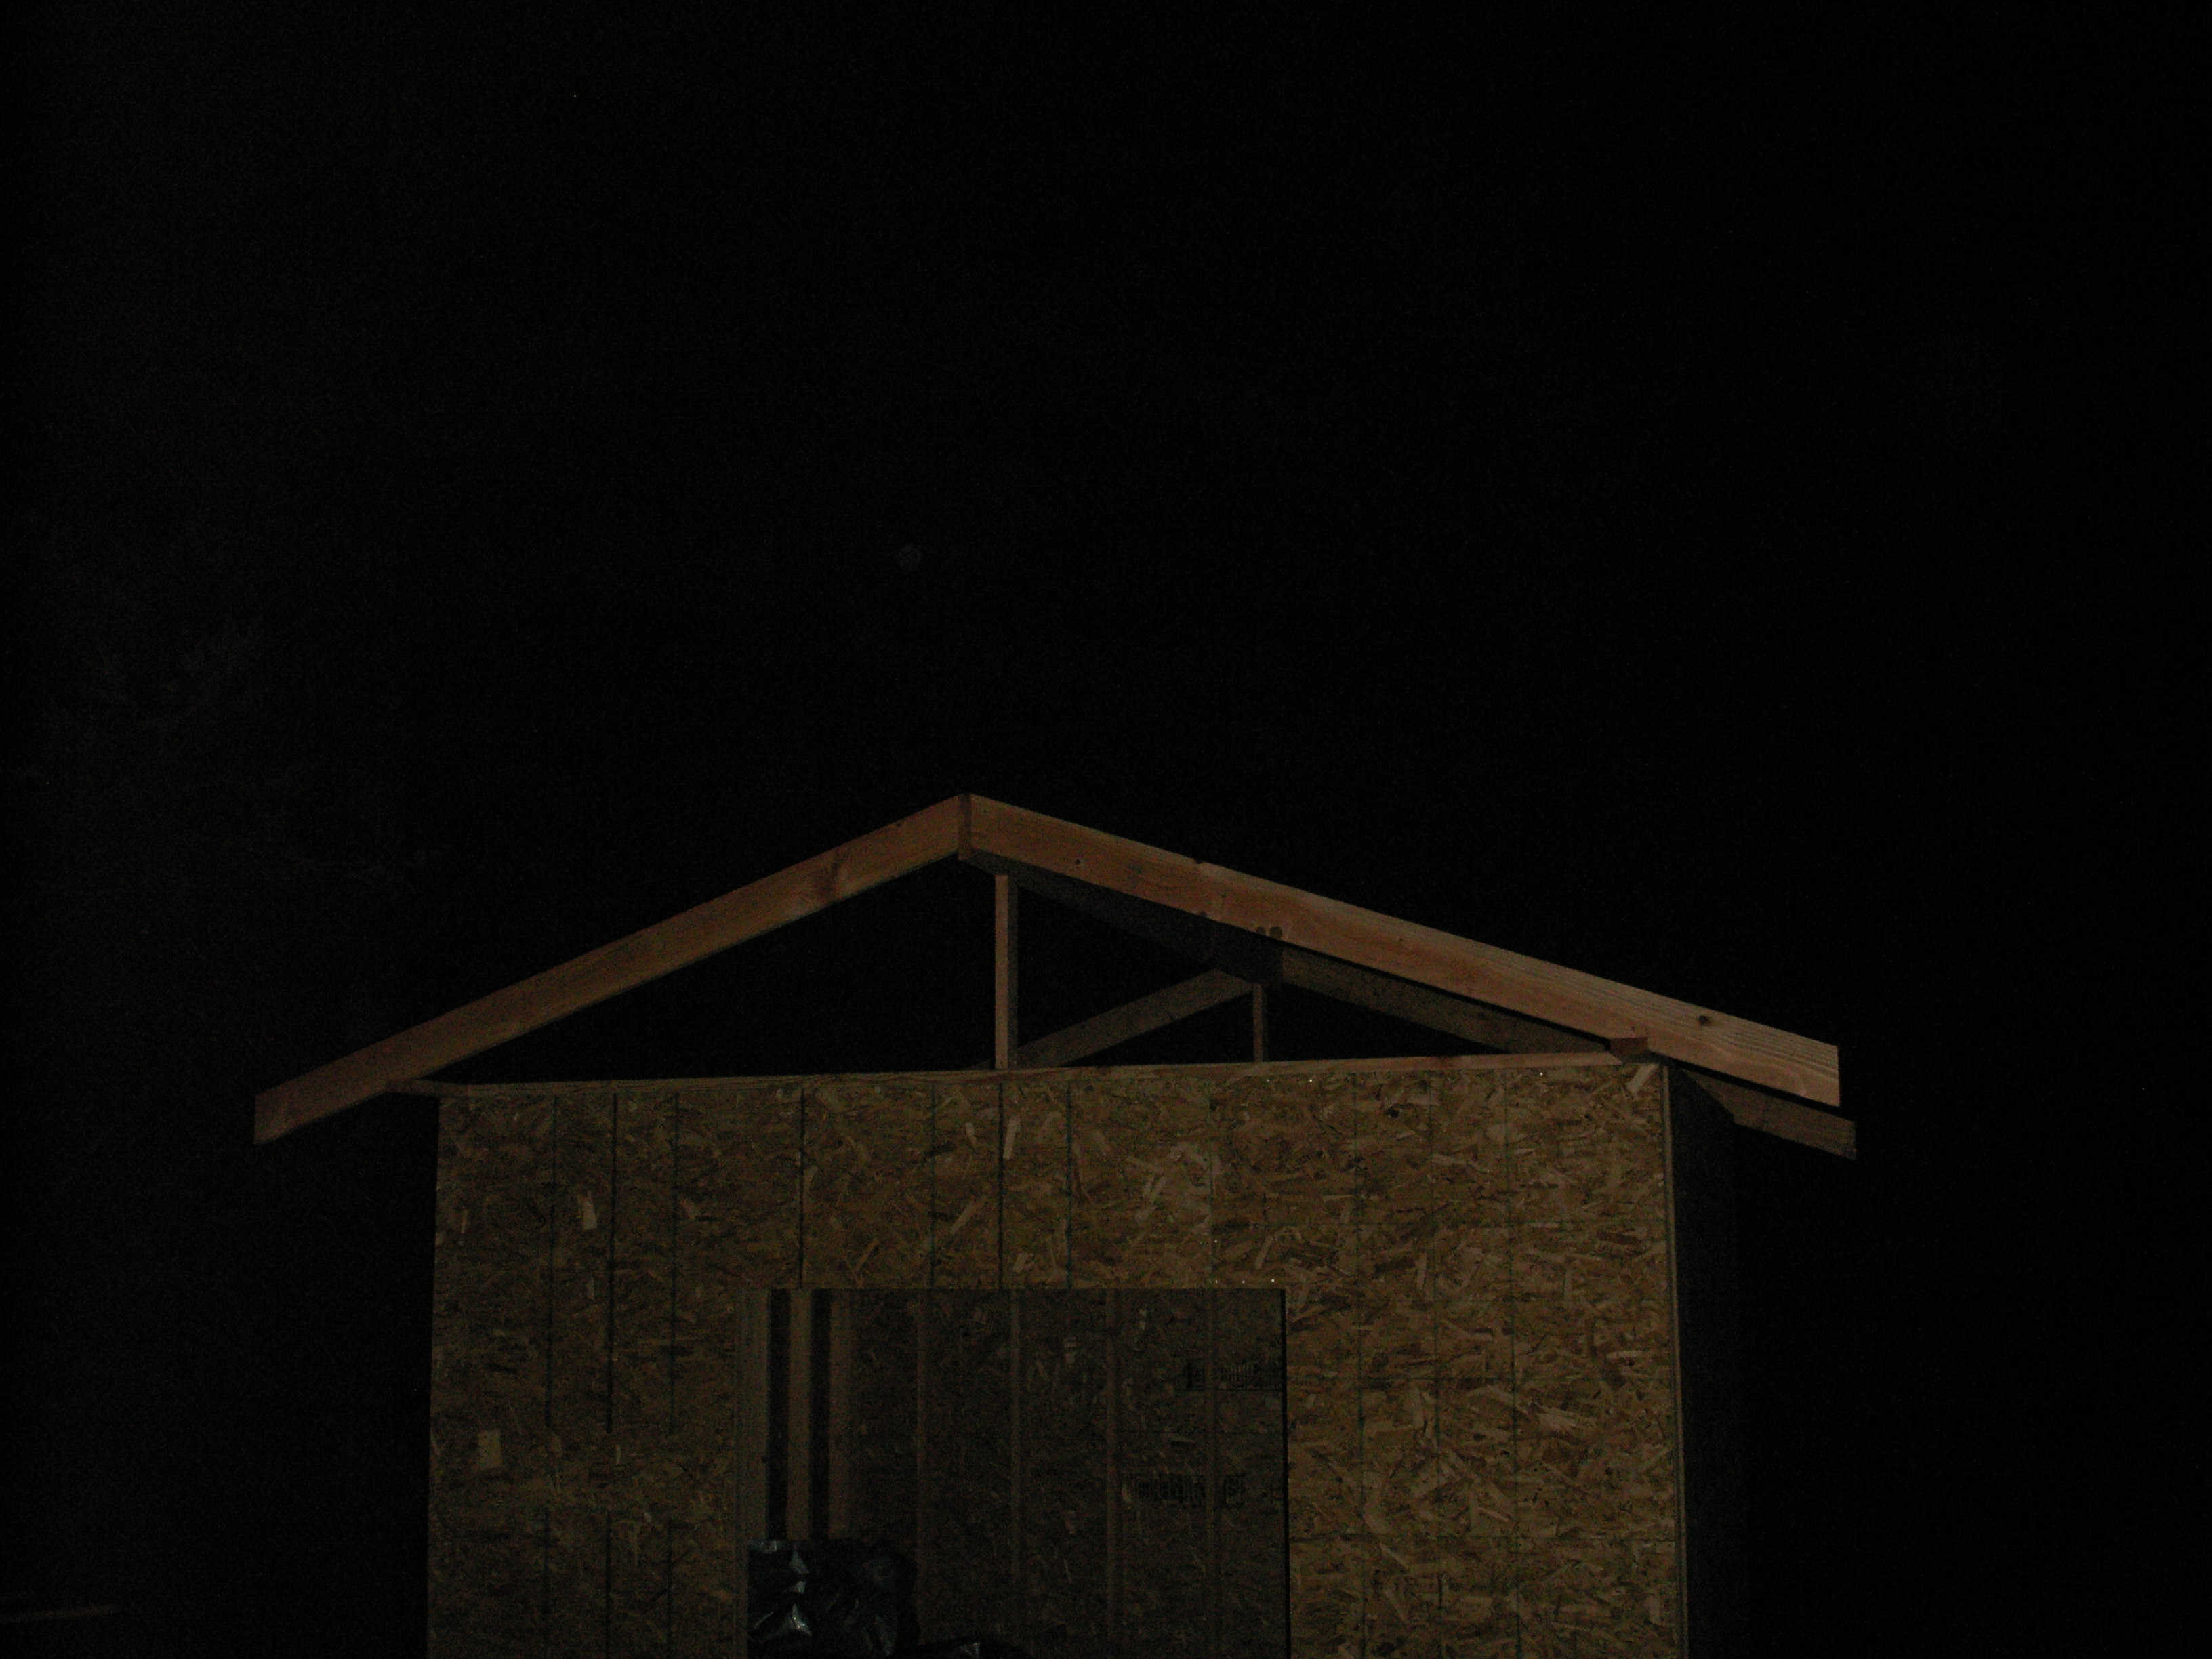
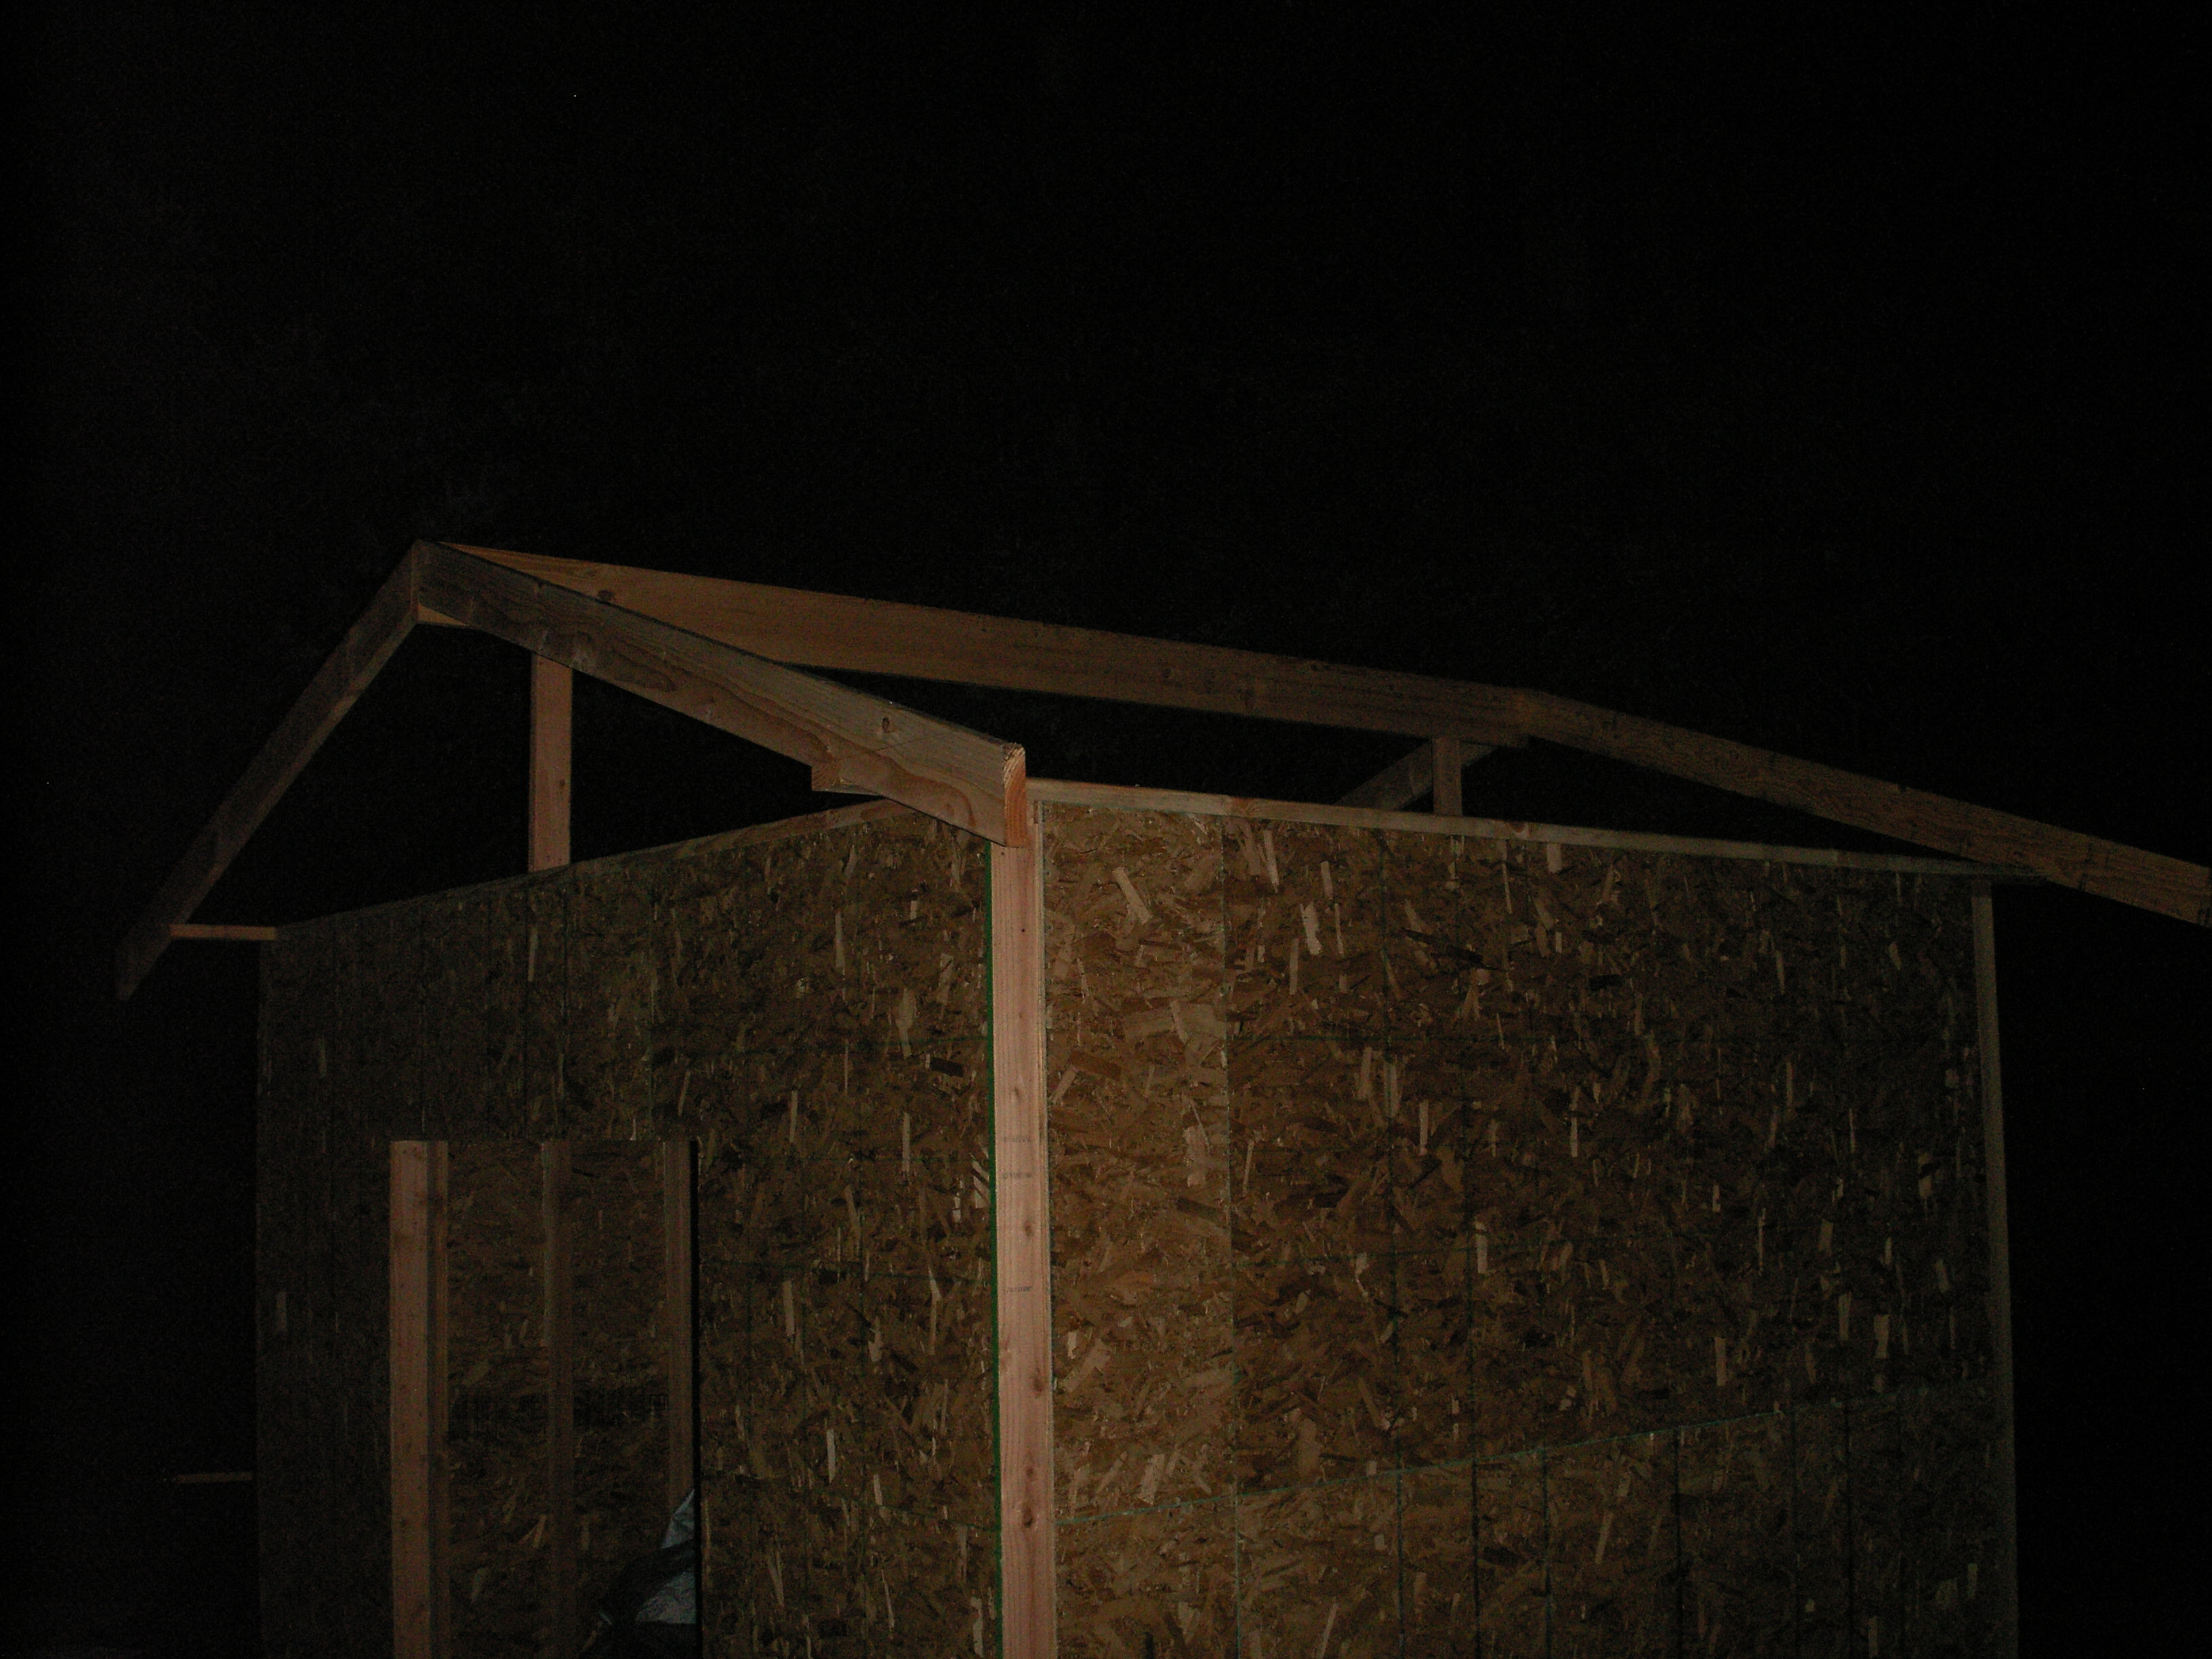
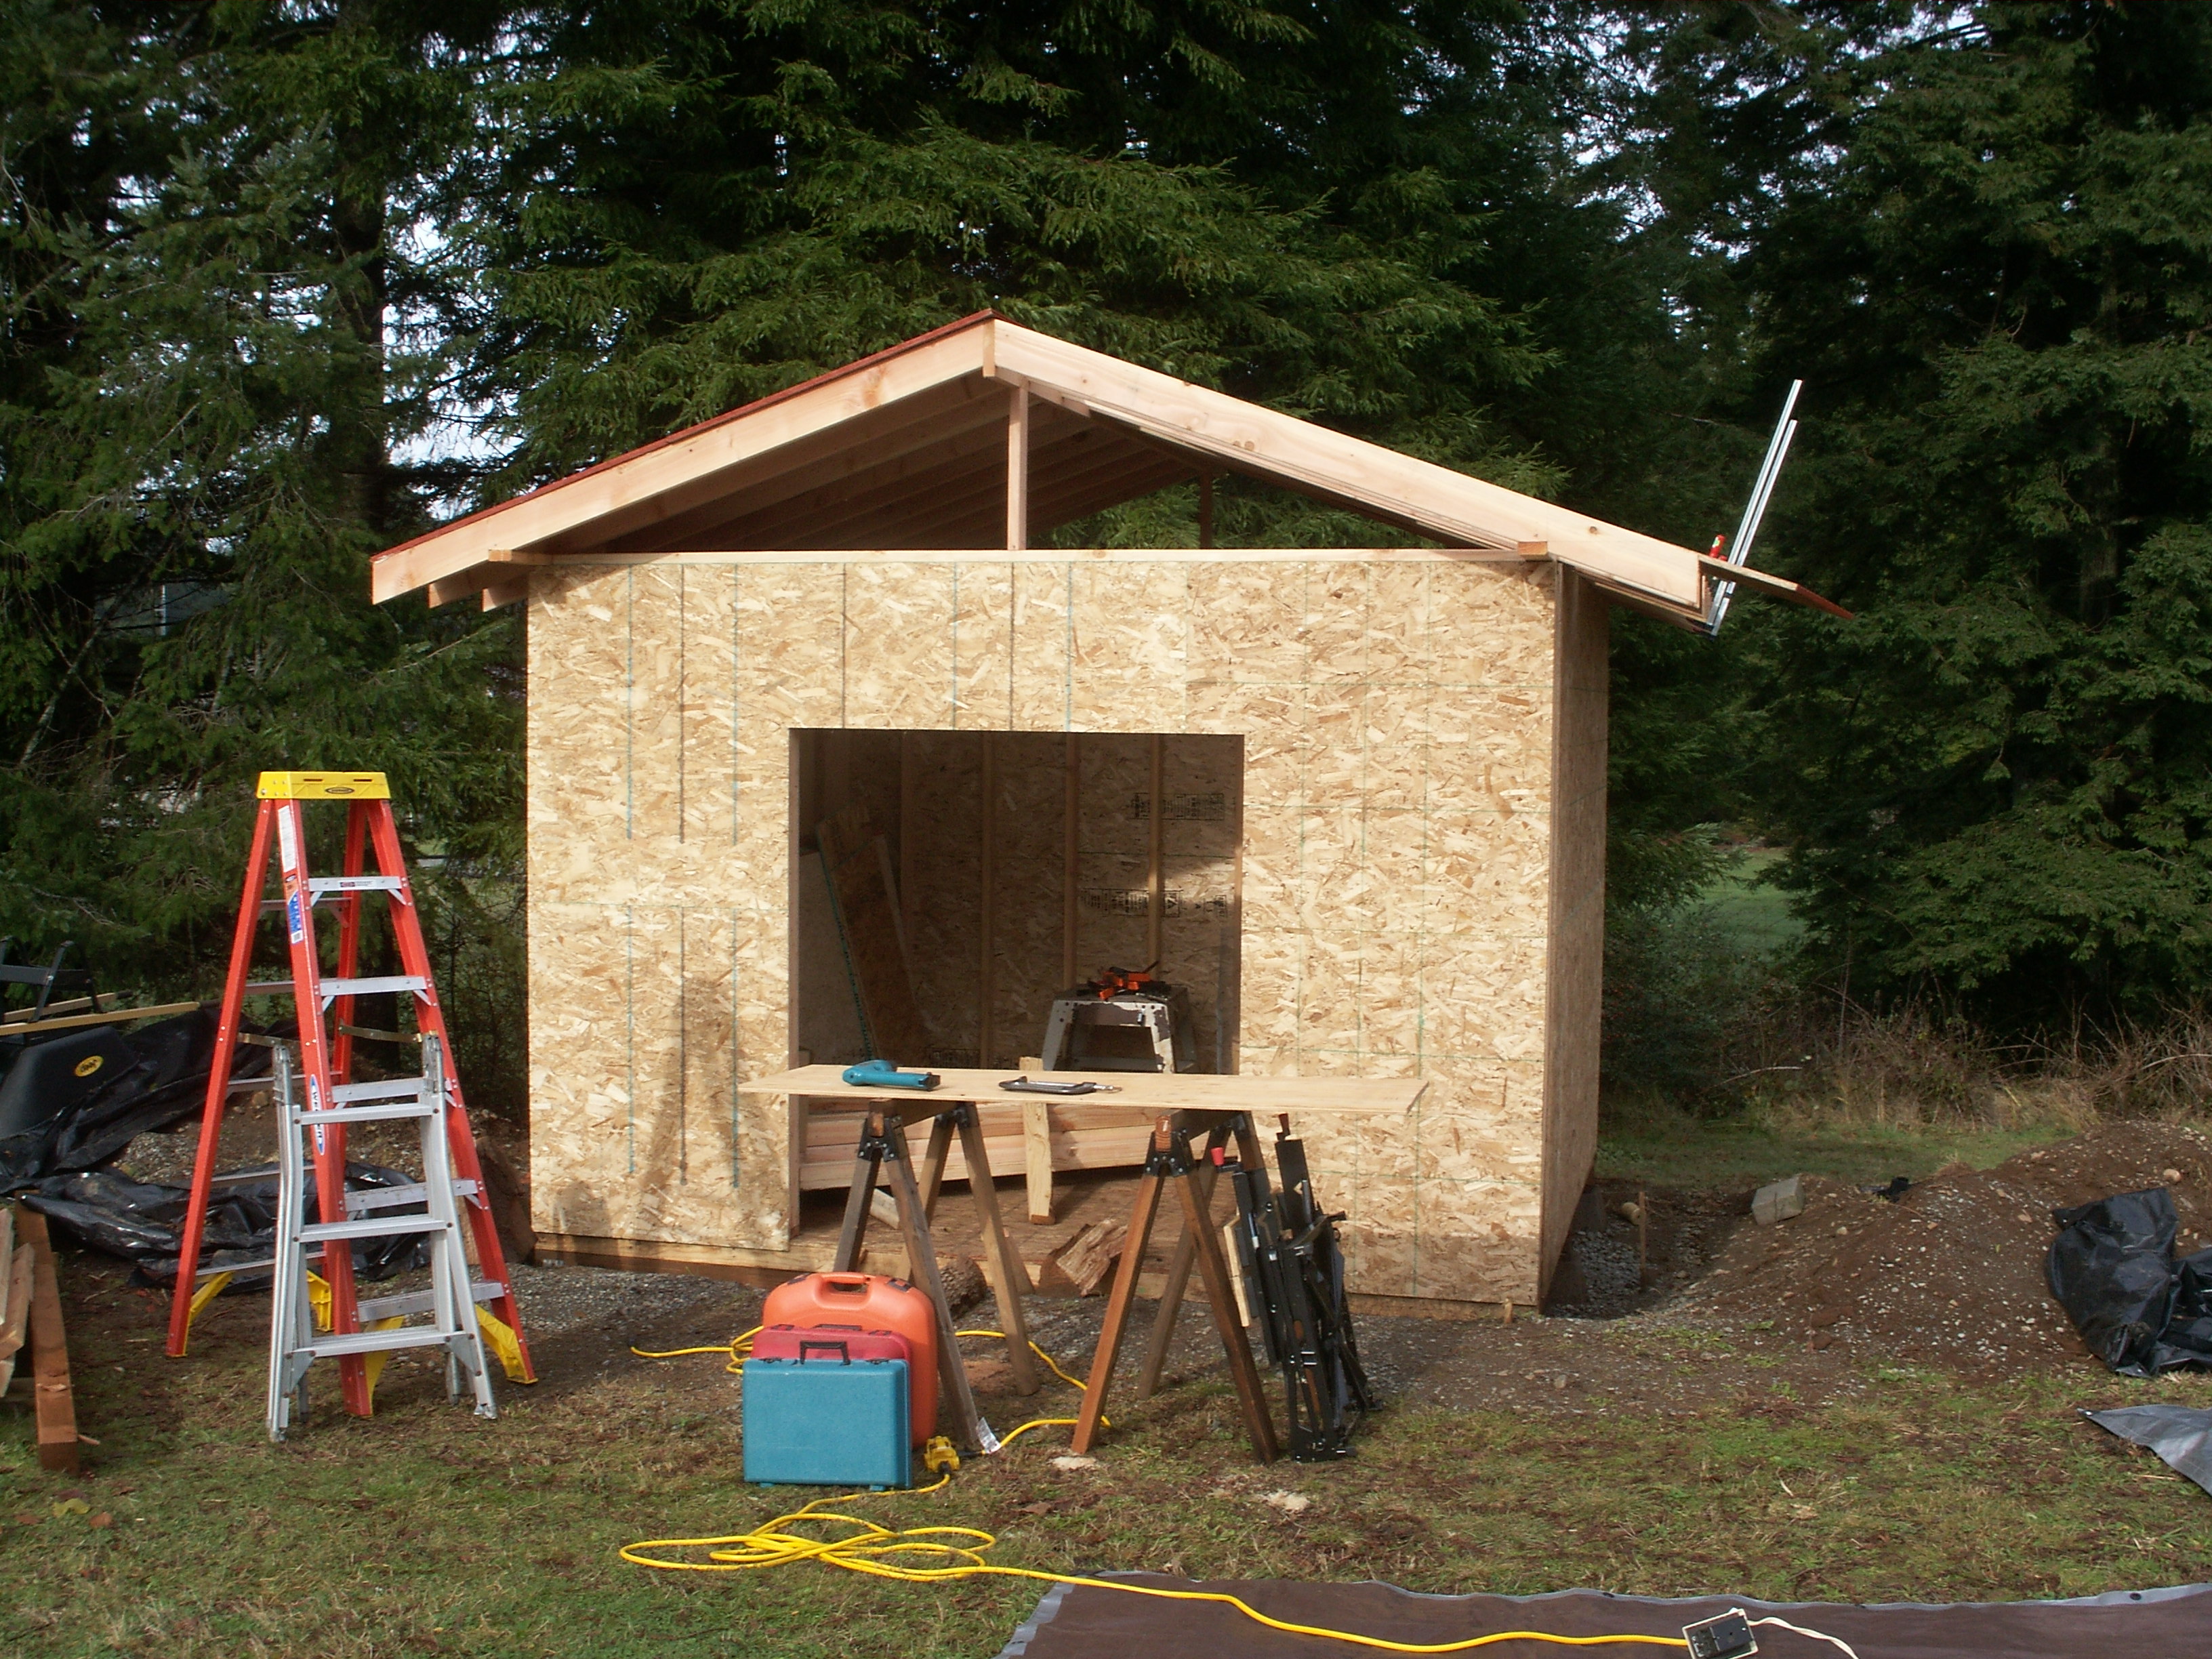
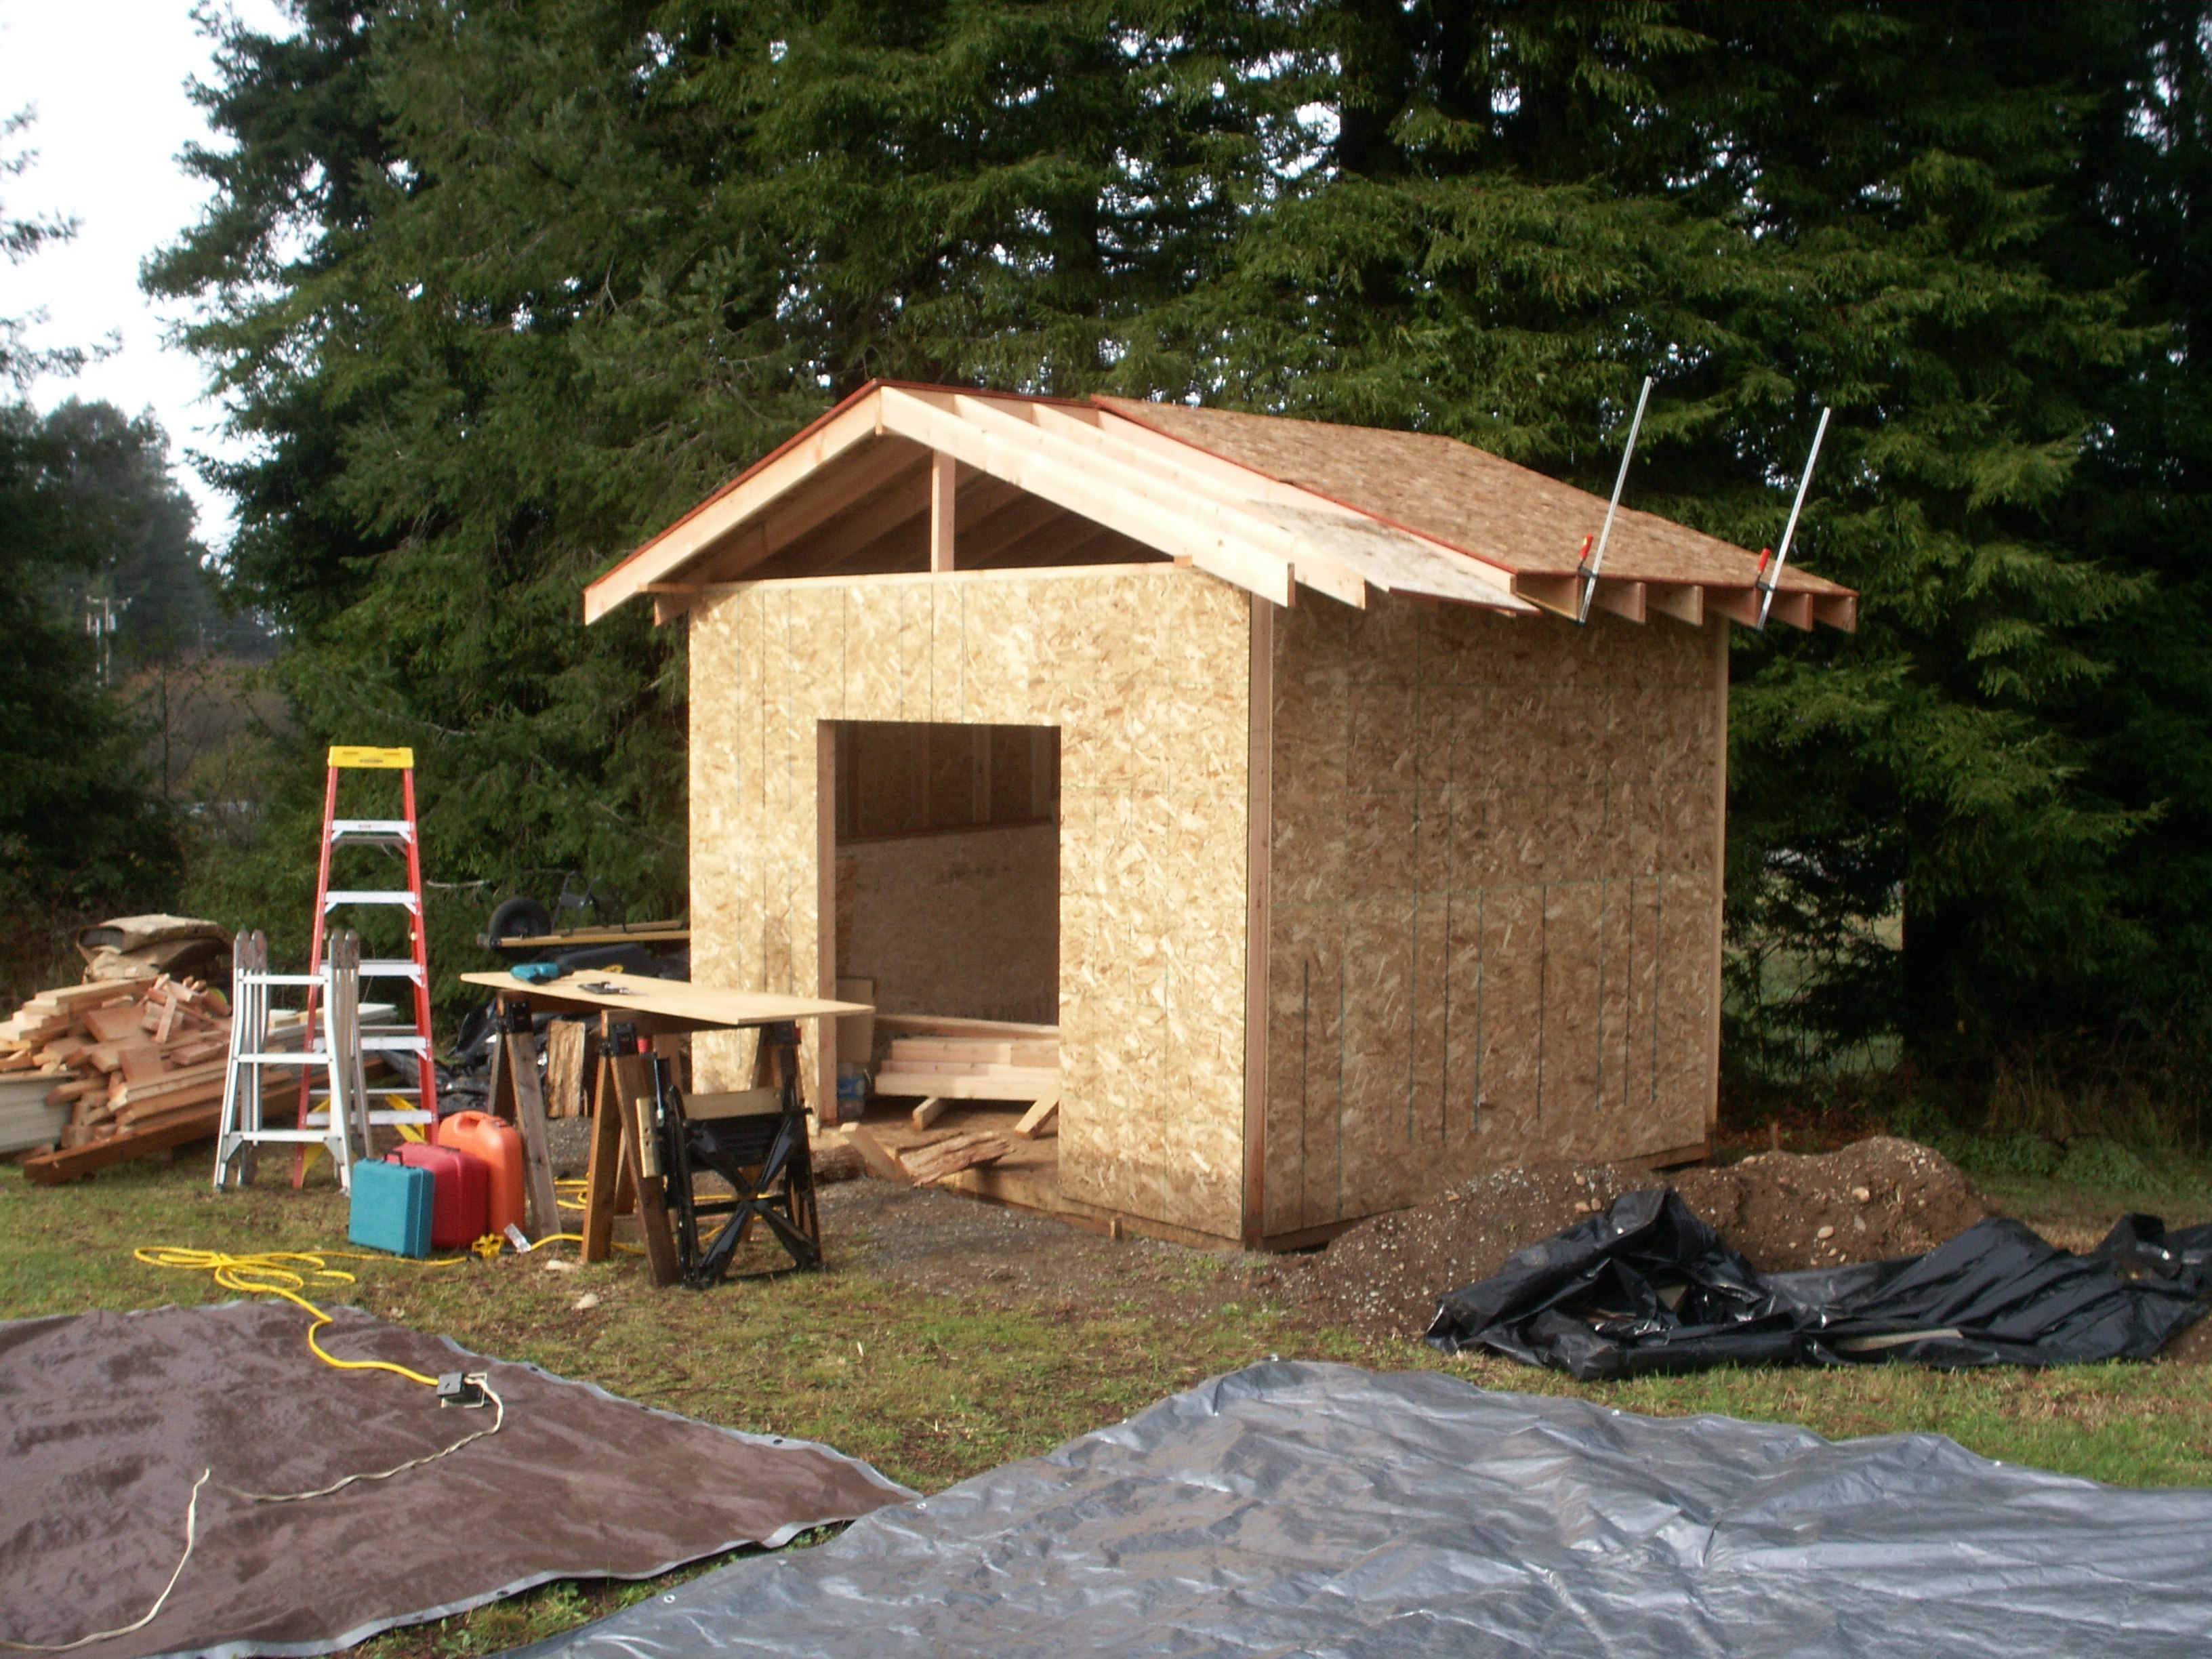
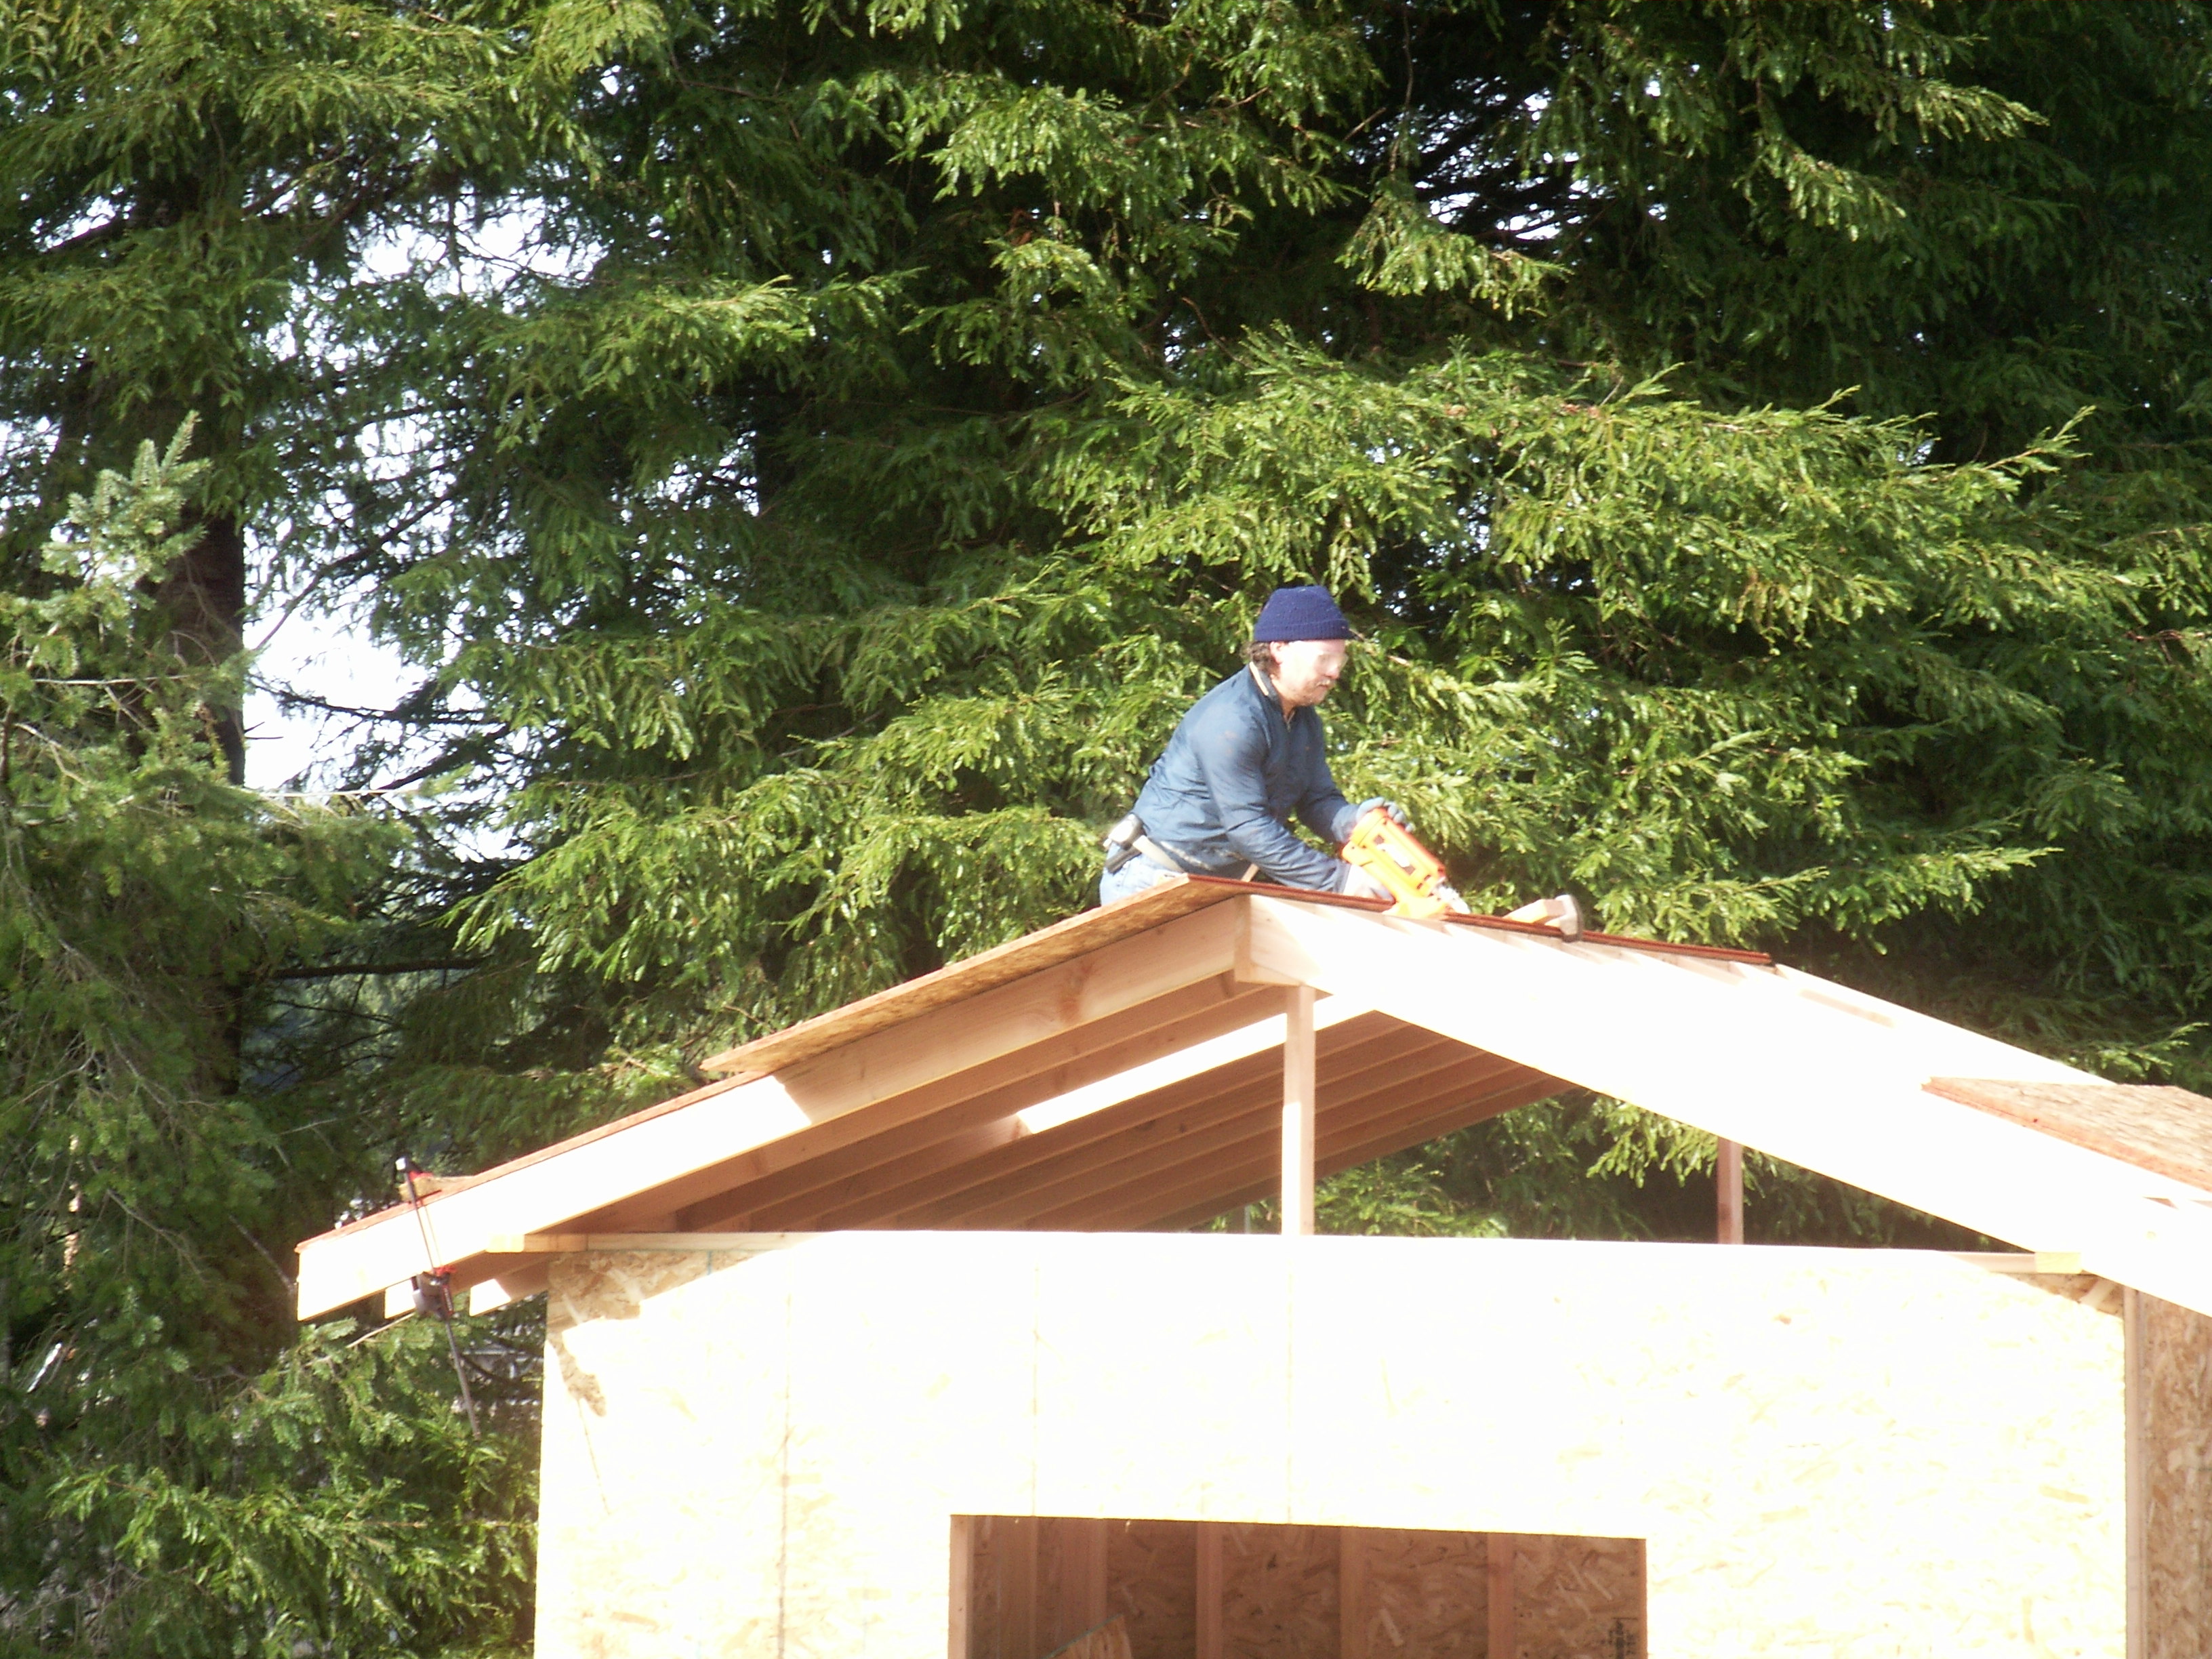
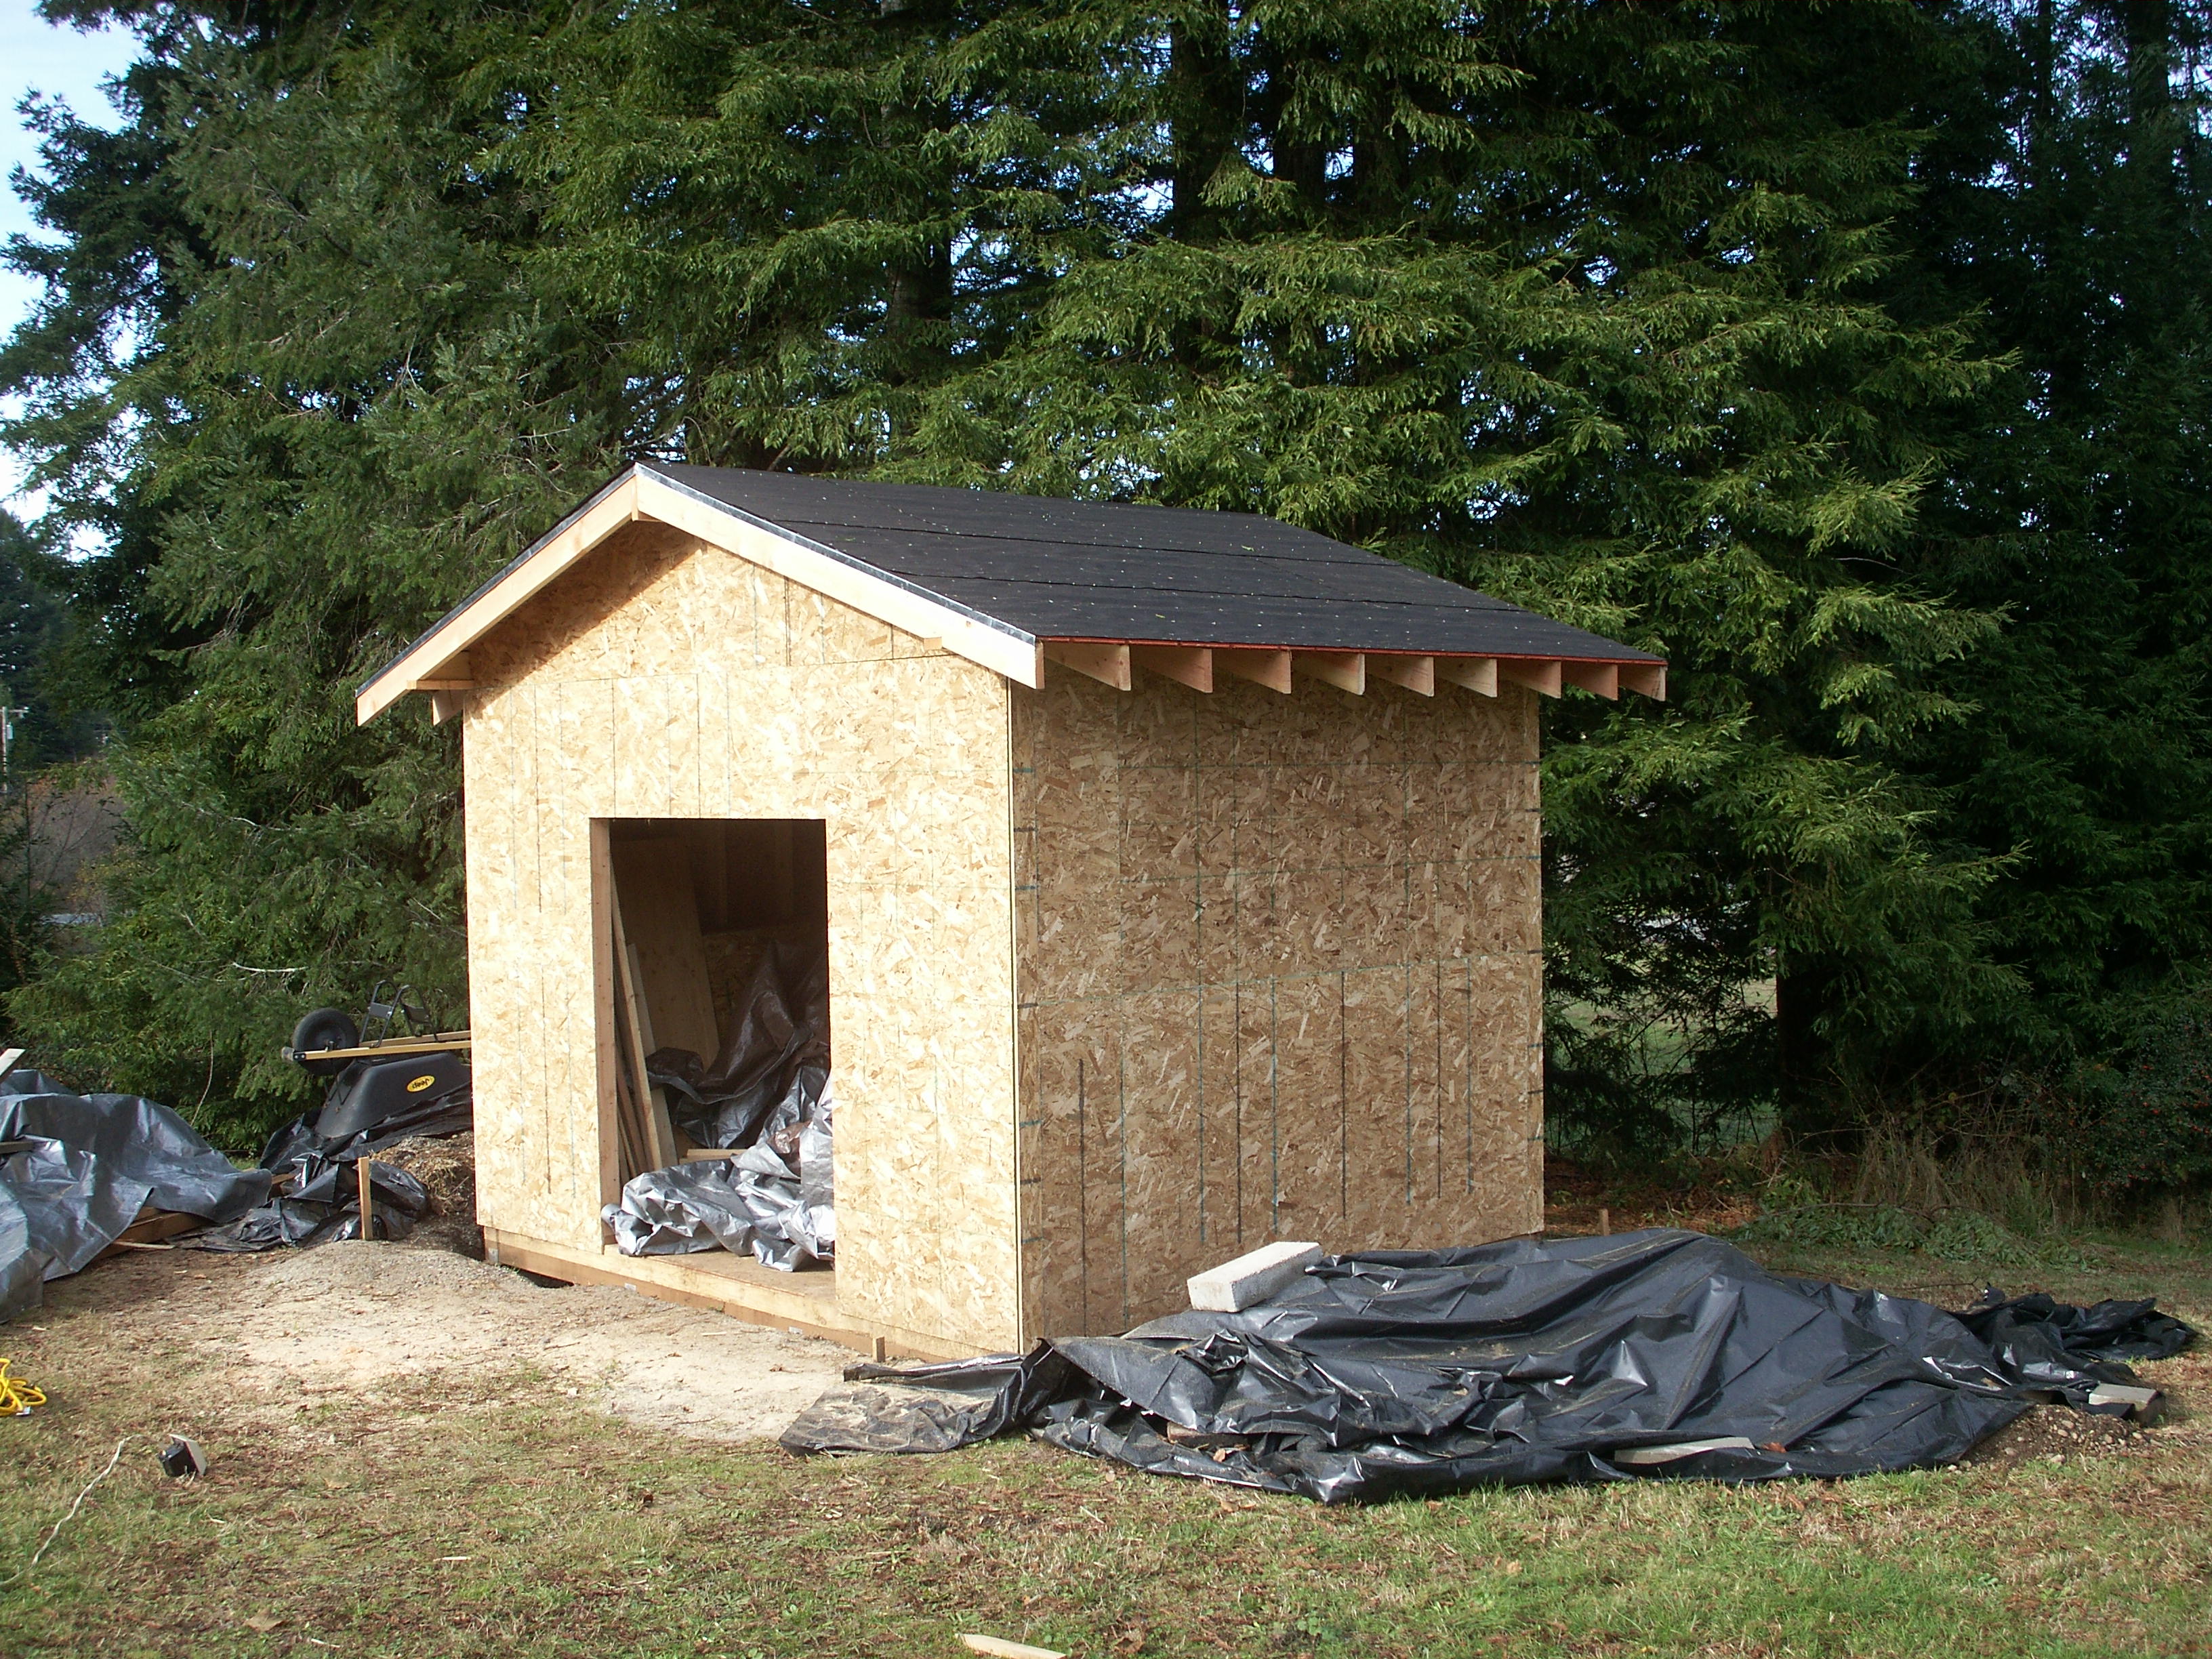
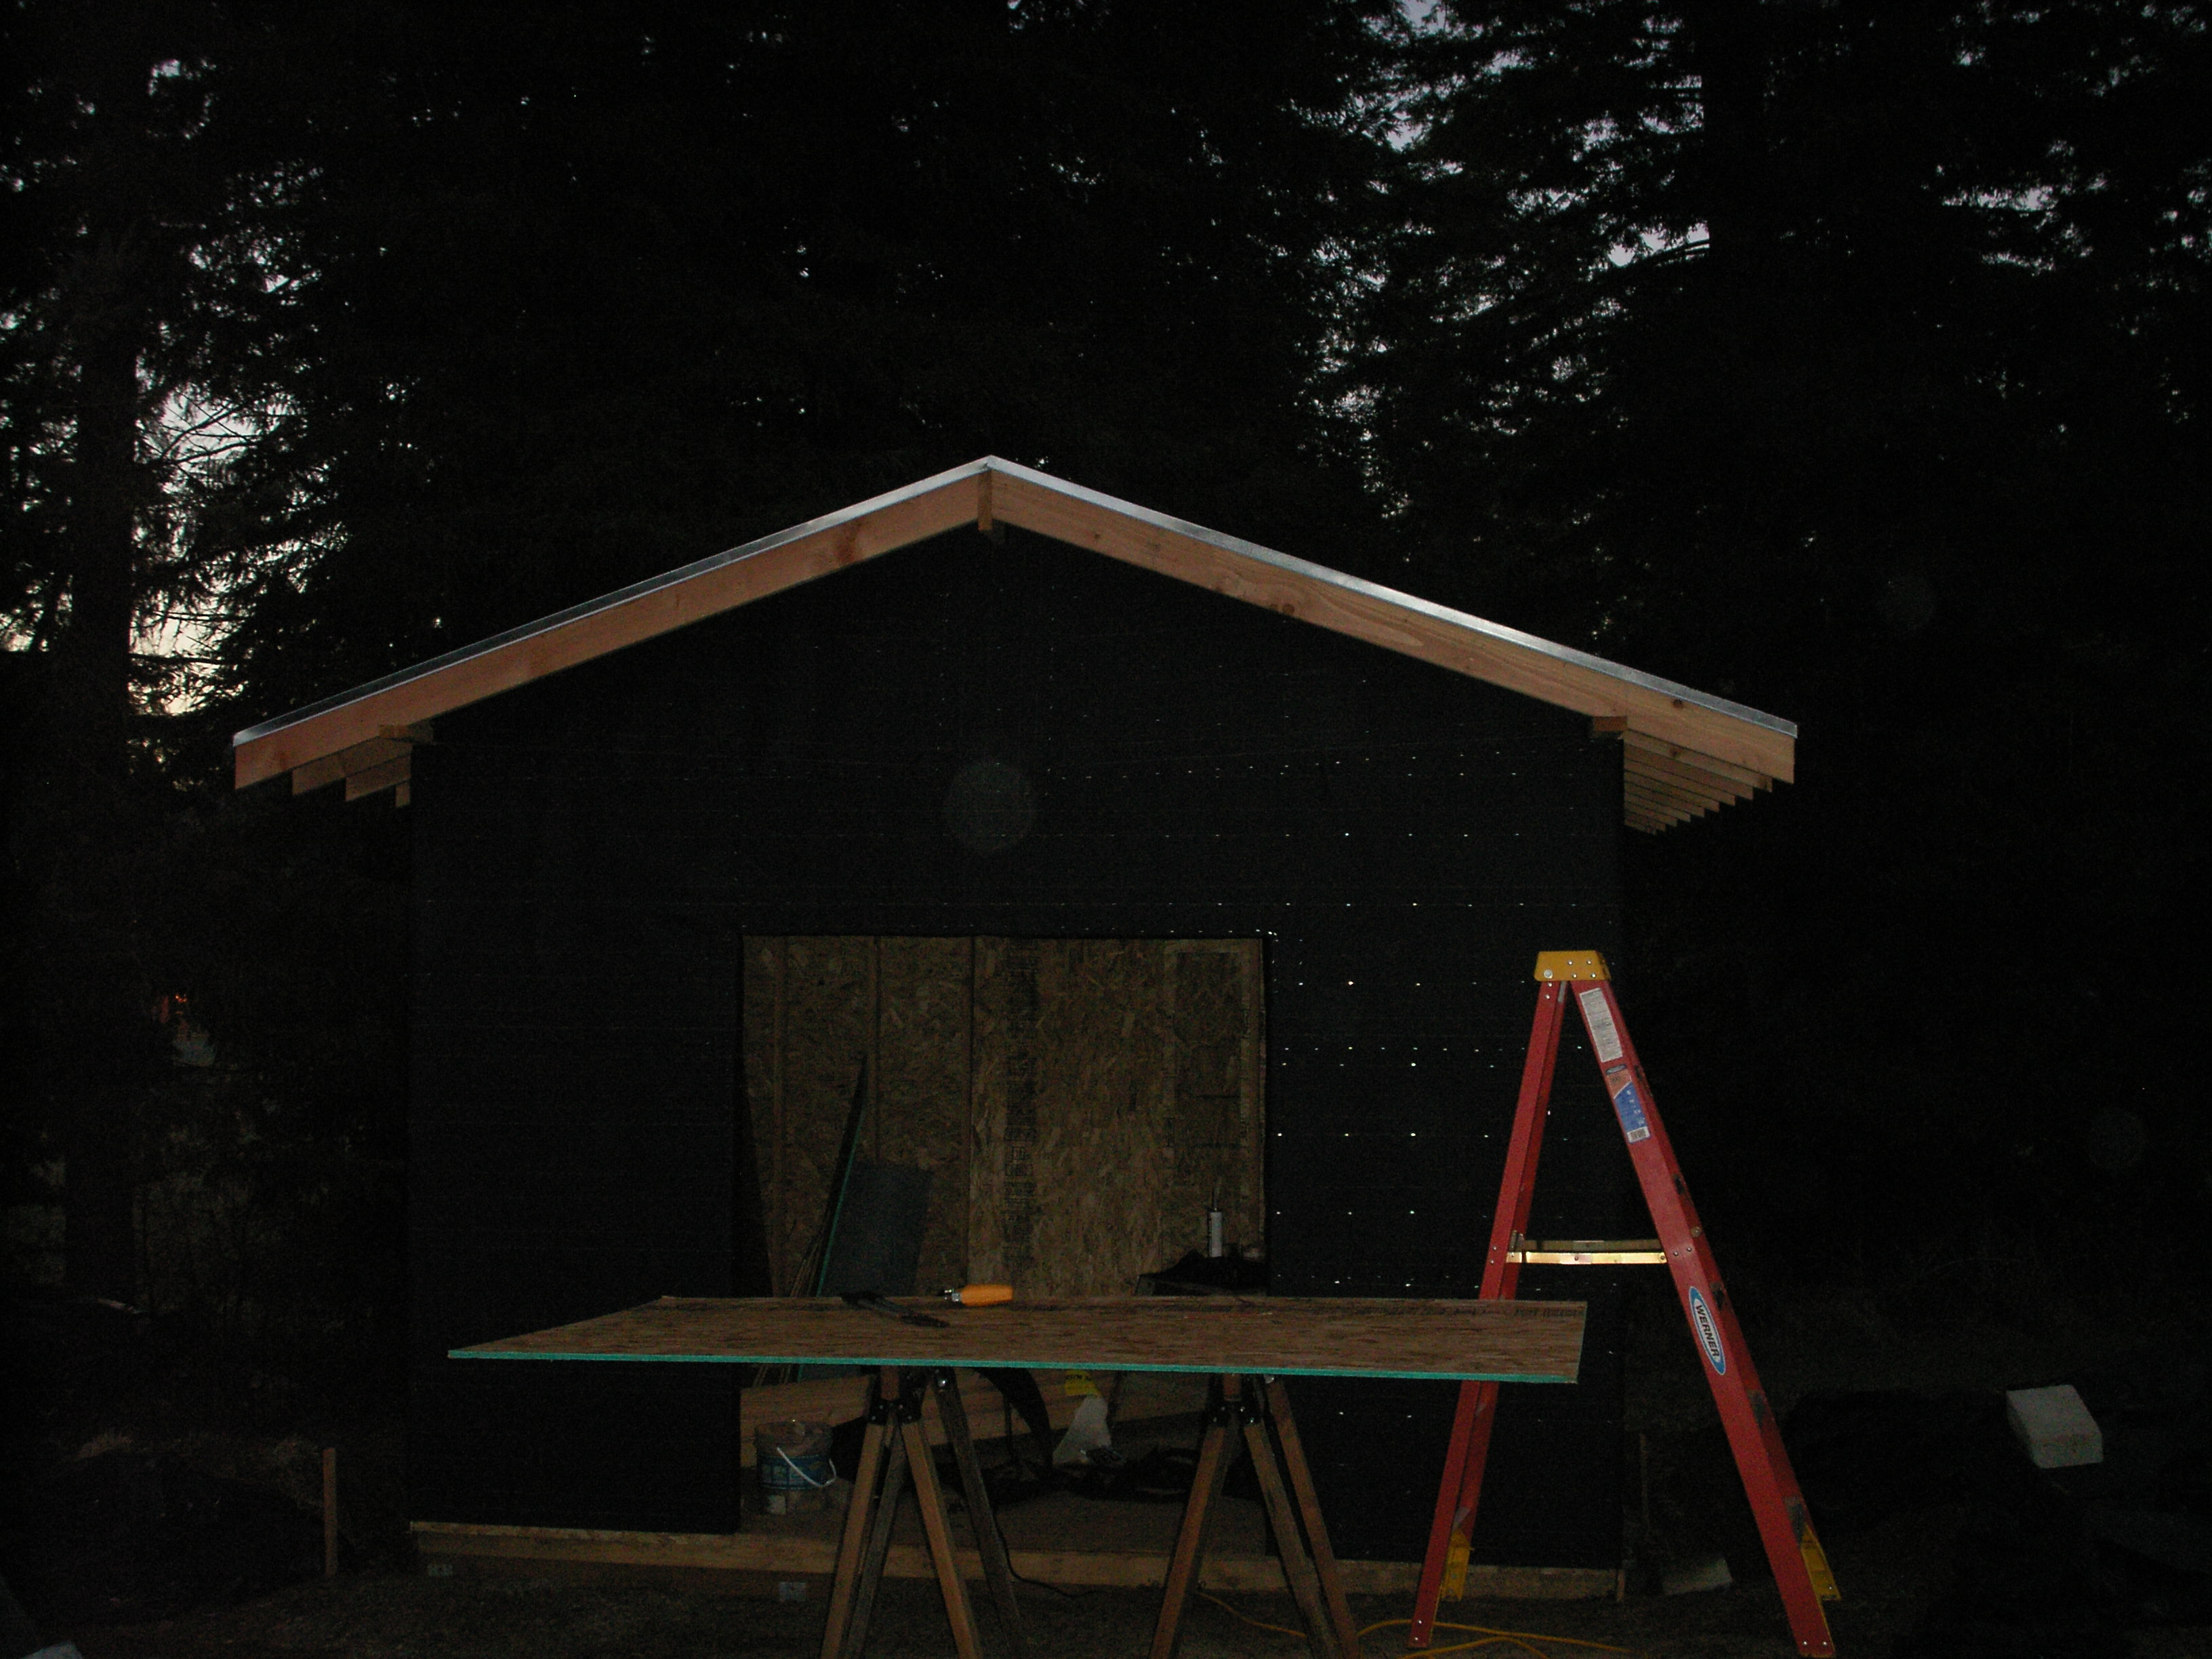
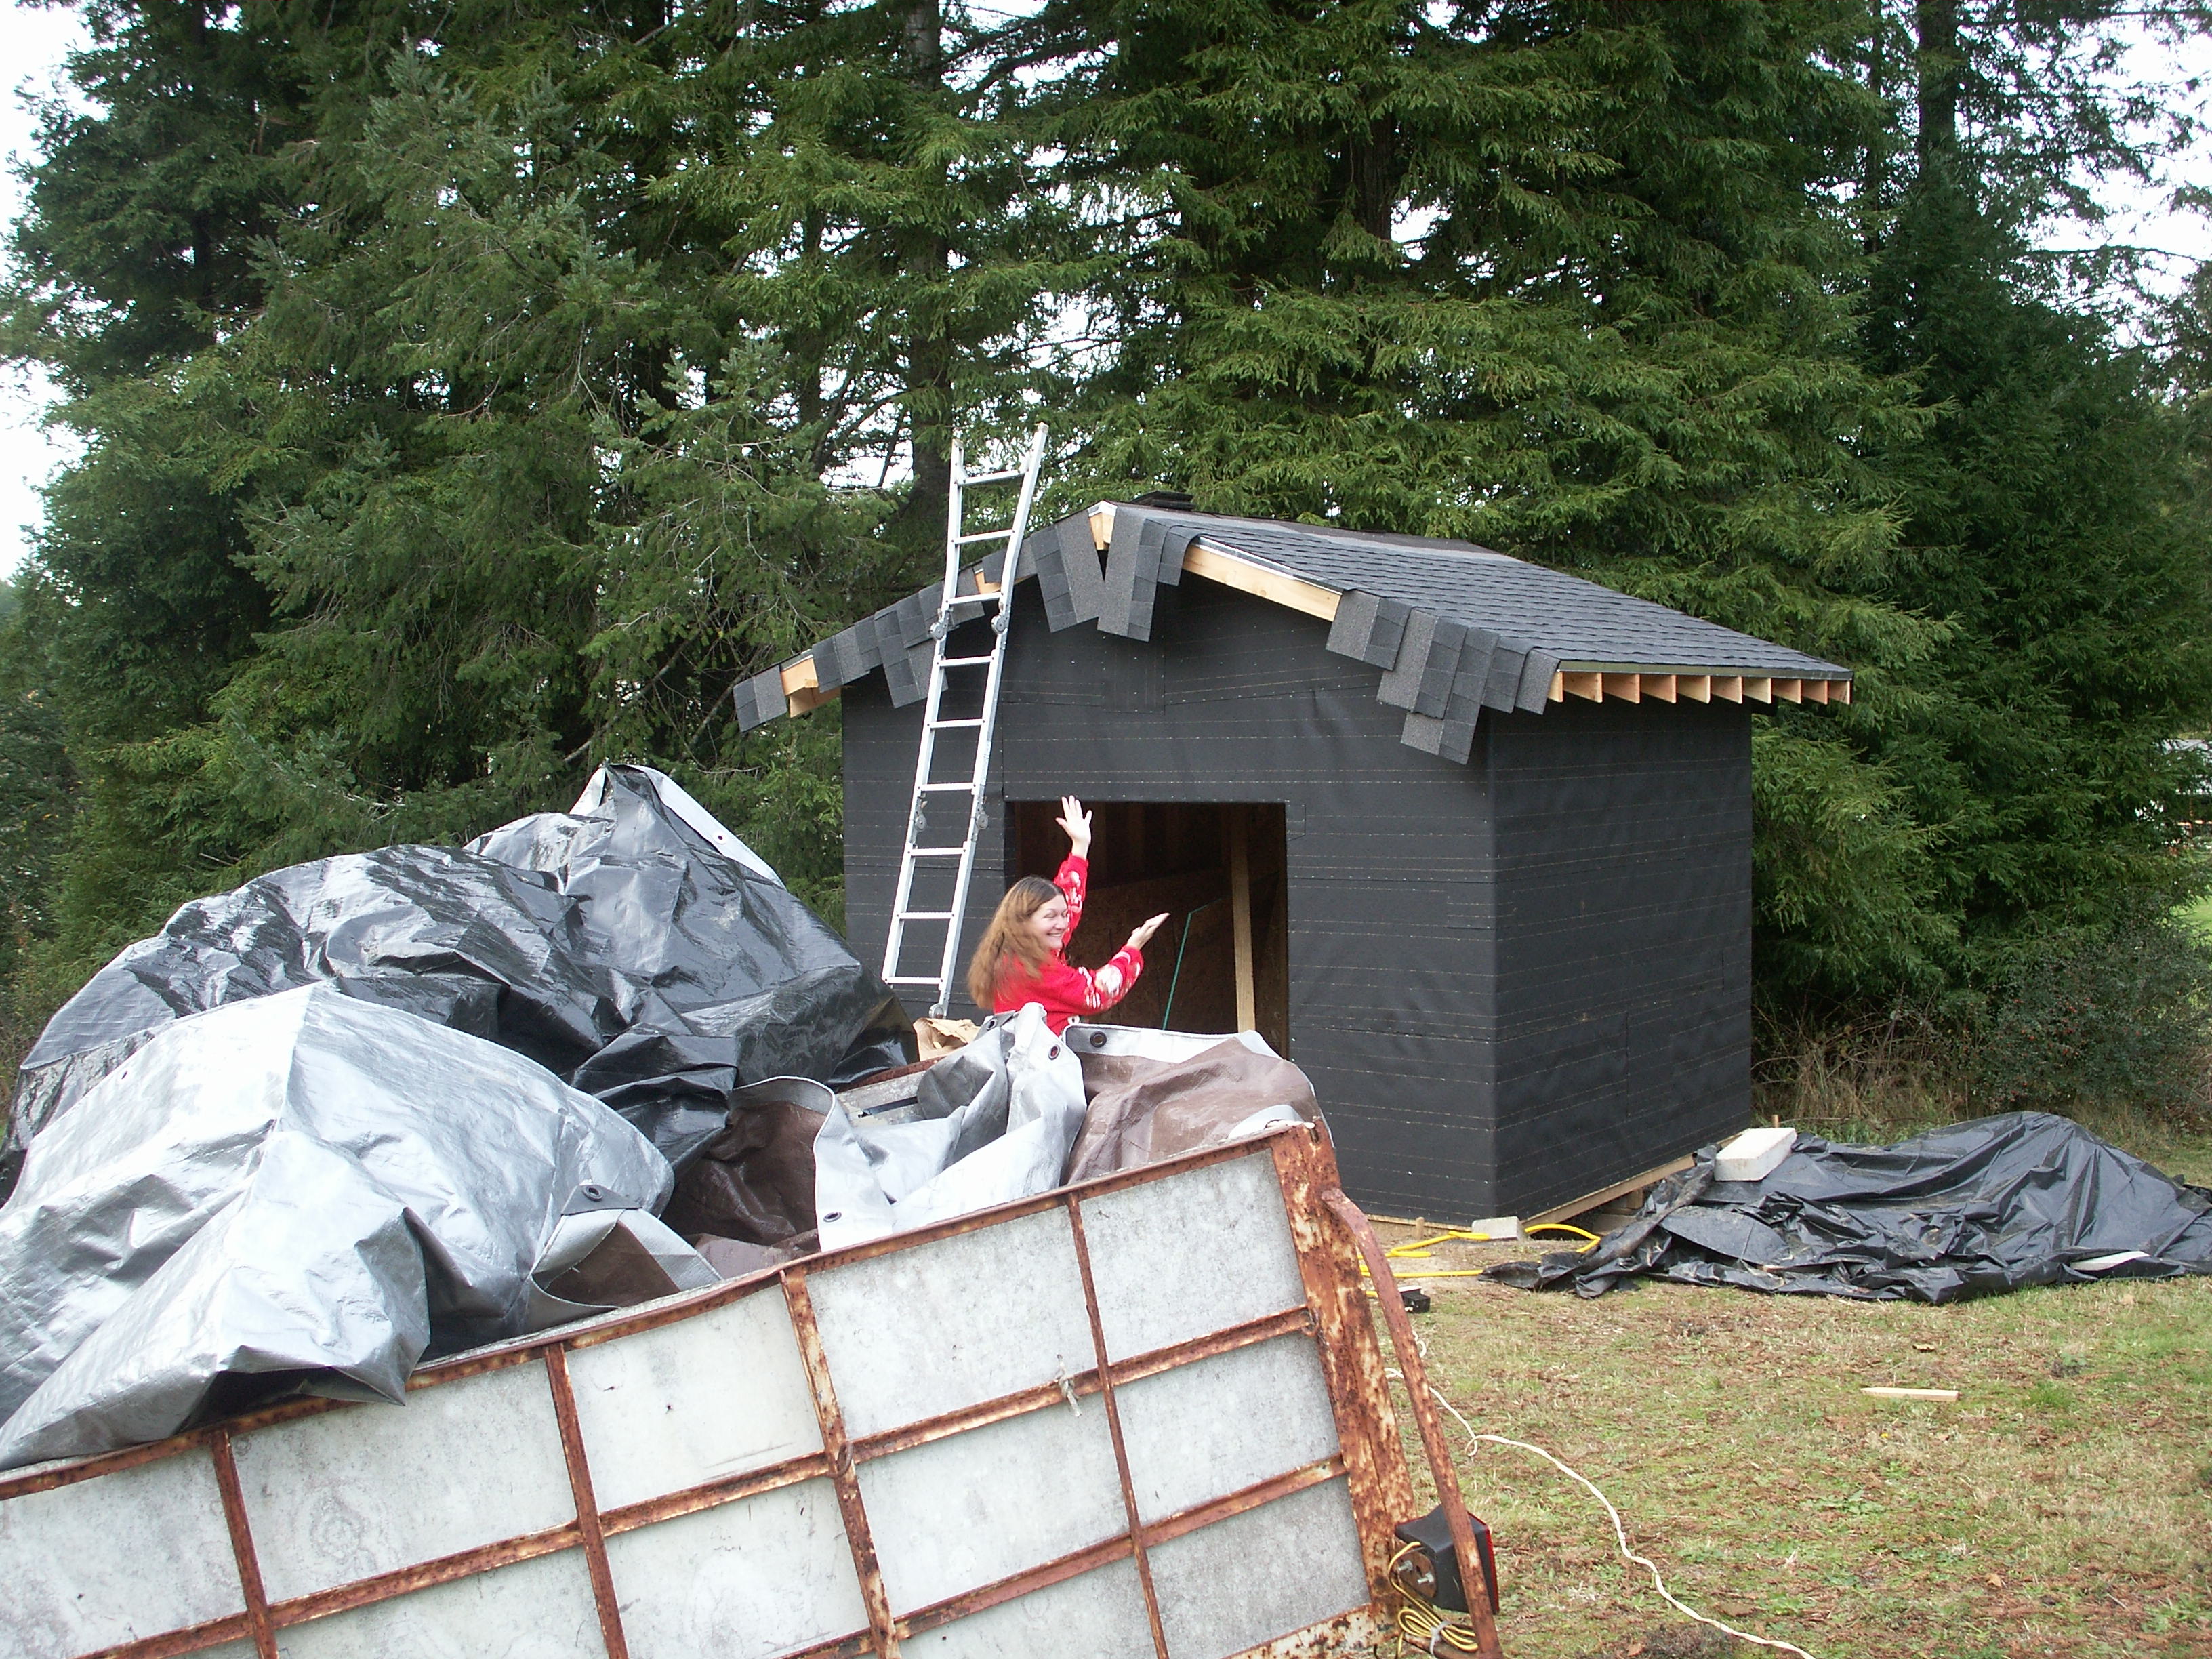
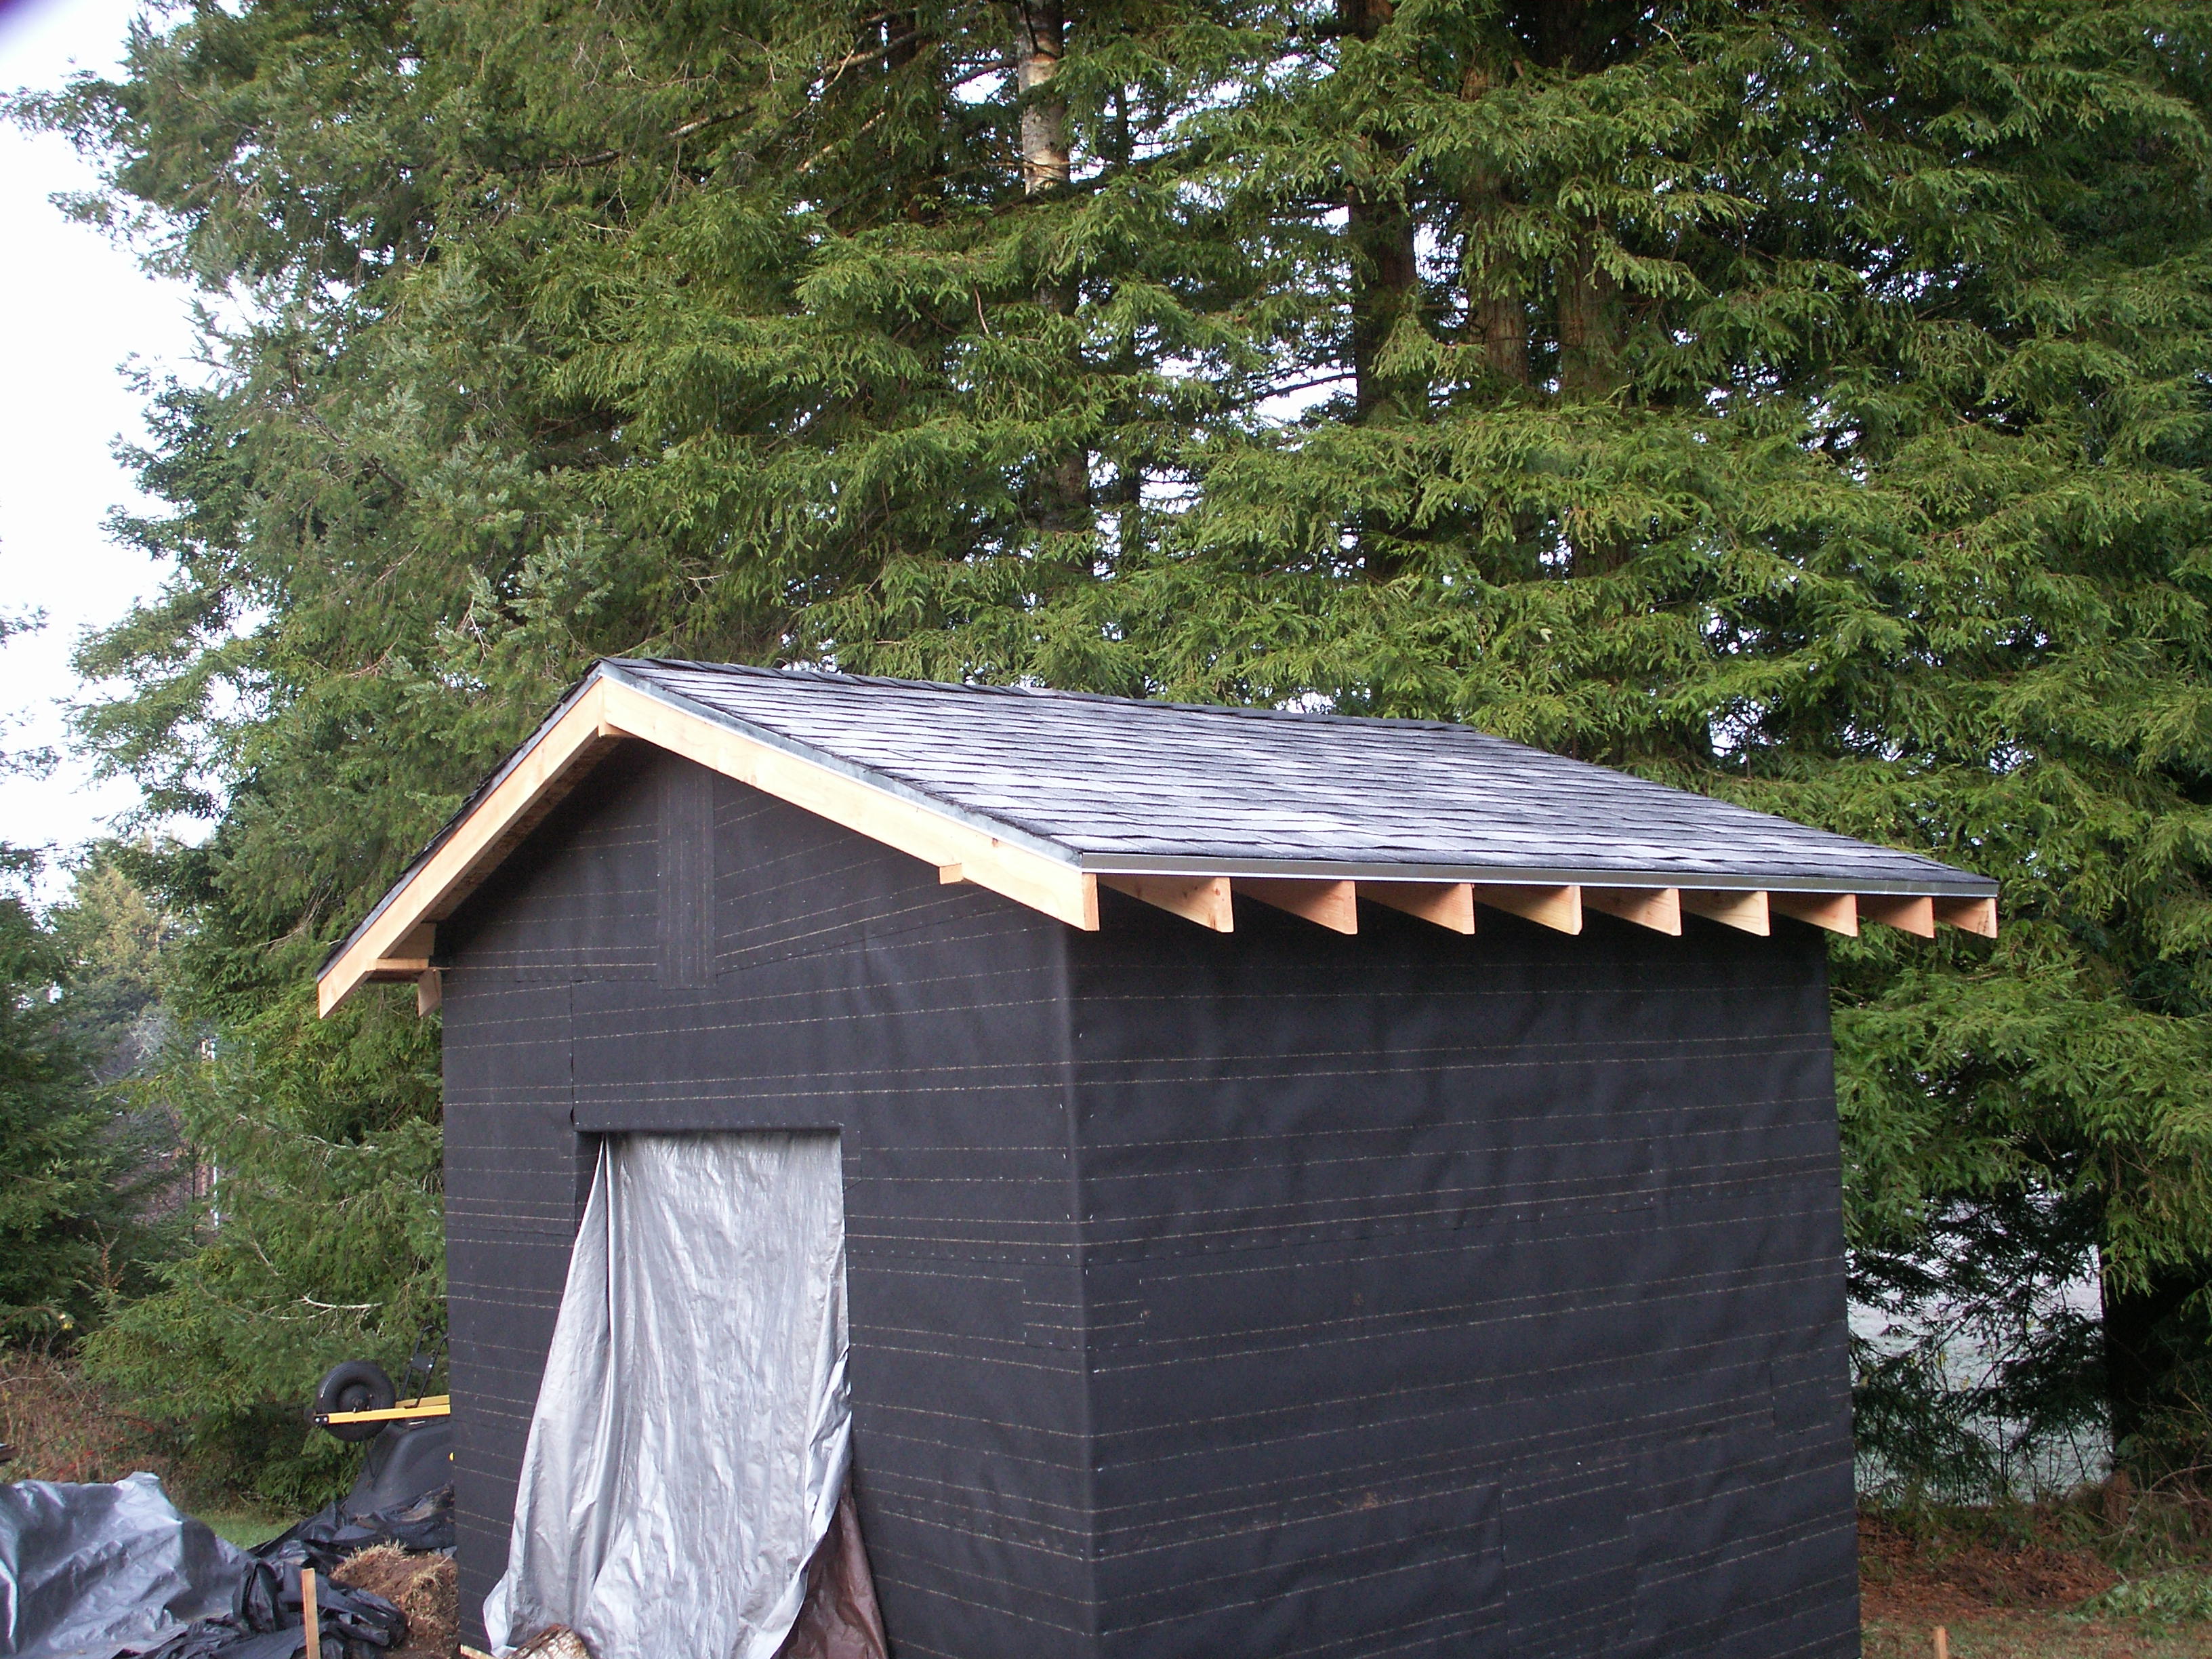
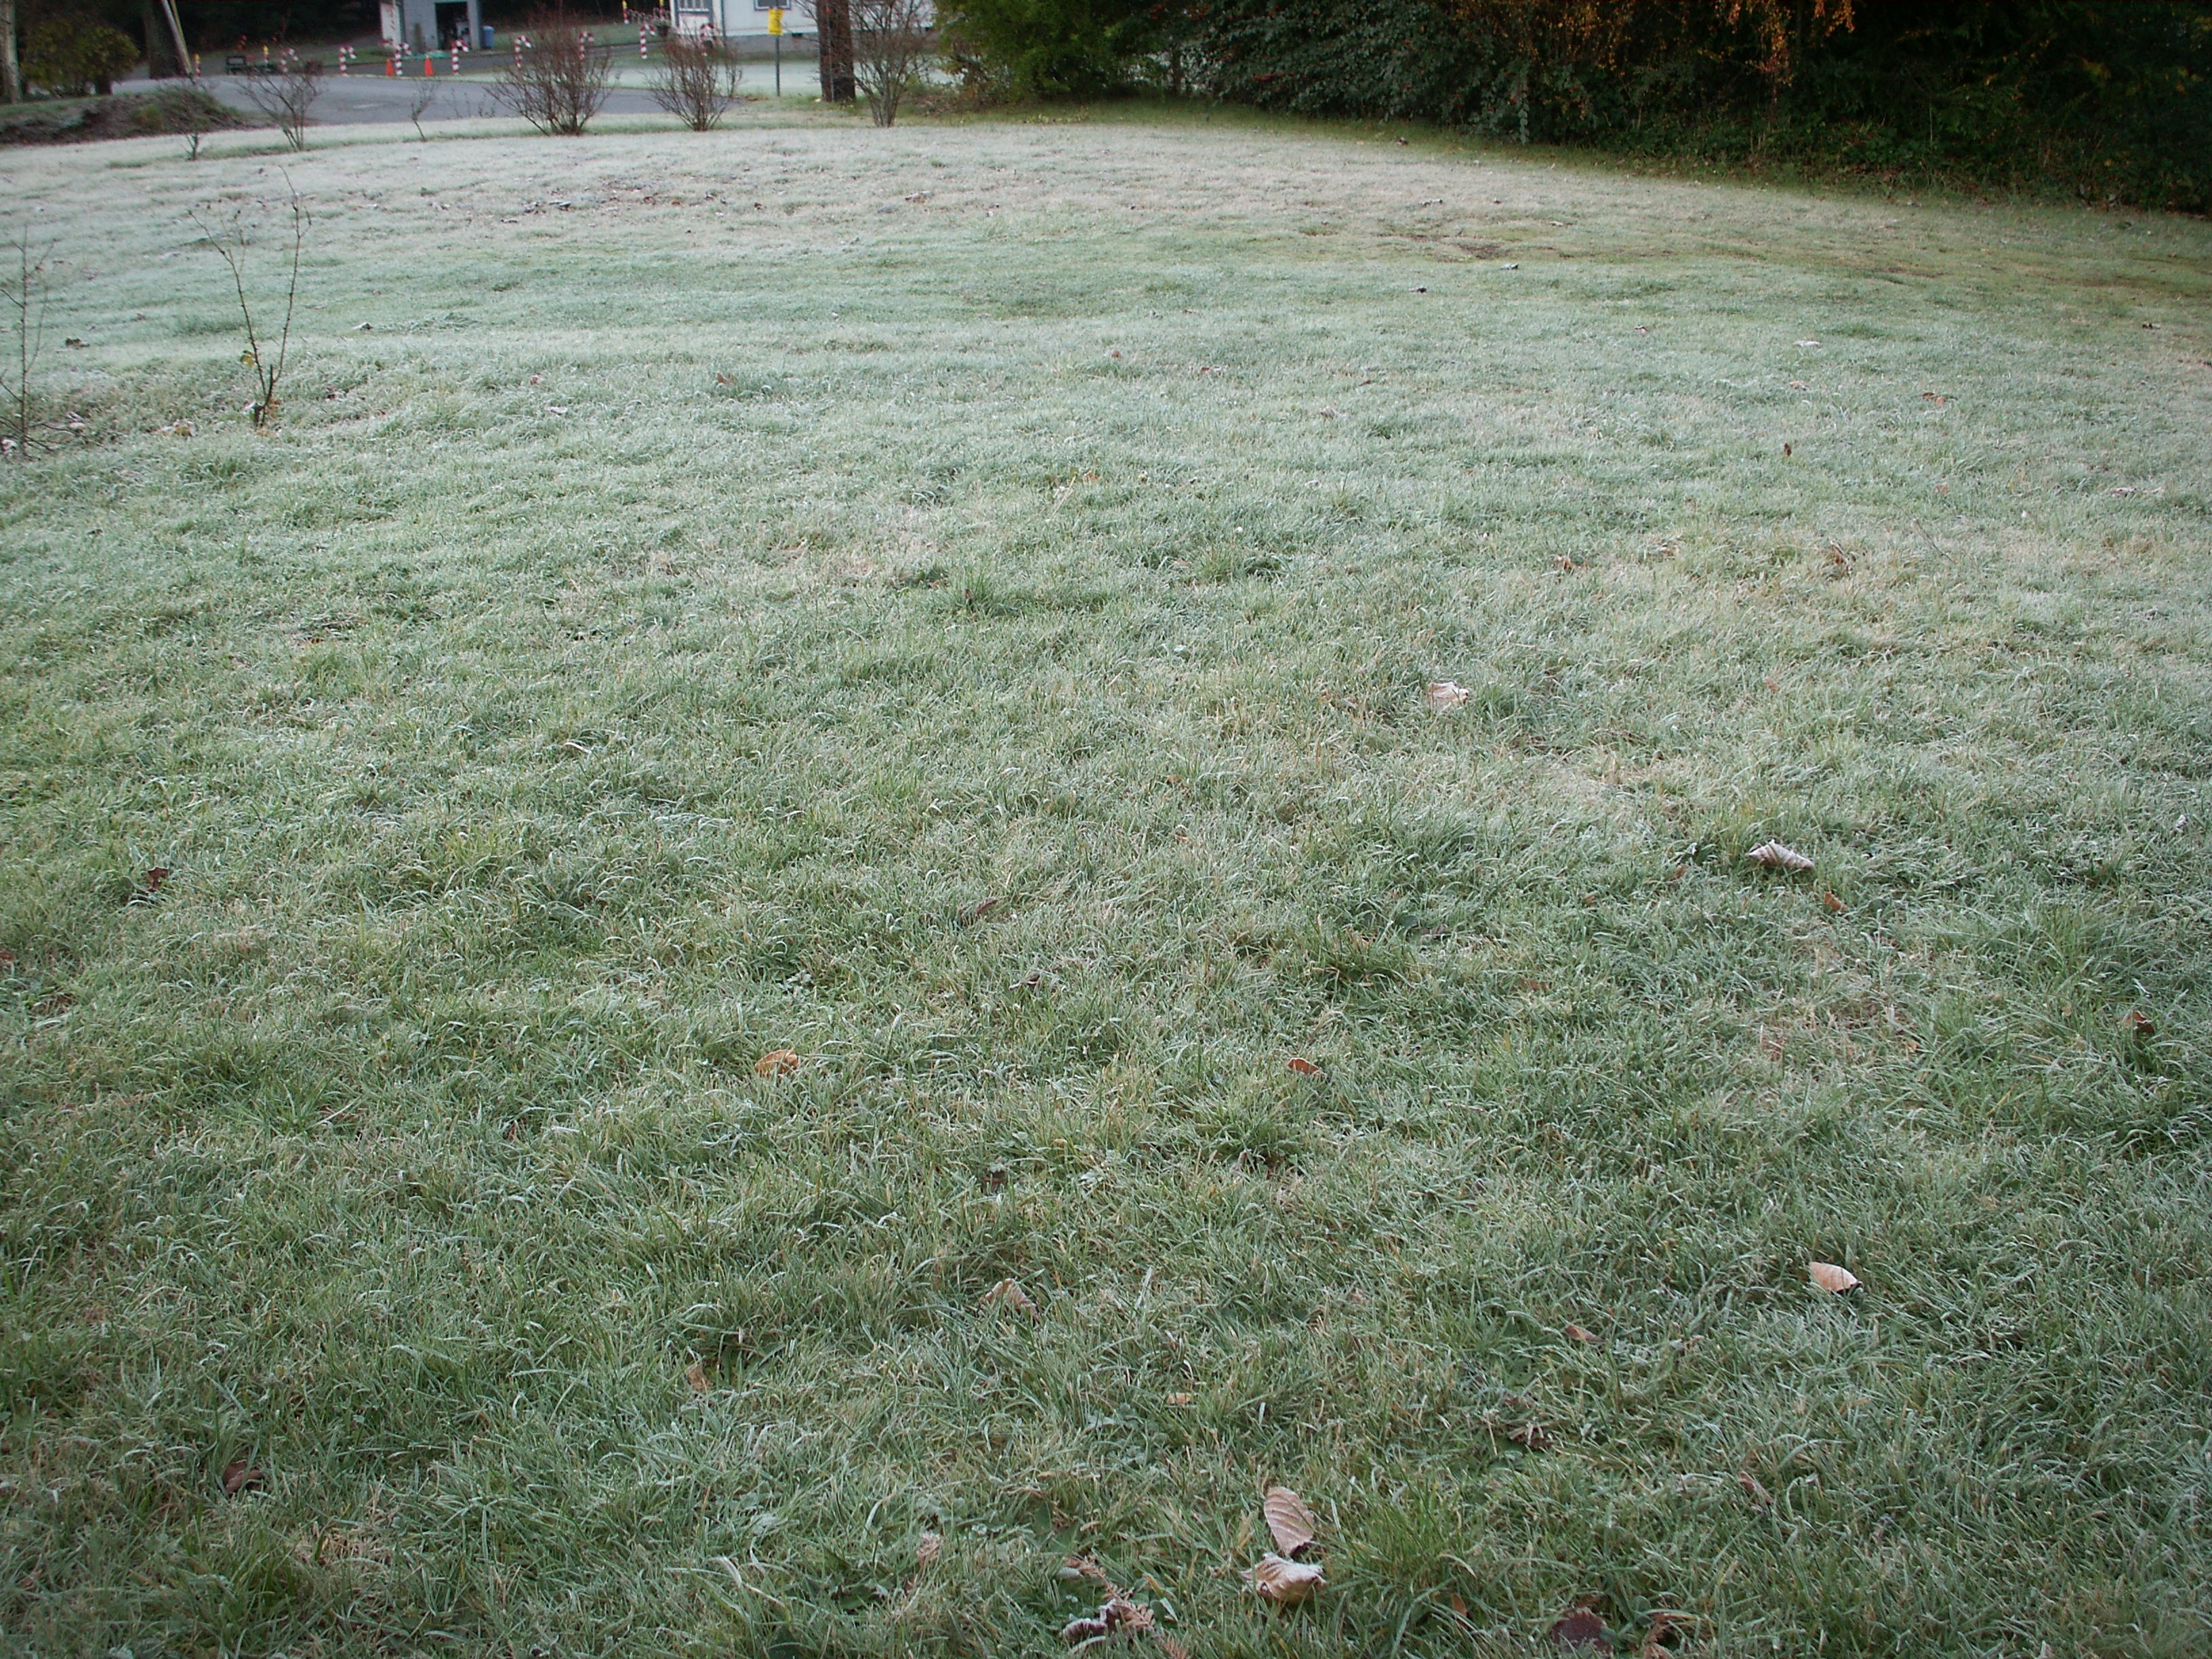
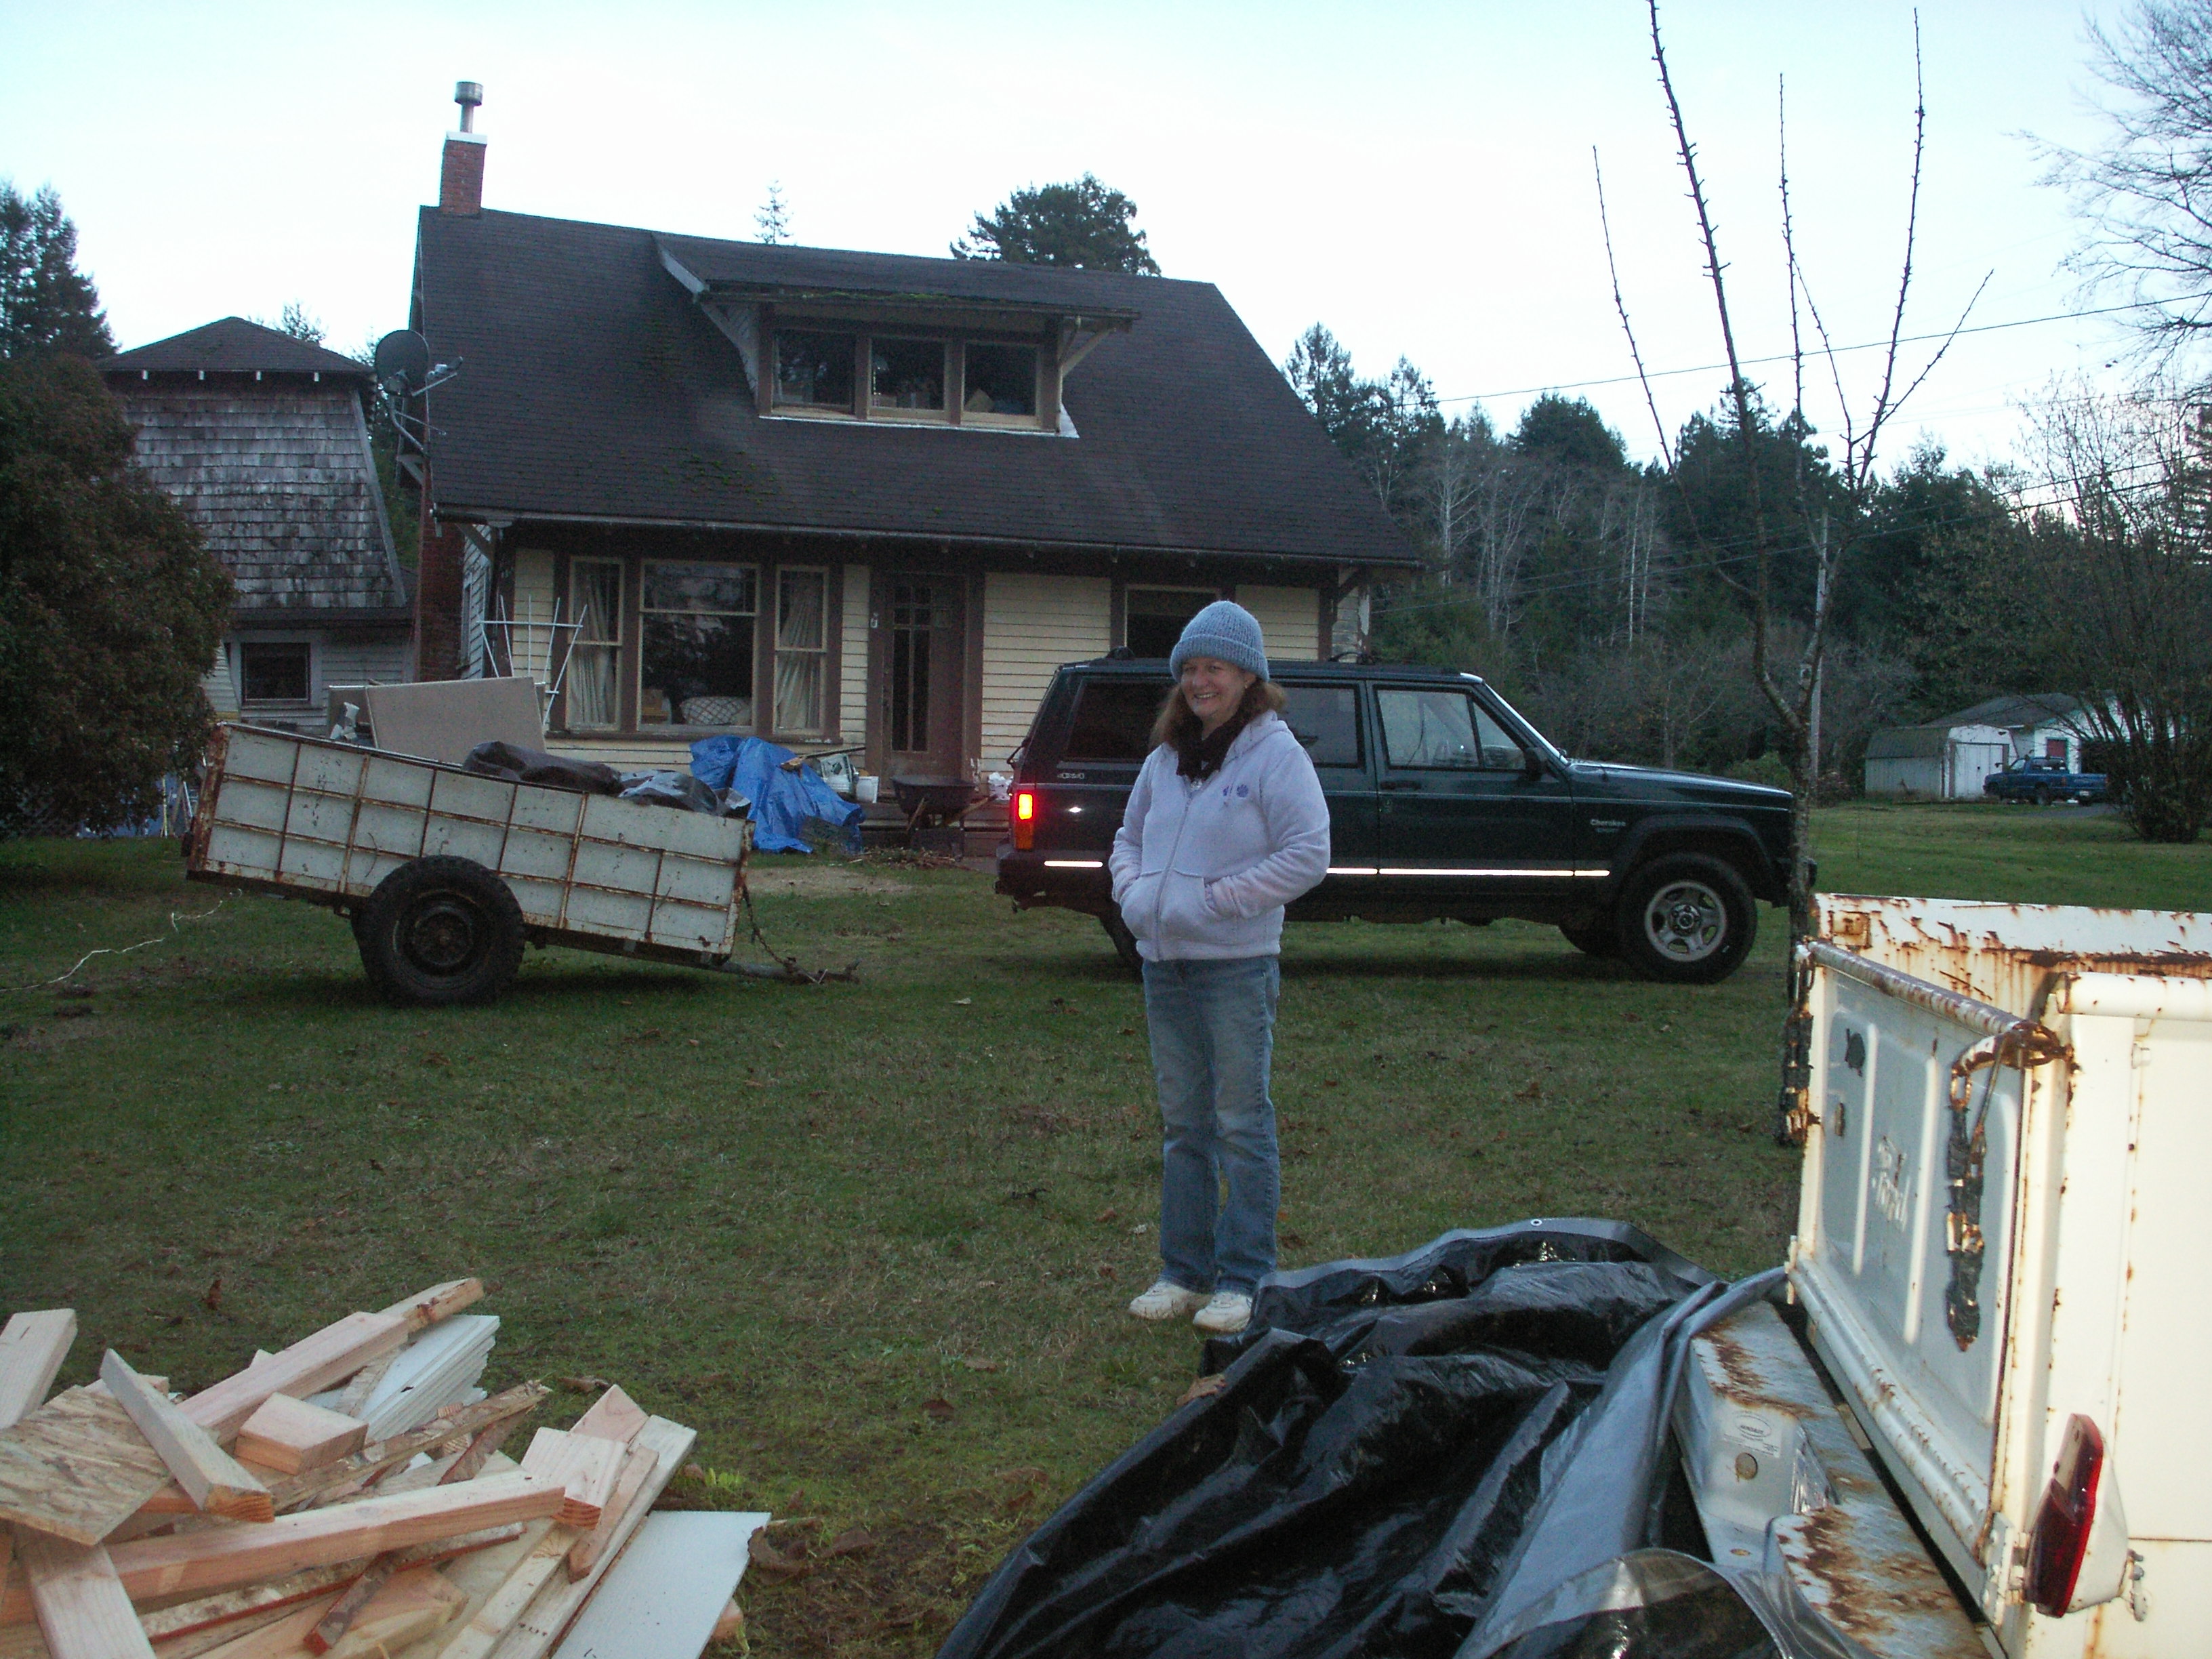
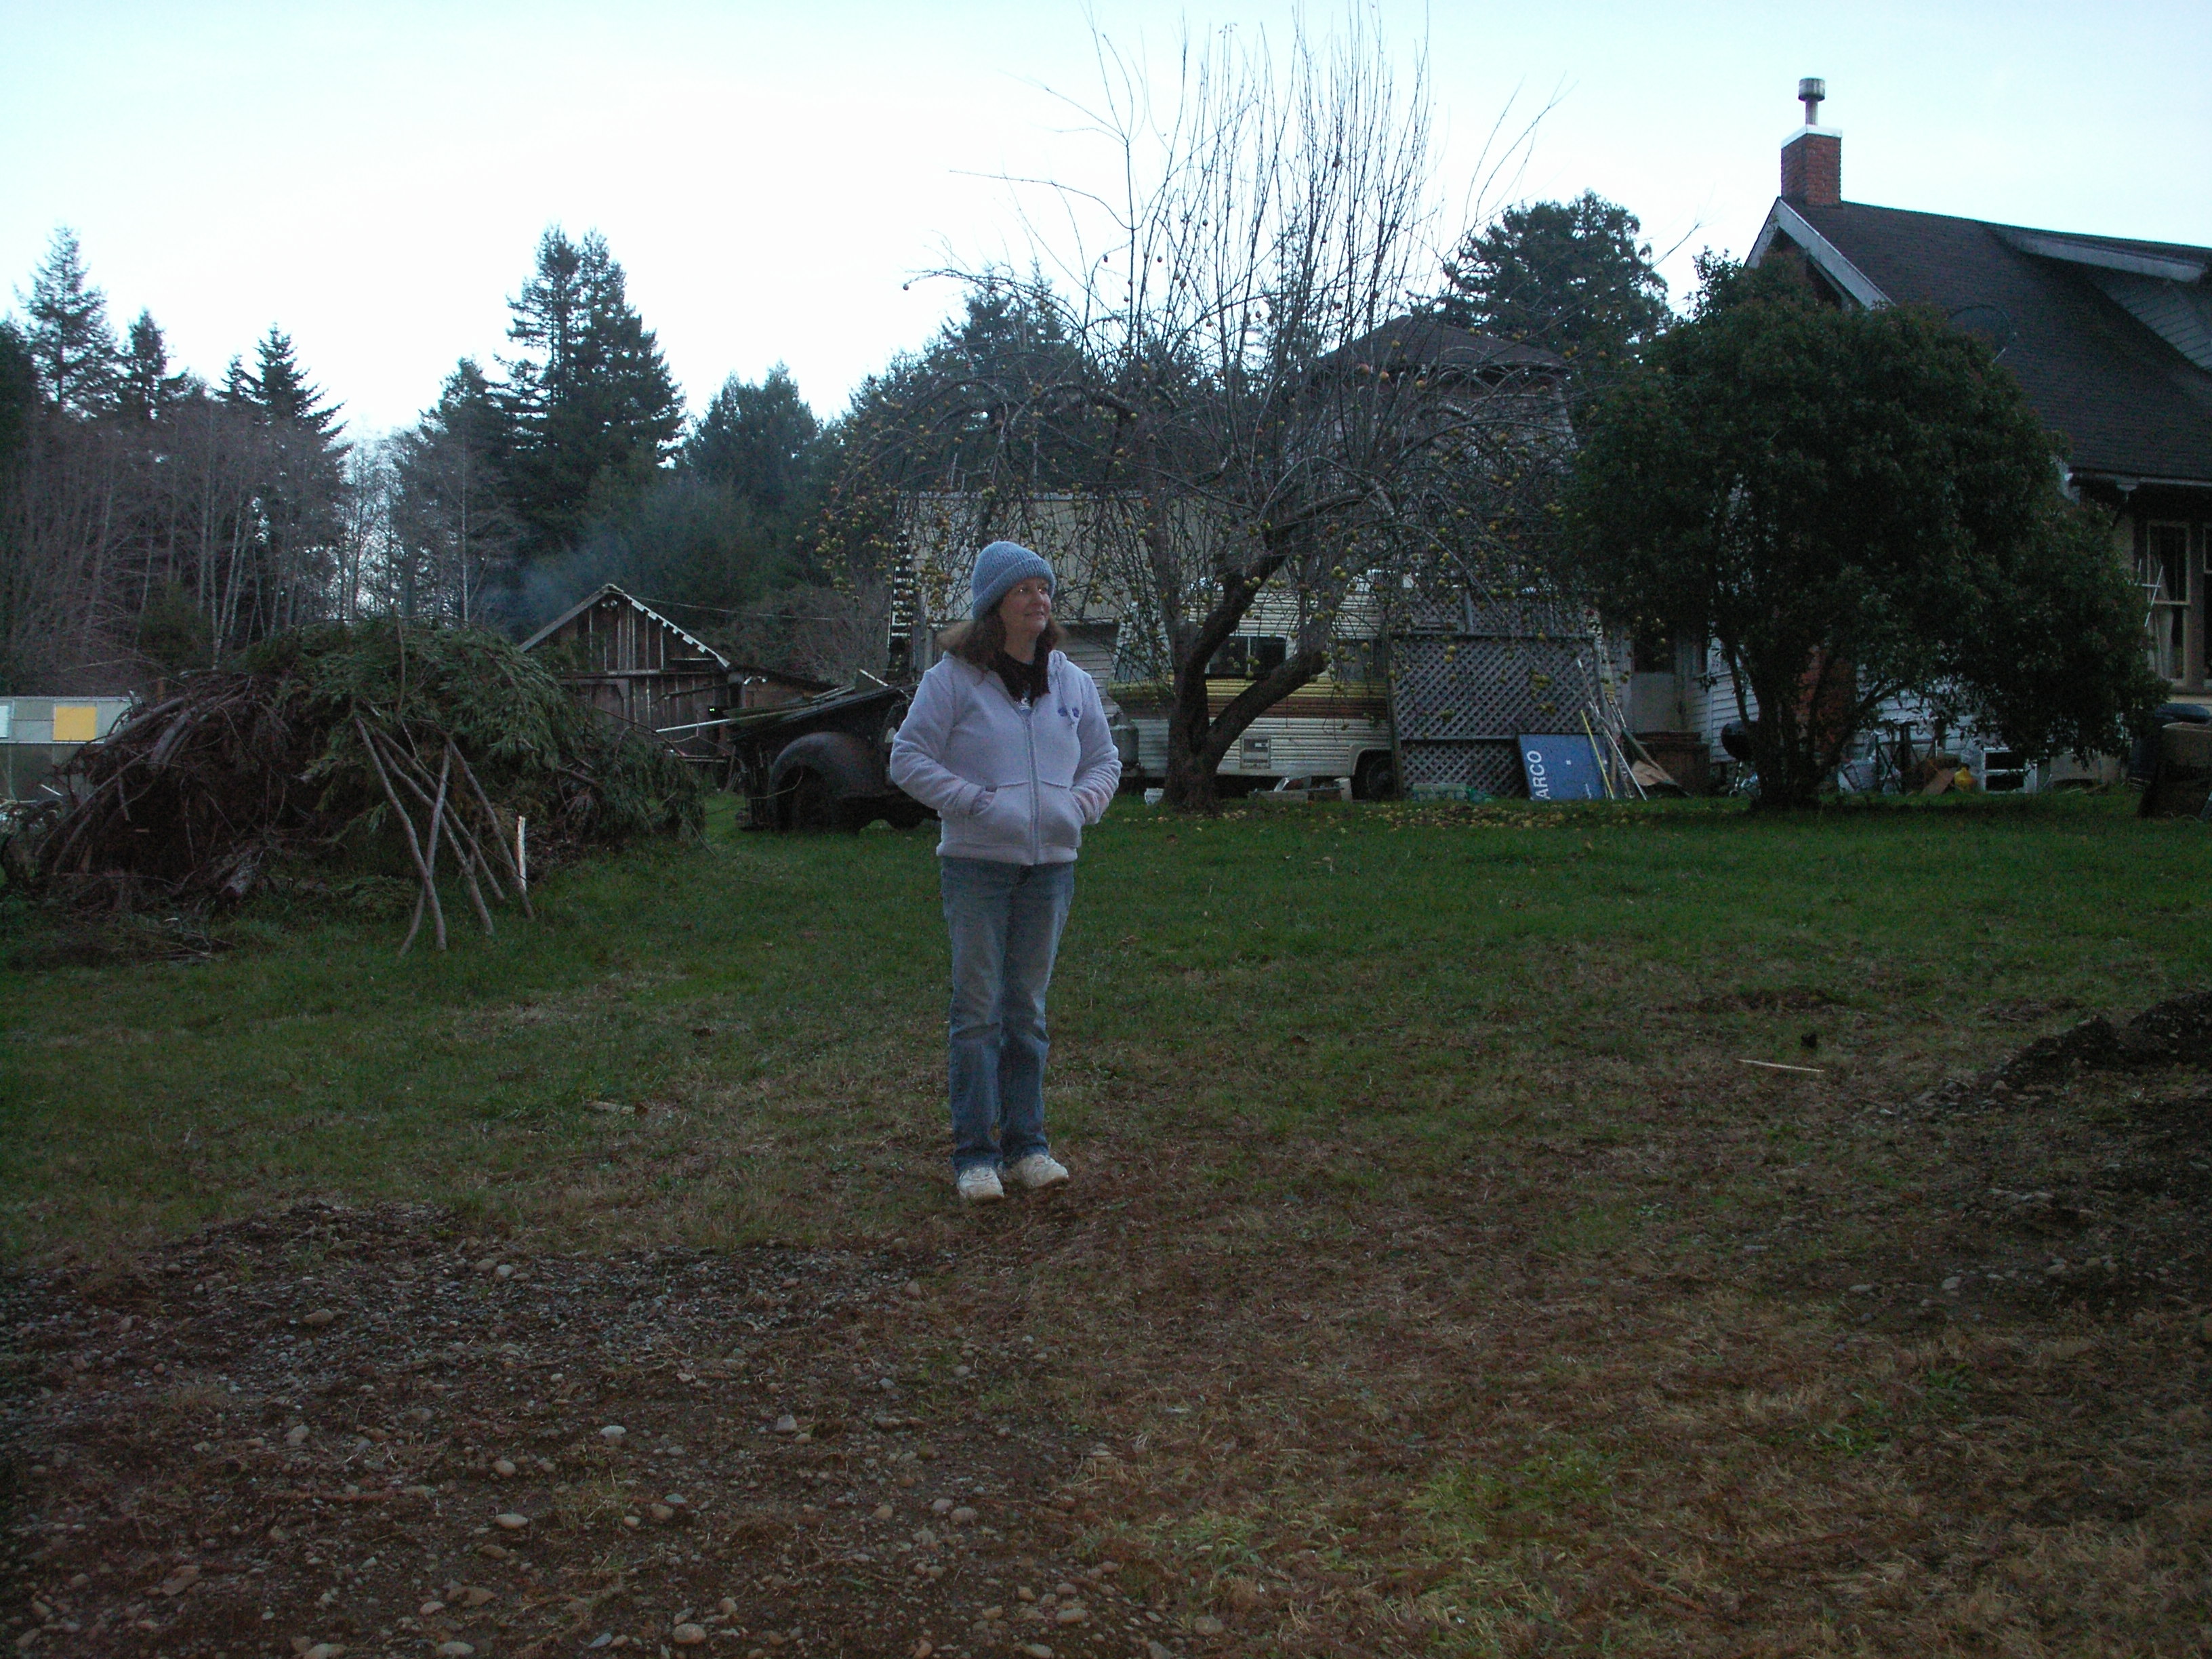
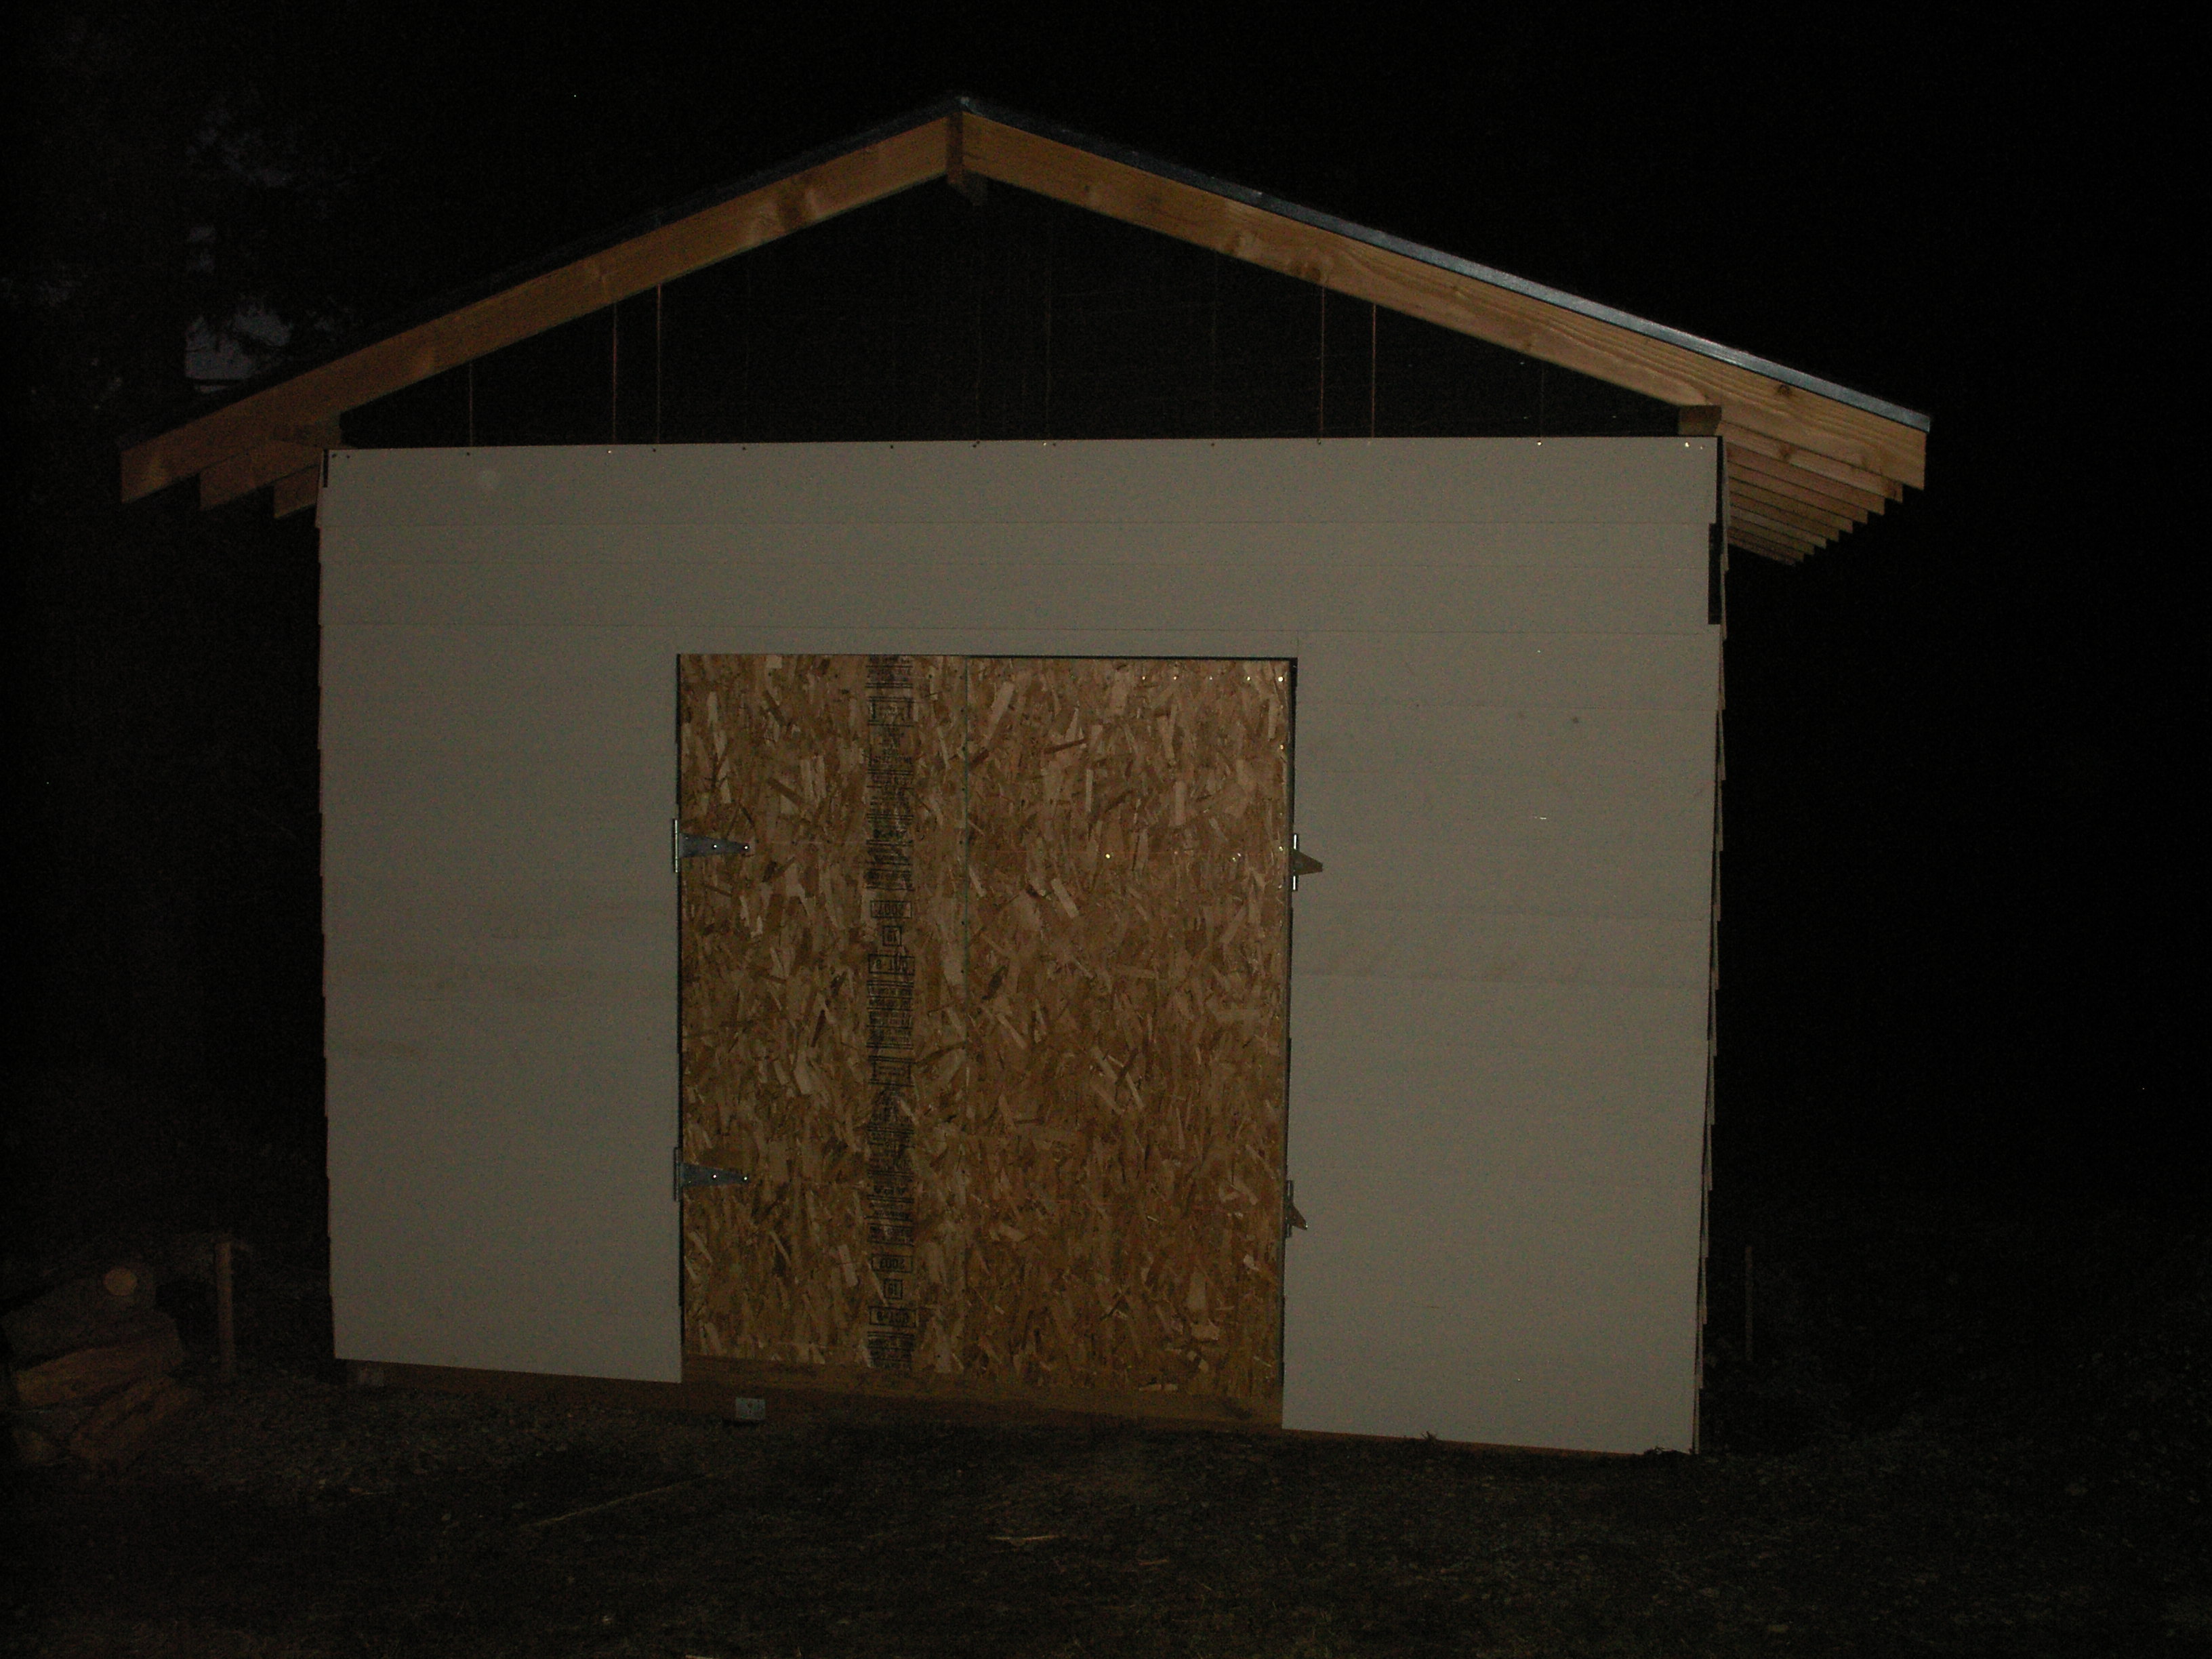
Friday, November 30th. We have a ridge beam! It took me most of the day getting an accurate template for the rafters. After doing lots of trig math, I finally just cut pieces to length and laid them out on the floor, simulating the triangle involved. I now have a template, and should be able to cut the rest of the rafters quickly. Diane was indispensable (as usual!) in holding the ridge beam on 2' uprights steady while I laid the first two rafters in place. Pretty dicey, as I had forgotten to clamp a little locking board around the bird's mouth to keep them from slipping off of the caps. I hollered for clamps that were up in my office, so she brought back all of them, including the desk lamp clamp. After the first pair was toe-nailed in place, the next pair went up much easier. It's starting to look like a roof! Not a moment too soon, as we are expecting more rain tomorrow night (Saturday). I figured out that I am short on 2x6's, so it's back to Ace tomorrow morning. I have to be back before noon, as we have 2 more cords of wood being delivered. We hope to store them in the storage unit at first, until we have more room in the wood shed. I also will be looking for better dust masks, as the siding is Hardiplank, which when cut, emits silica dust. I am going to ask for the special saw blades (Hardiblades - The James Hardie Building Products company has quite the racket going) or tips on how to score and snap the boards, which creates almost no dust. Great help was had by the books Building Your Own House by Robert Roskind and Working Alone by John Carroll (Thanks, Karen and Mike!). The Roskind book helped me visualize getting the roof up and pointed out that I was missing corner trim, as well as drip edge. The Carroll book is just a great way of using tools, jigs, and fore-planning to do the job by myself. There was a stiff breeze today, and this morning the ground was white with all the frost, so Diane does not stay outside too long. Amazing what our little Konica Minolta DiMage X1 can do - The flash was bright enough to get pictures at night!
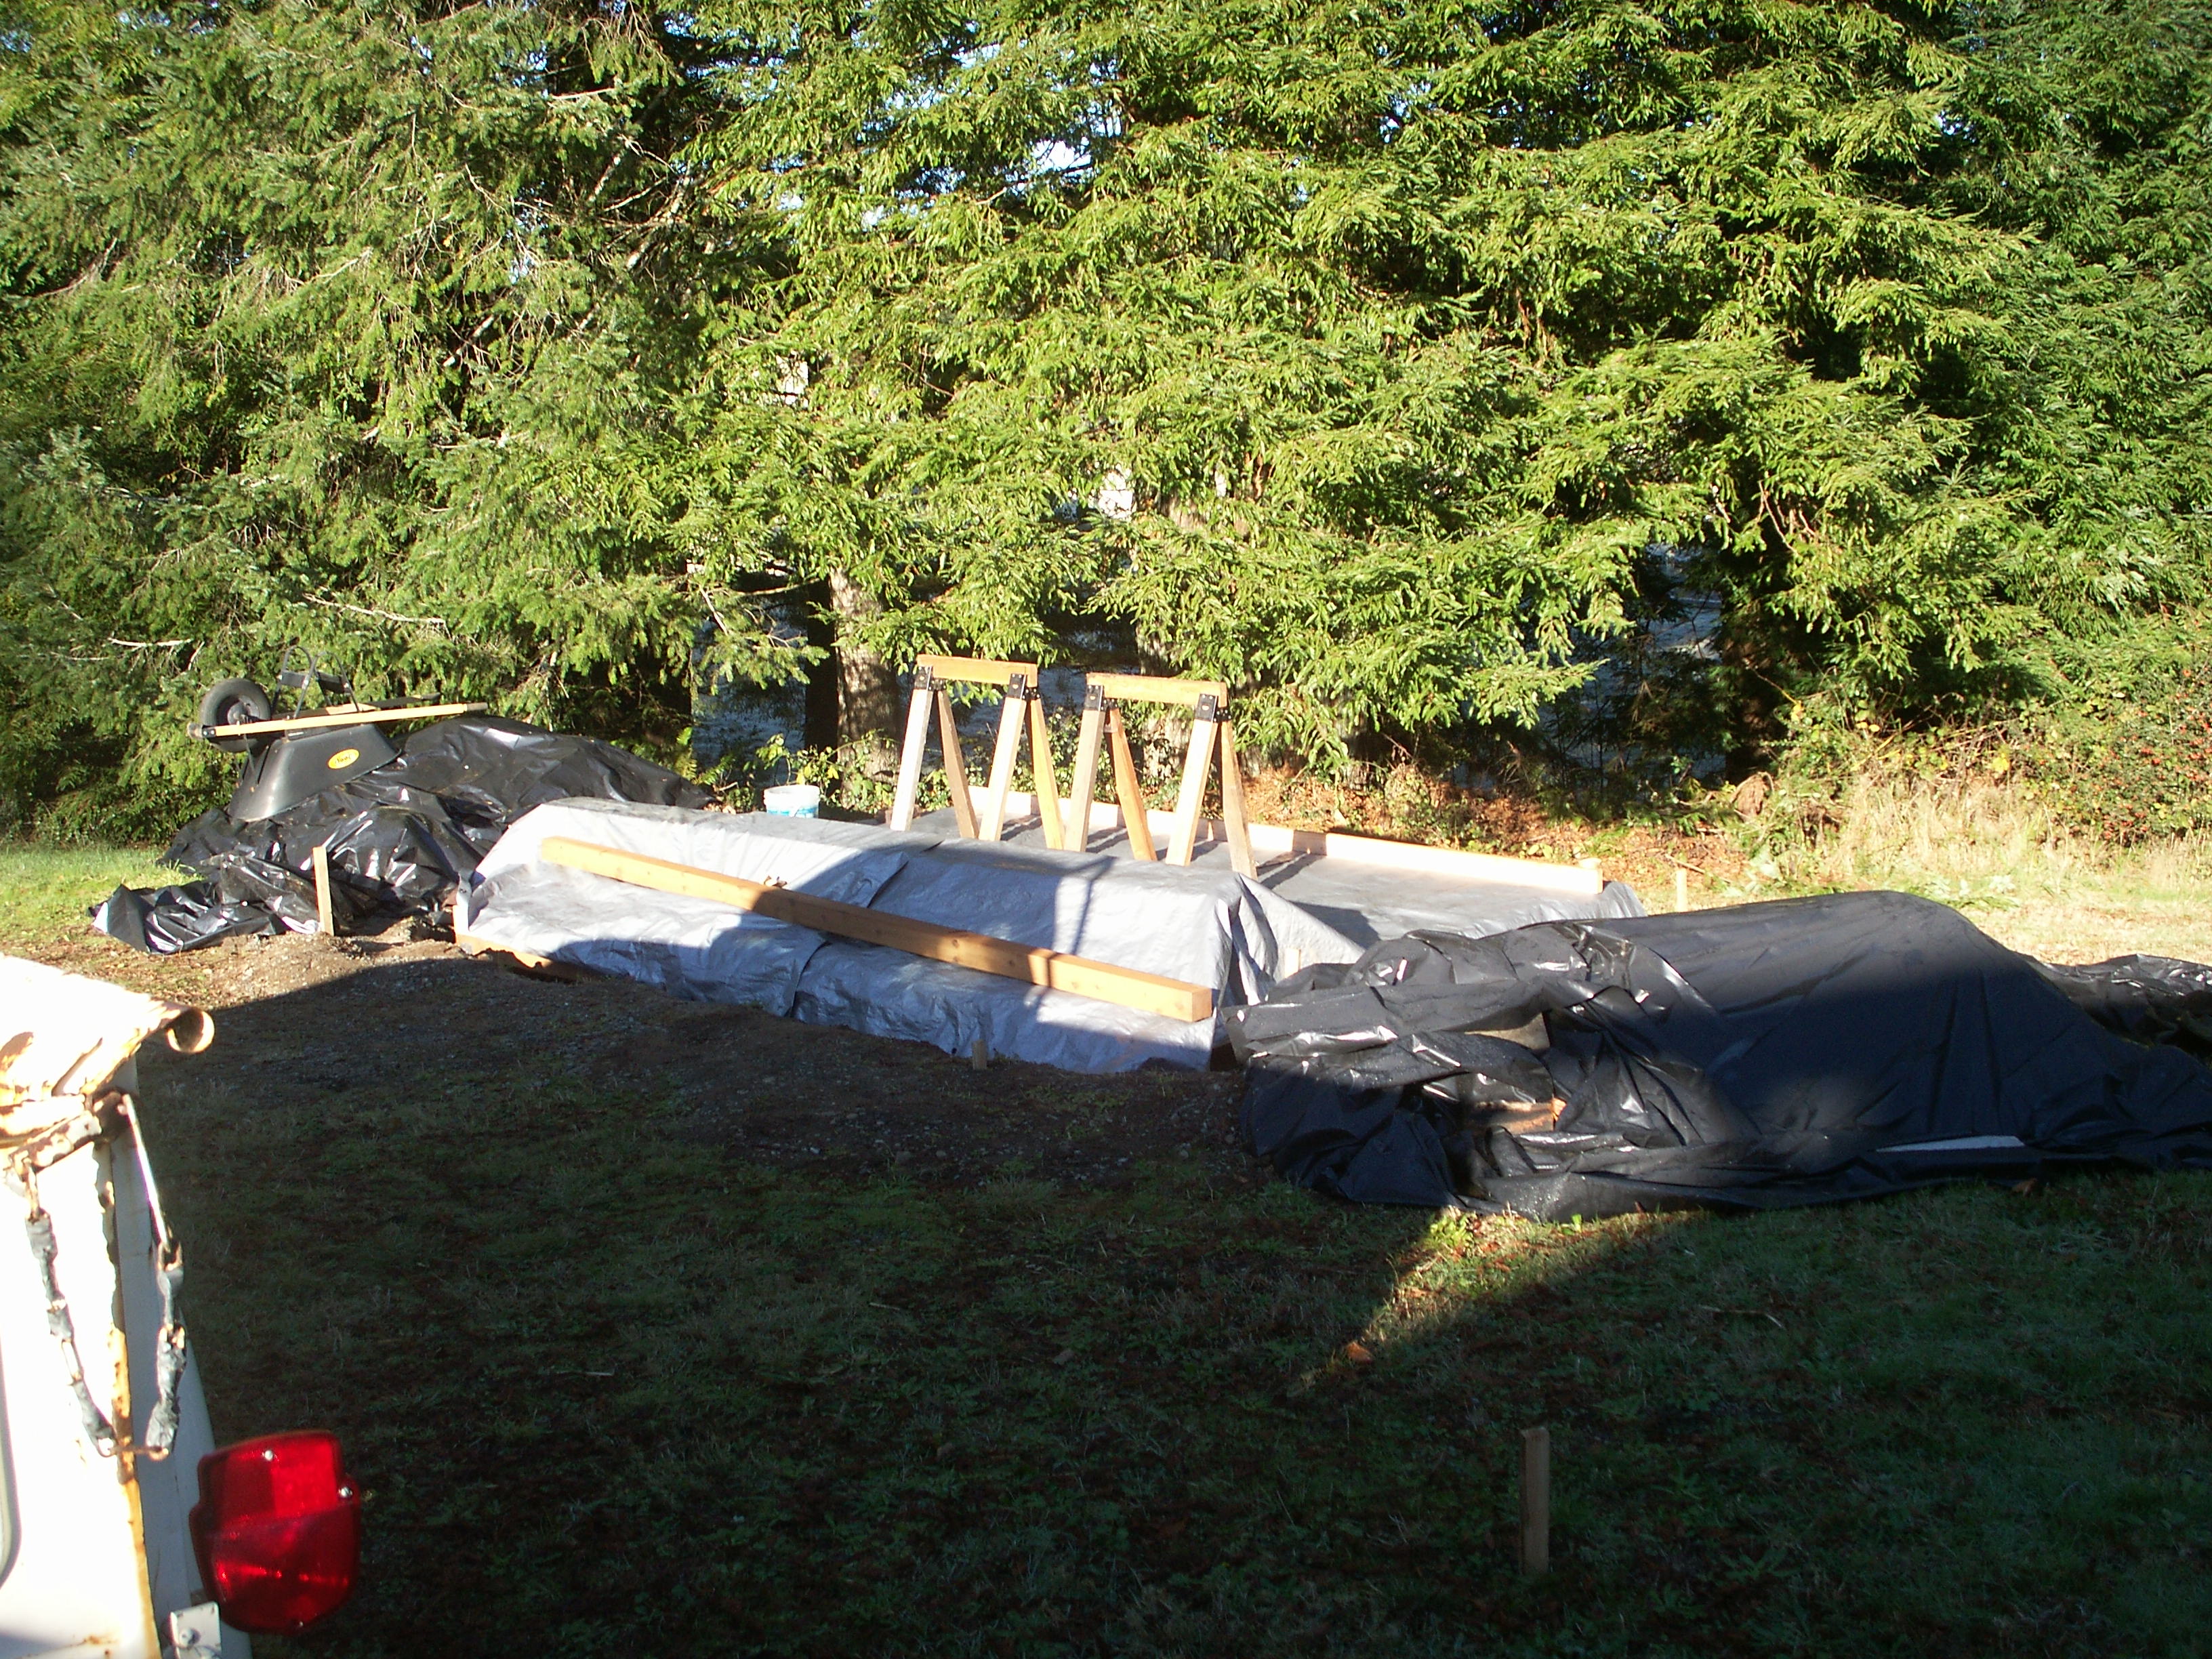
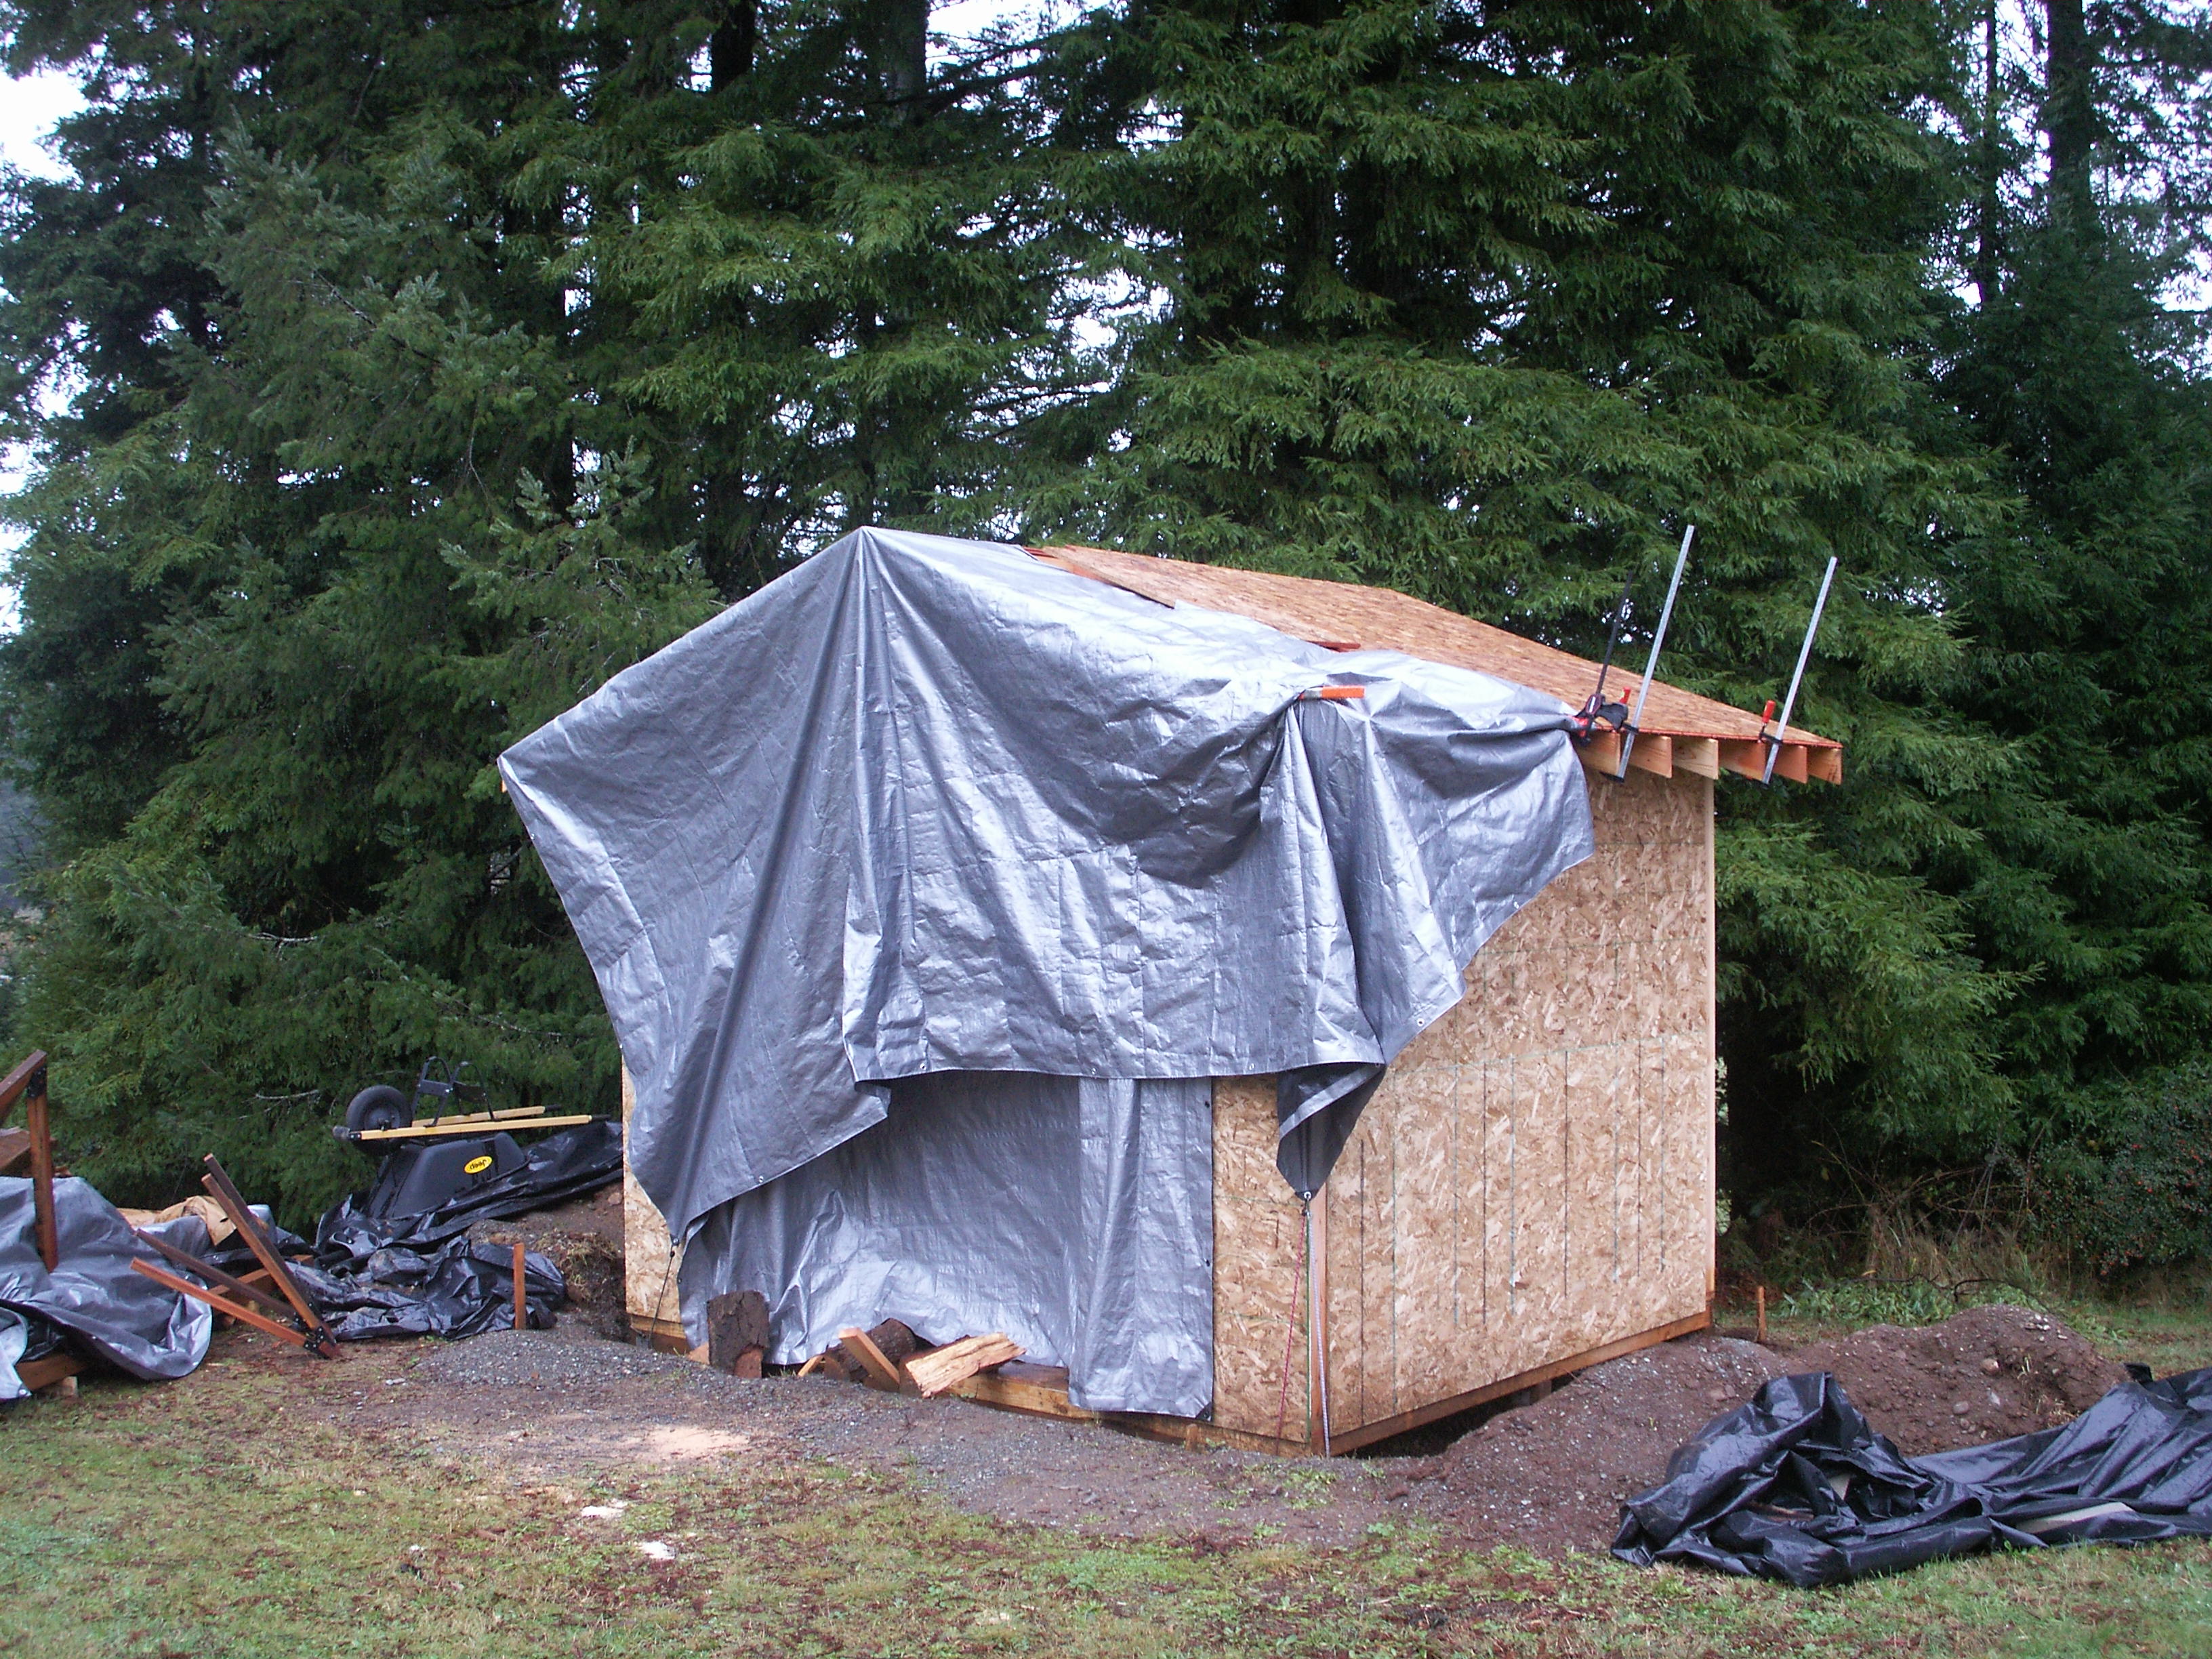
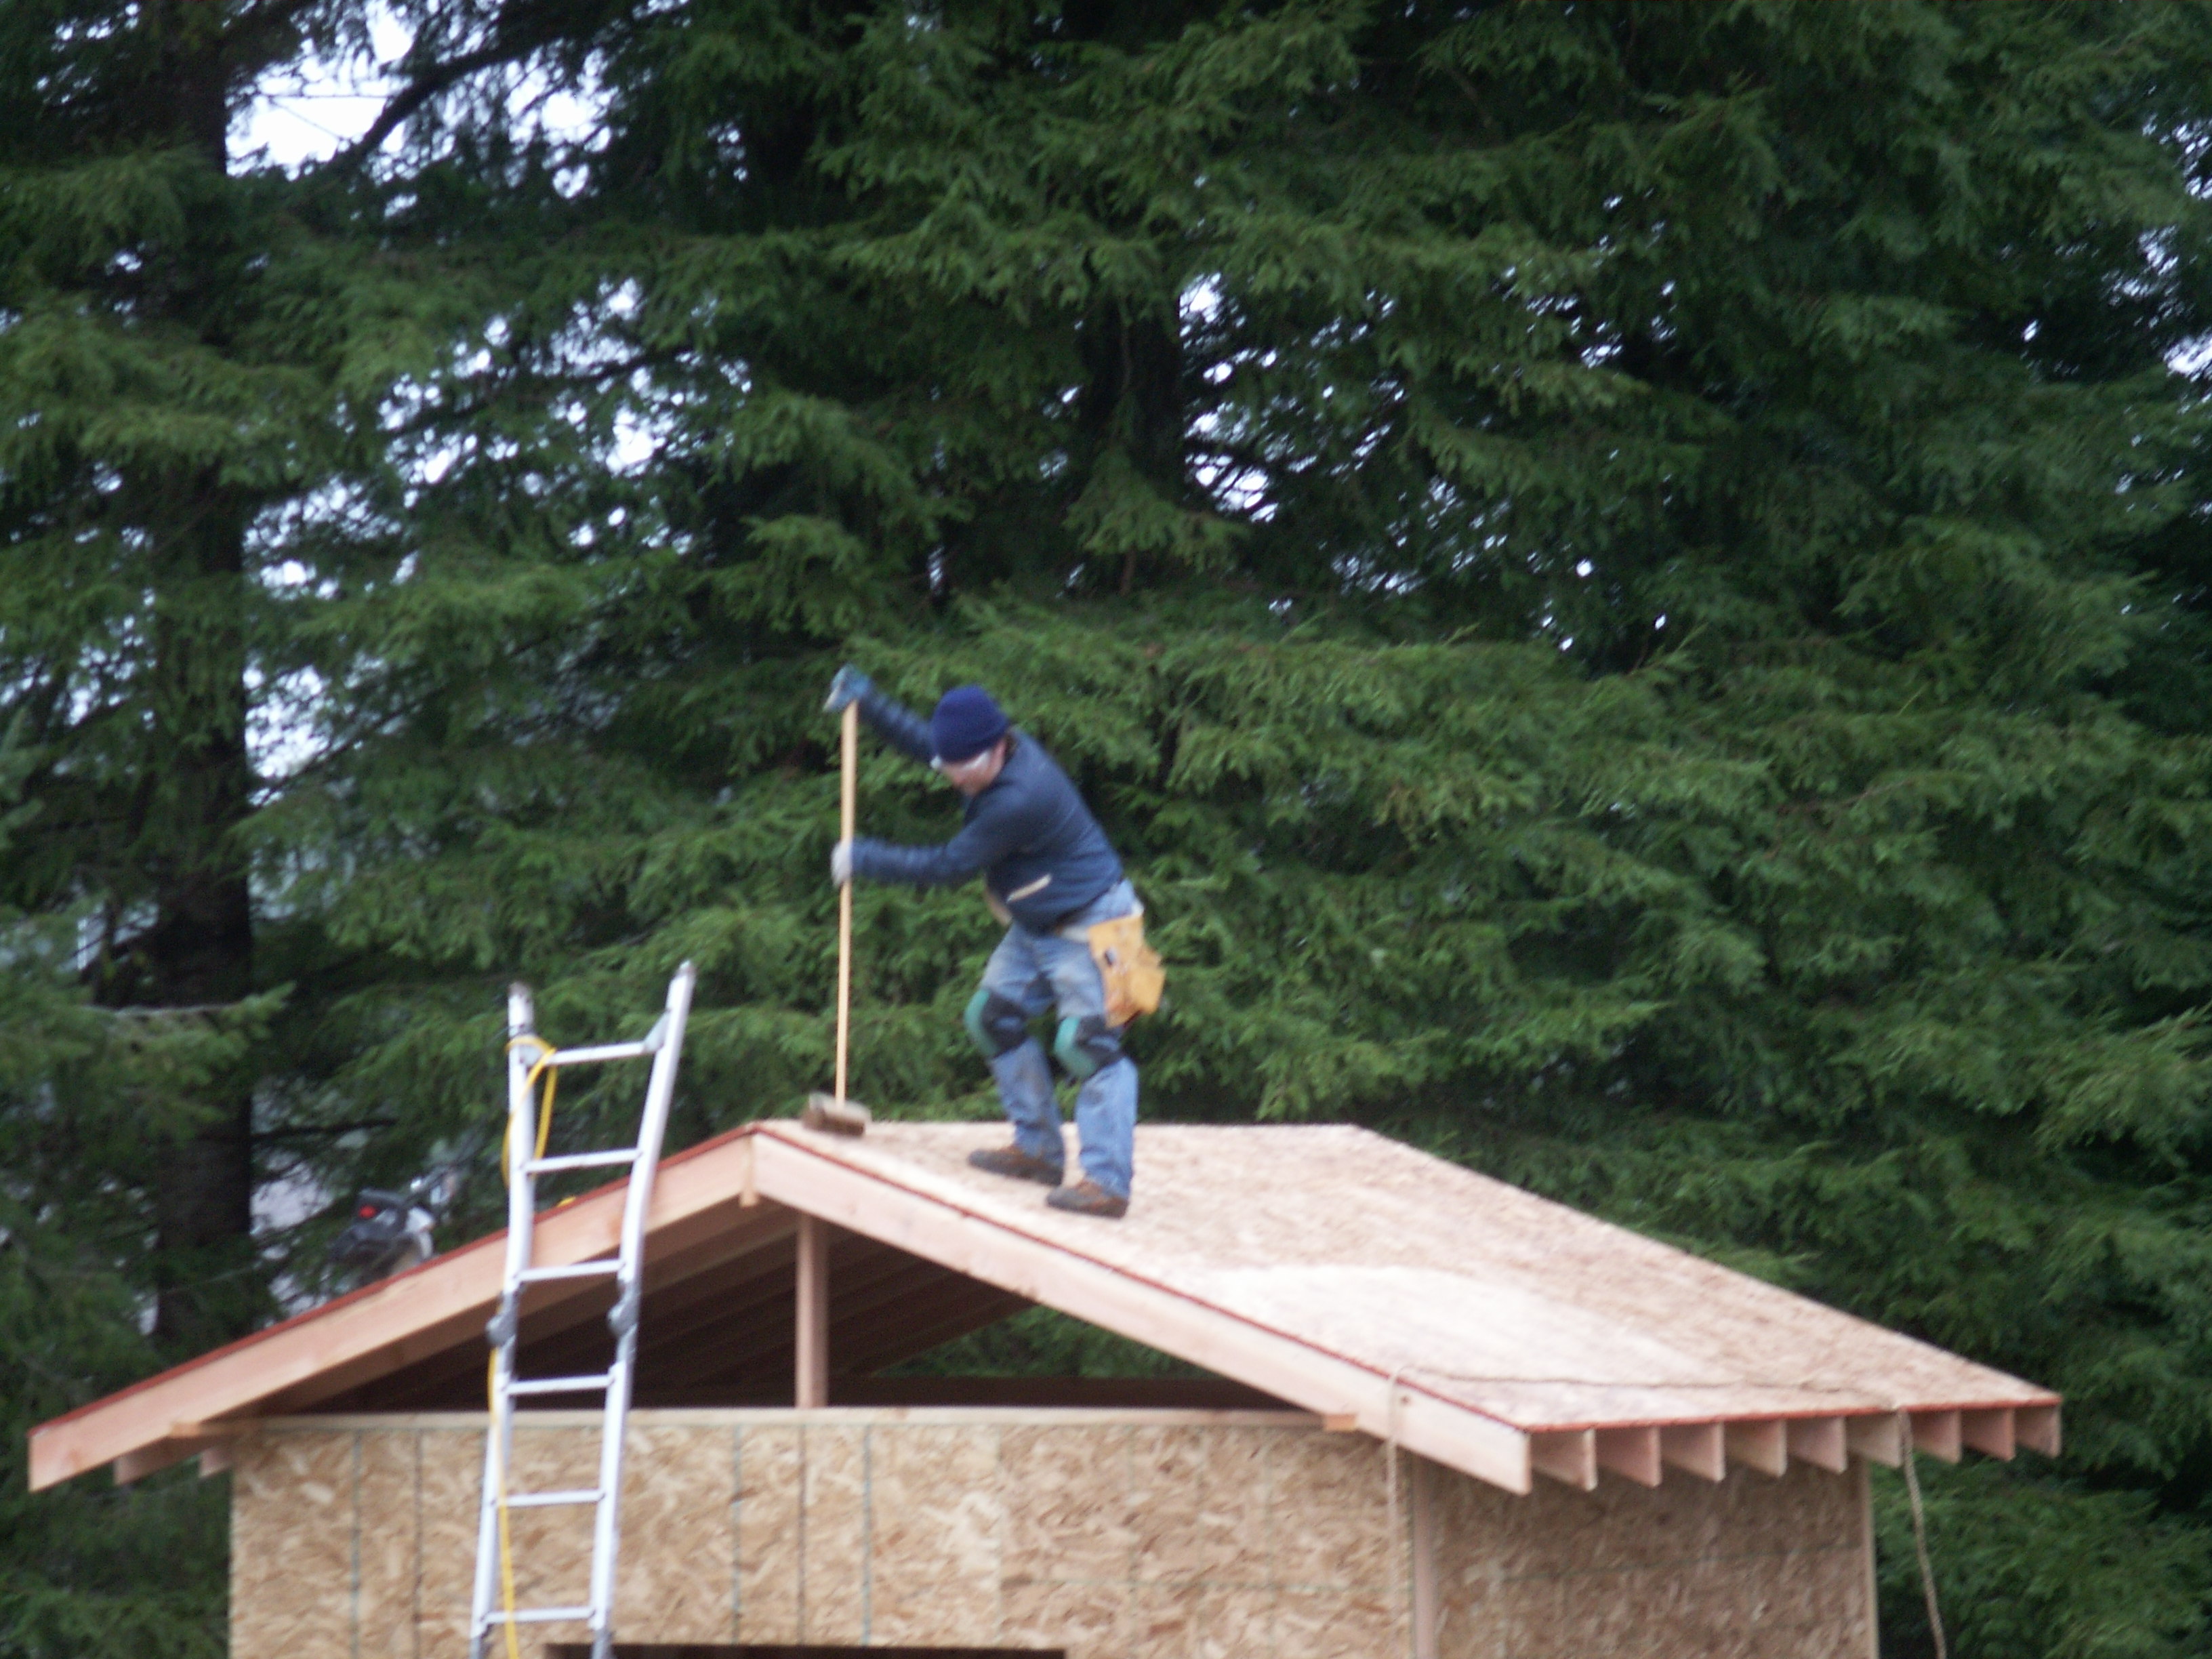
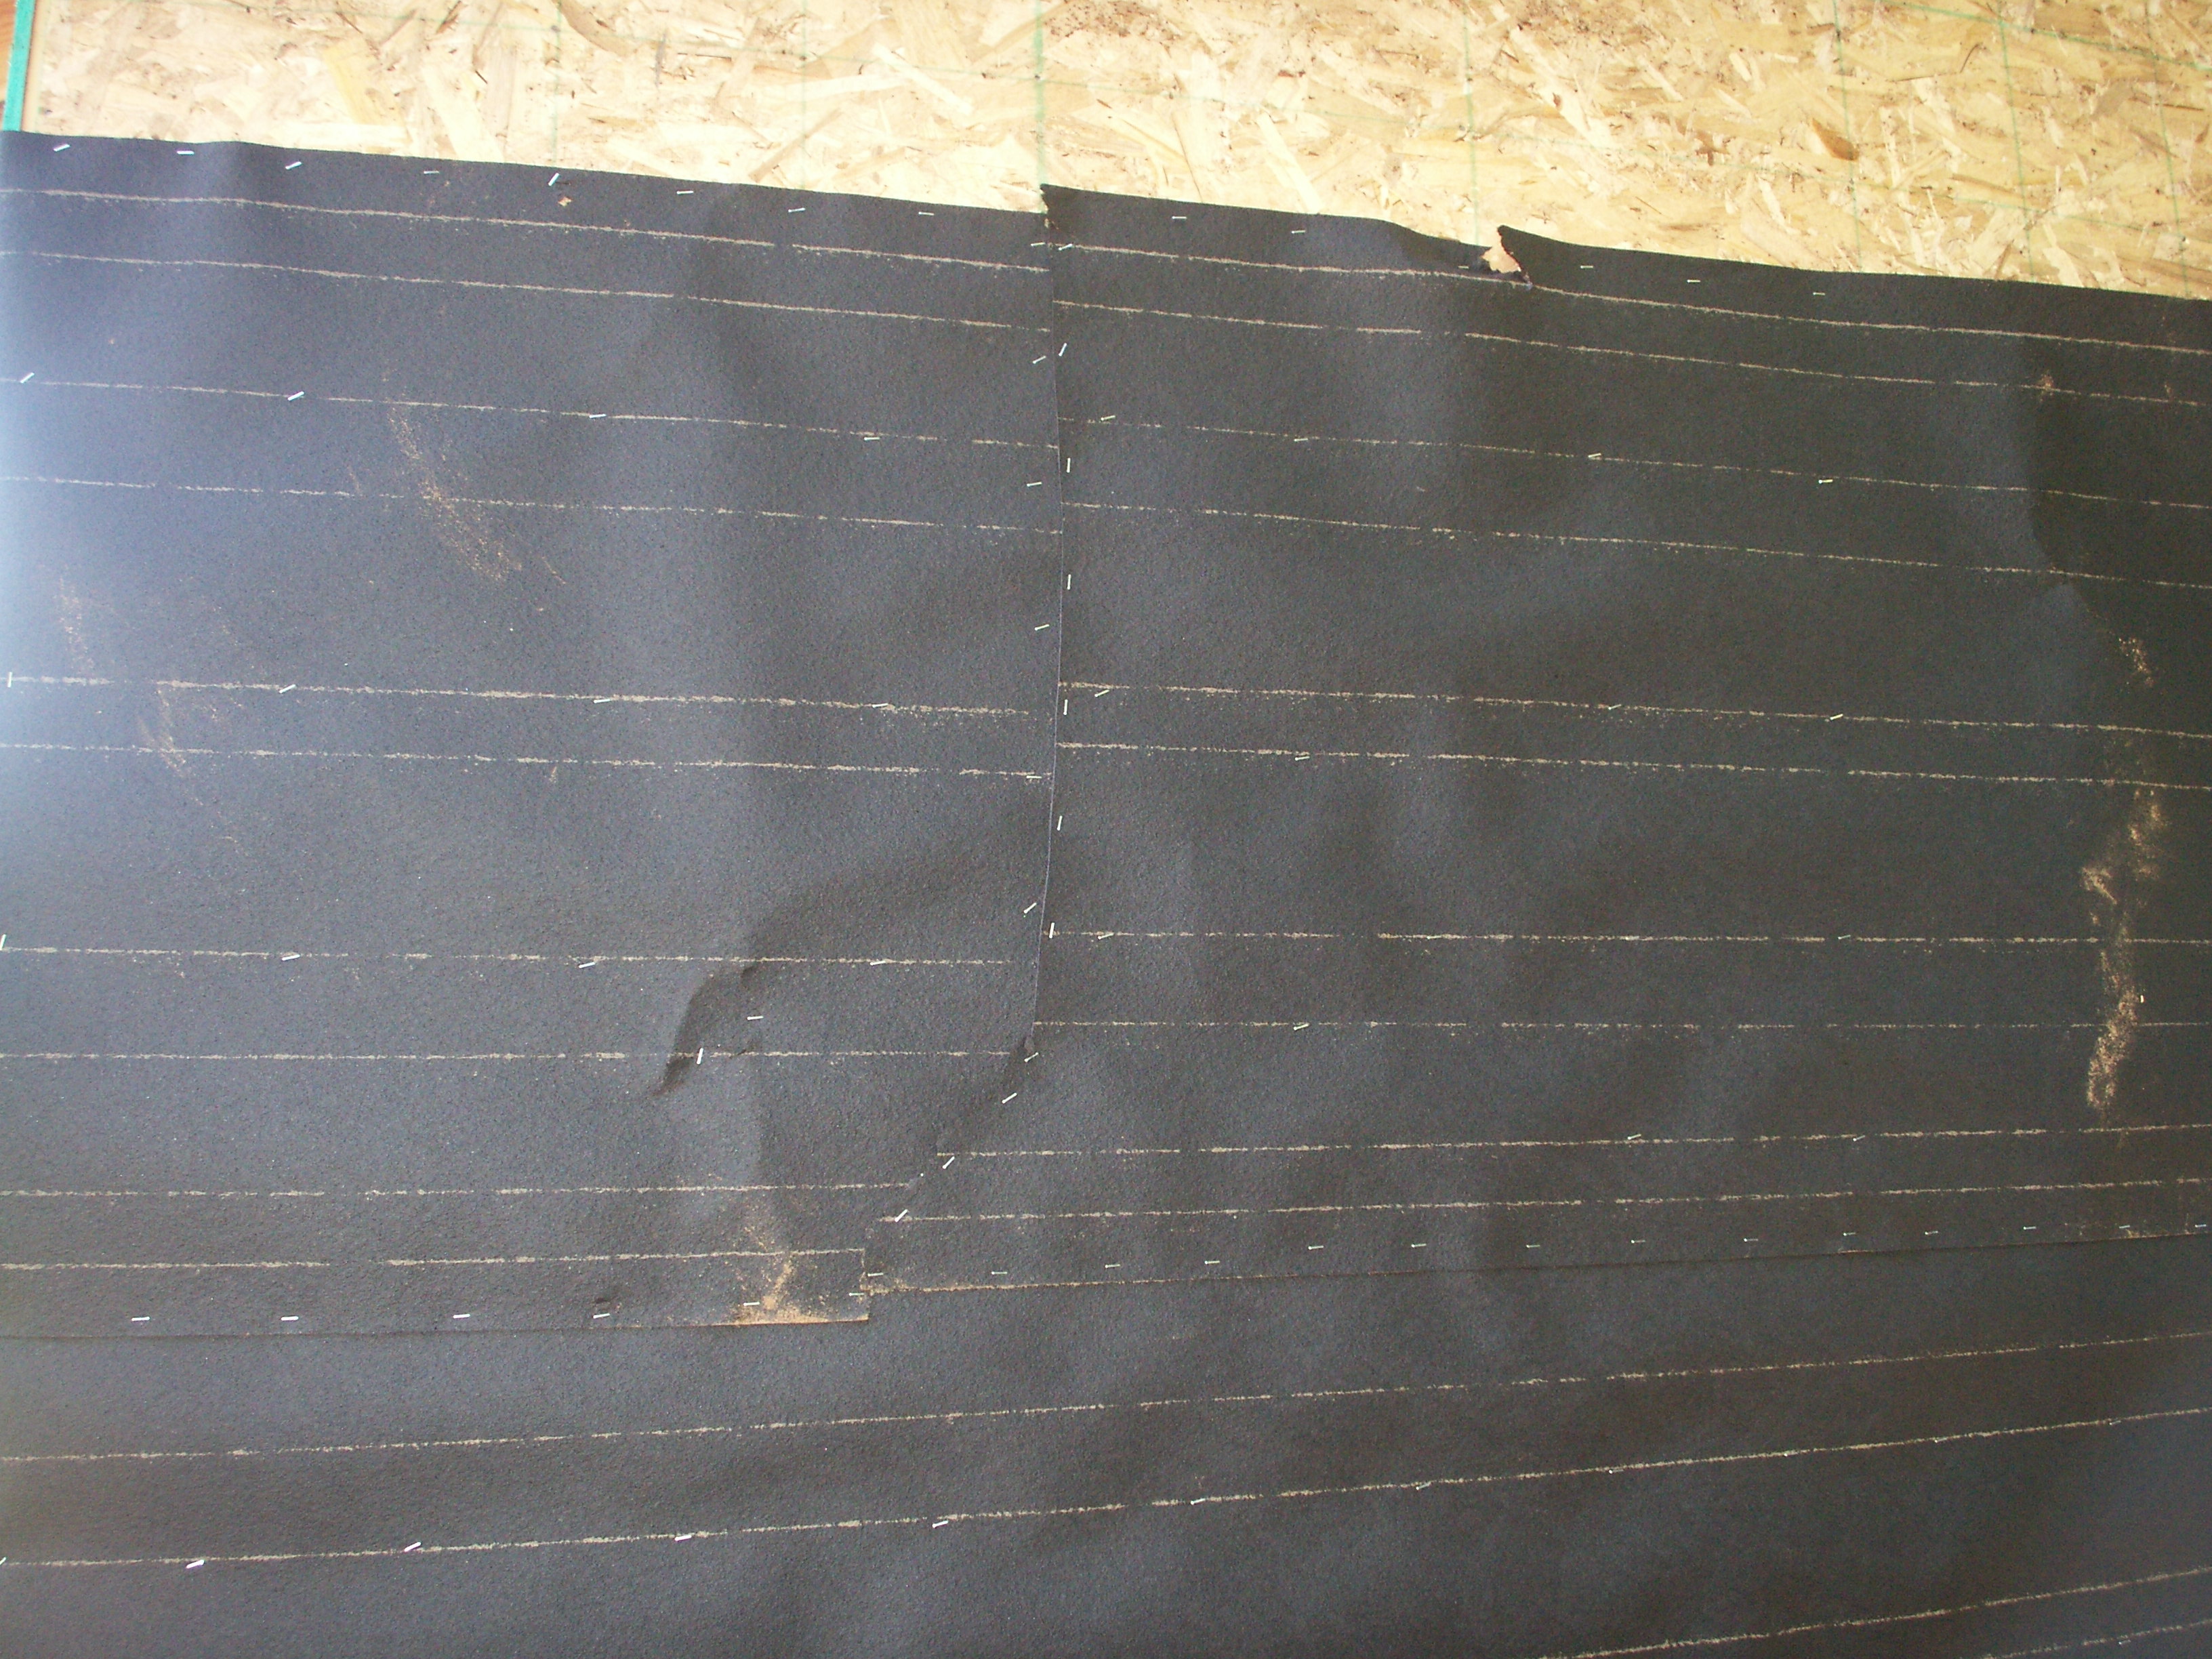
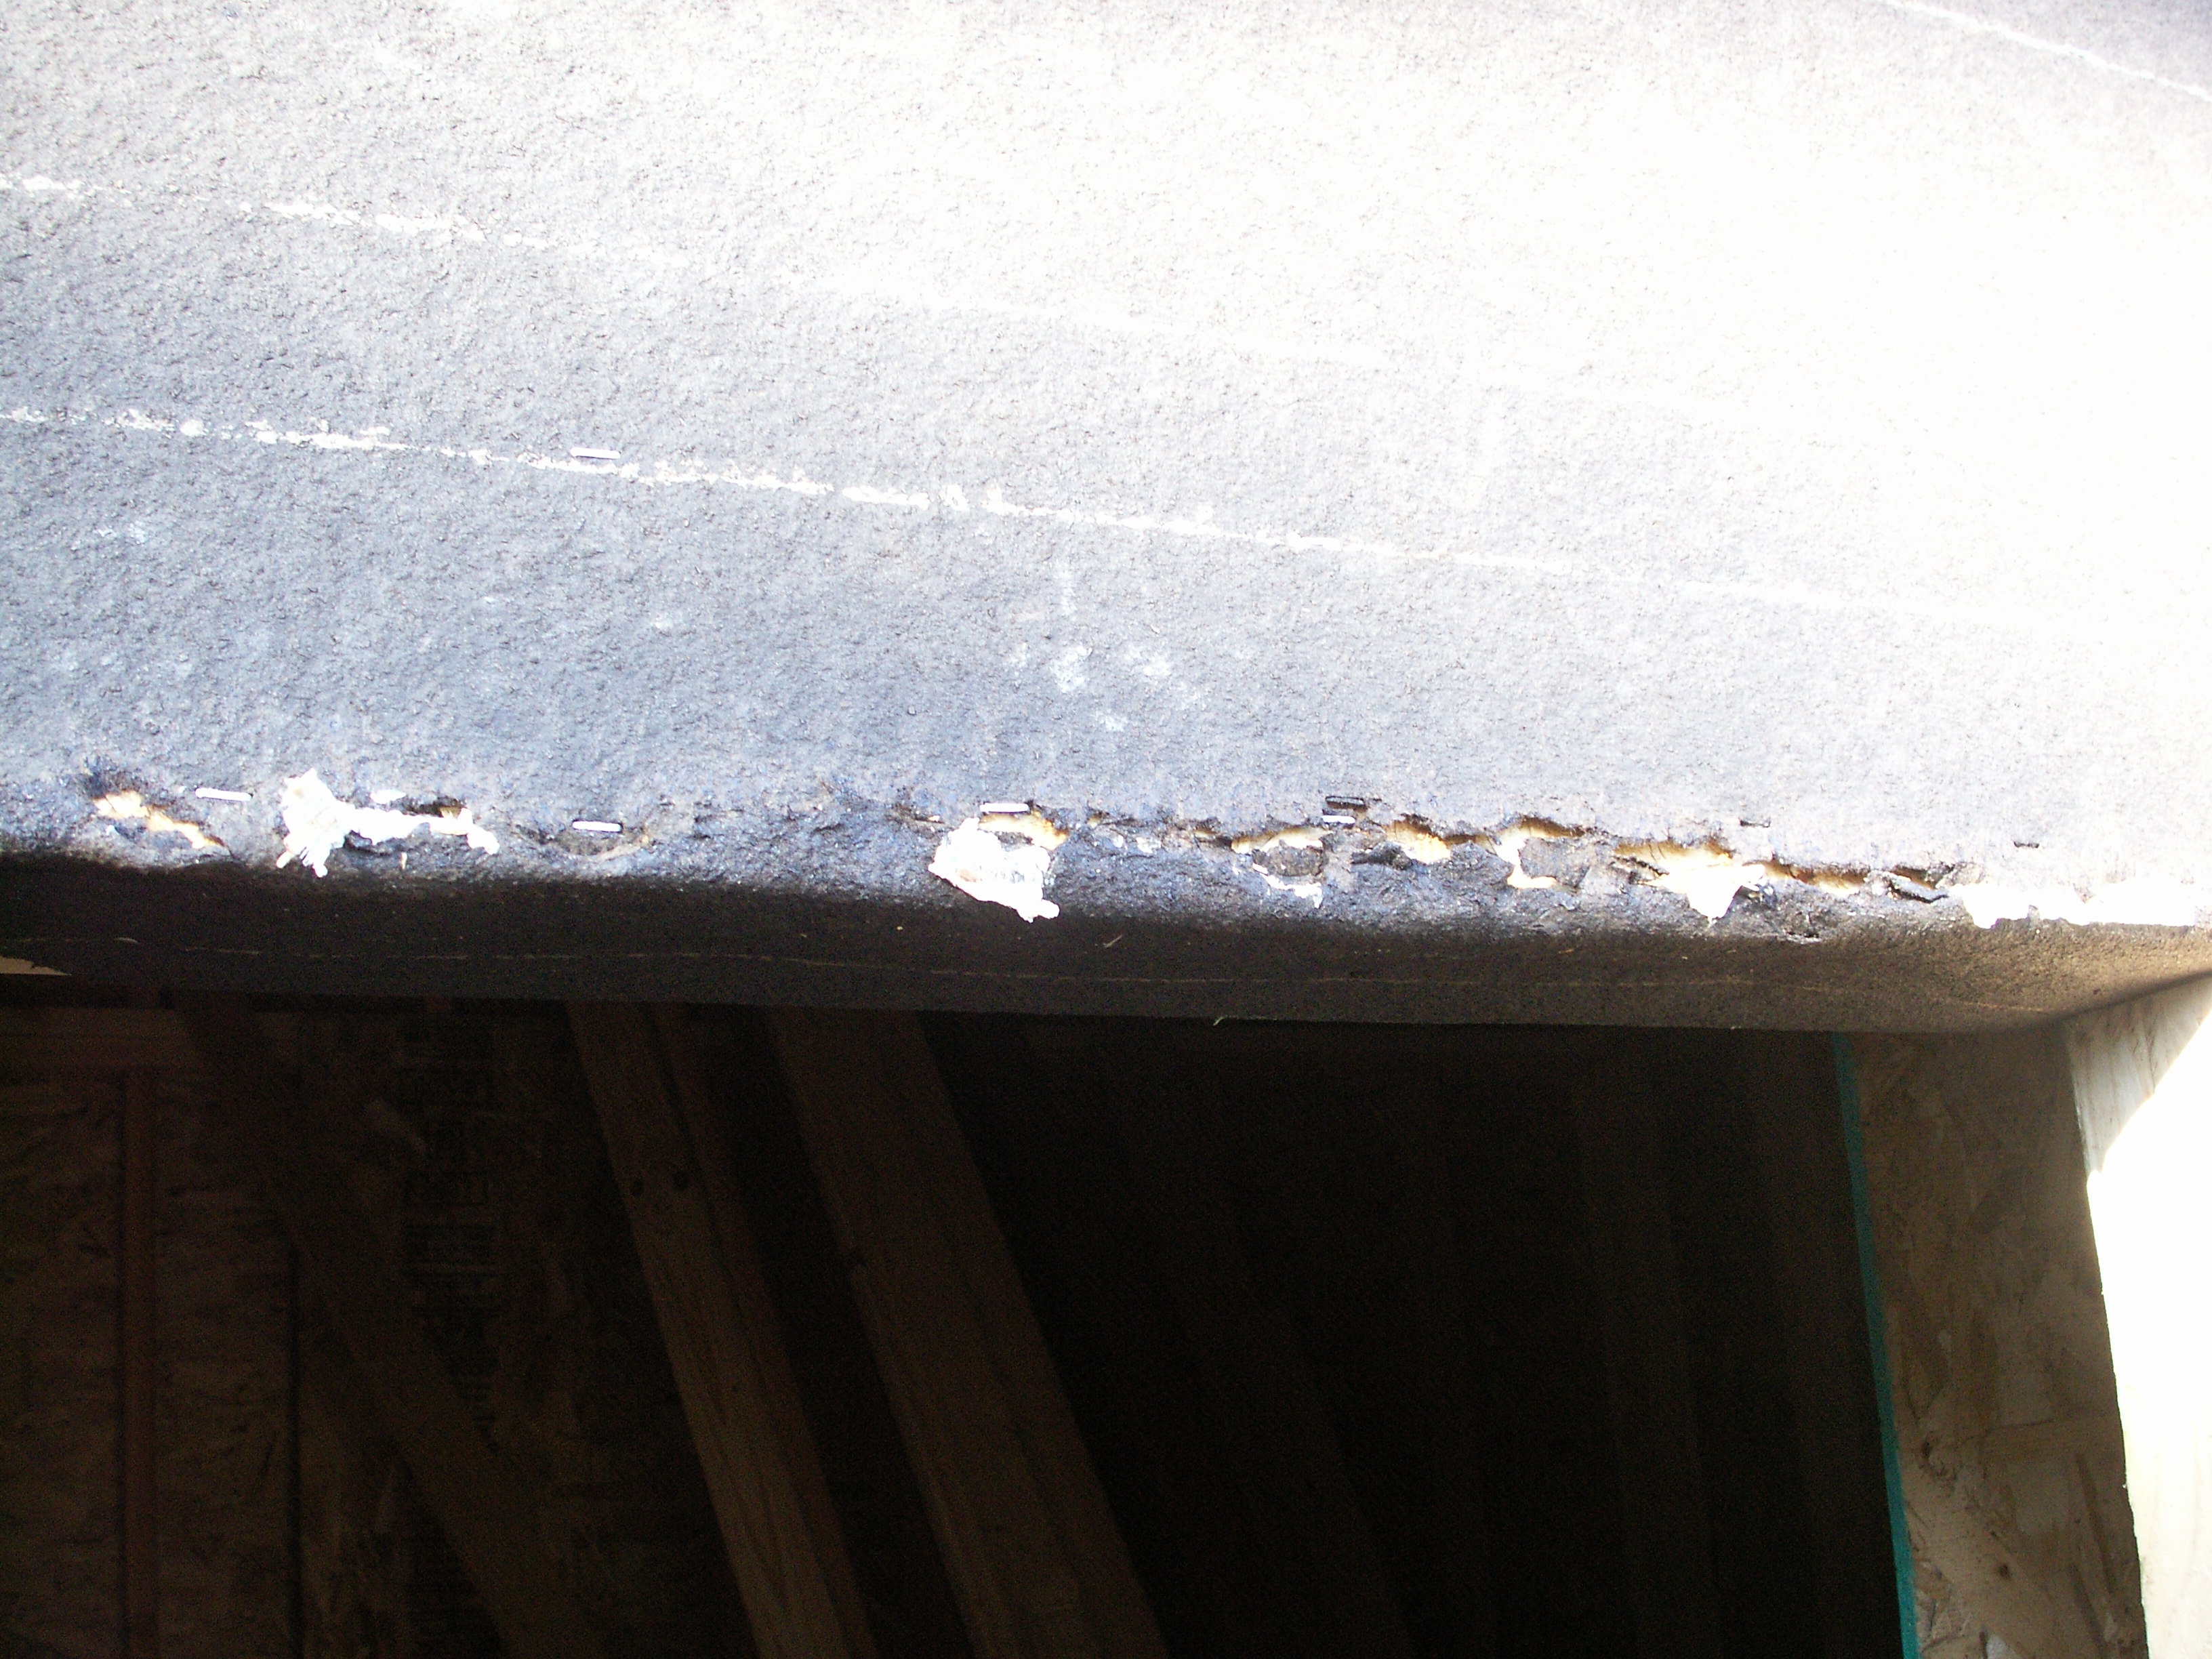
Well, after another trip to Ace to get more wood and other parts, I got all of the rafters up and the blocks in place. Tom helped me get two of the 3/4" OSB sheets up, glued and nailed. We put more up and I just screwed them temporarily in place. We ran out of daylight and the rain is coming! But at least I now have a semi-dry place to stash the lumber. This freed up enough tarps to cover the parts that aren't enclosed yet. Hopefully it will be fairly dry, even though it looks like we have 3 days of rain, one day of sun, then more rain. We'll see. No pictures yet, but tomorrow I should be able to get some in all of its tarped glory. We also got another cord of wood, unseasoned Oak. Even with the new fireplace insert, we are going through the wood faster than I thought. But at least we have one room that is warm! I hope to store the wood in the new shed, until there is enough room in the old wood shed (read: after we burn enough of the previous cord!). Wednesday December 5th. What a storm! Starting Saturday evening, the winds just kept getting stronger, blowing rain sideways and backwards at times. According to a marquee Helen saw down town Crescent City, there had been 130MPH gusts! The plywood that we threw up at the last minute had to get moved back multiple times. Rain did get in, but only a quarter inch standing in various puddles - That must mean it's level! At one point (I think it was Monday night) it was eerily warm and still. Felt almost like tornado warning weather has been described to me. Today I took down the temp boards and finished cutting to size, gluing and then nailing the roof sheathing. I cut drip edges to fit the four sides, then rolled on the tar paper. Word to the wise: You probably don't want to accept a roll that has a flat side. This means it probably got dropped at some point, and the sticky tar does a good imitation of a roll of tape that keeps leaving behind strips as it gets dispensed. I tried the trick on the cover of the Working Alone book, but I think my ladder was too short. I got all the way up but could not lift the plywood high enough to get it on the roof. It fell. I then shoved it up ahead of me up the ladder. As I got to the top, it over-balanced. It fell again. Finally I got smart and tied a rope to the c-clamp and hauled it up. So tonight it has tar paper on the roof, in preparation for the rain expected tomorrow, Thursday.
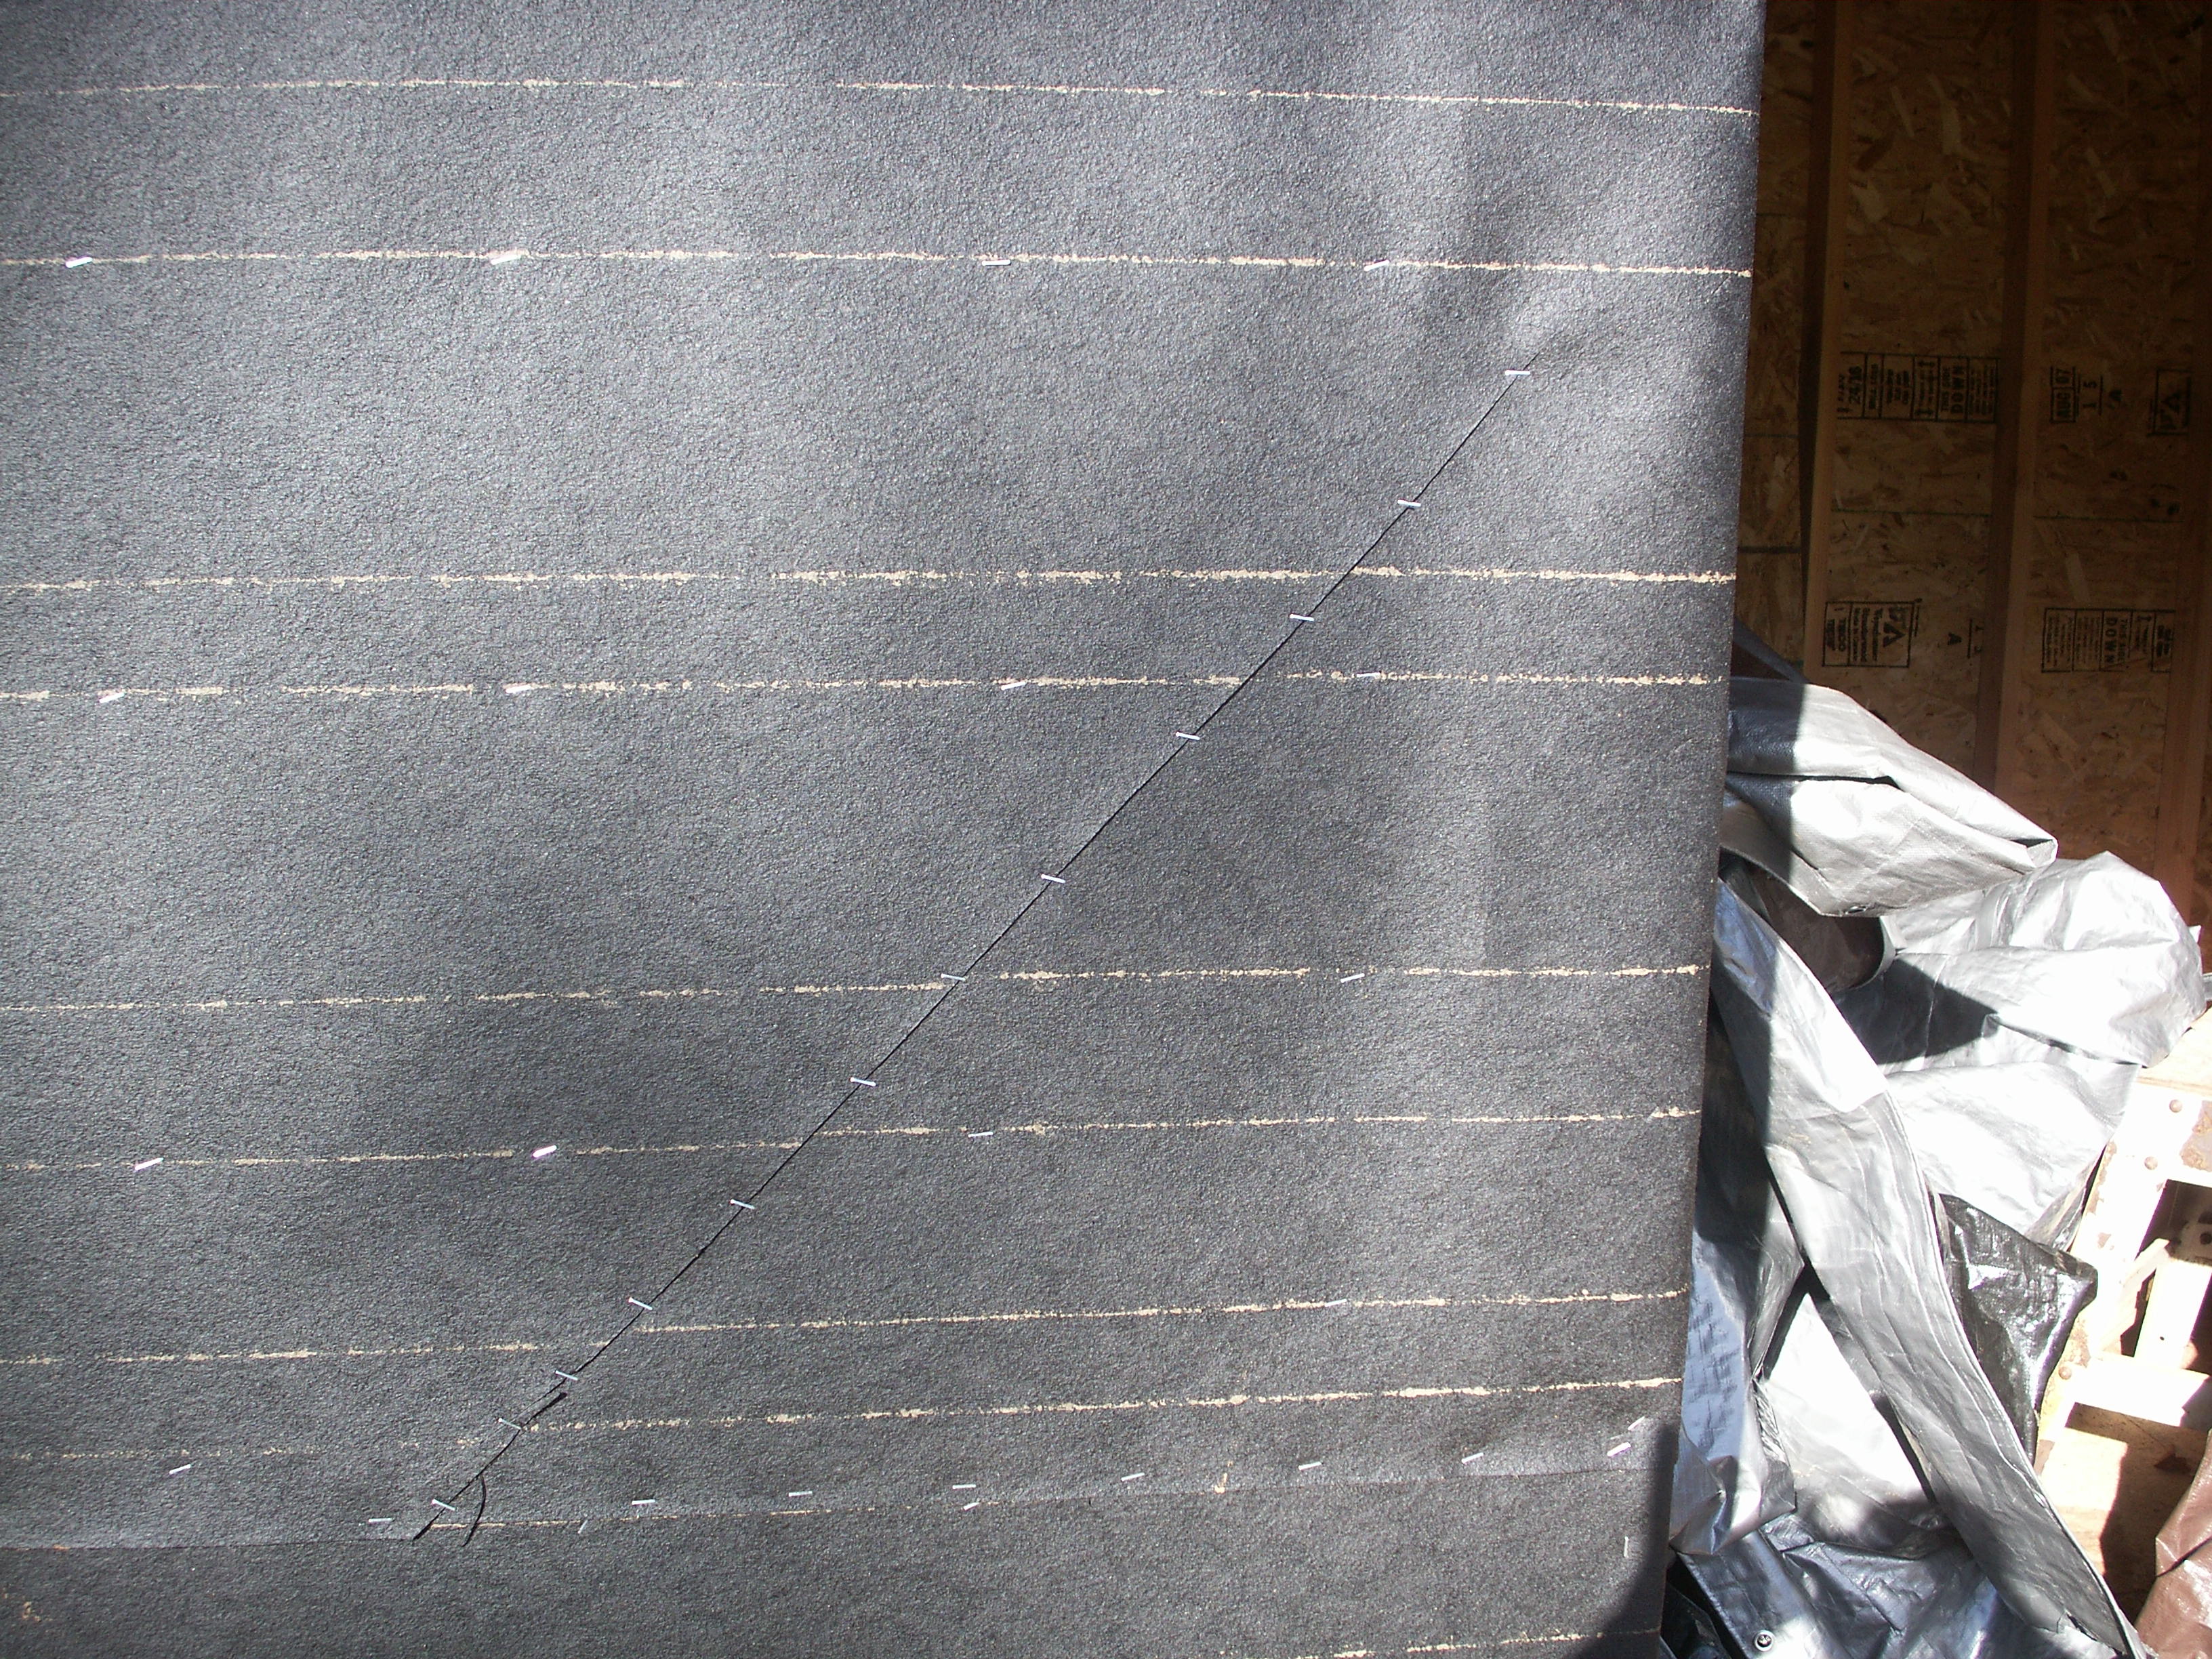
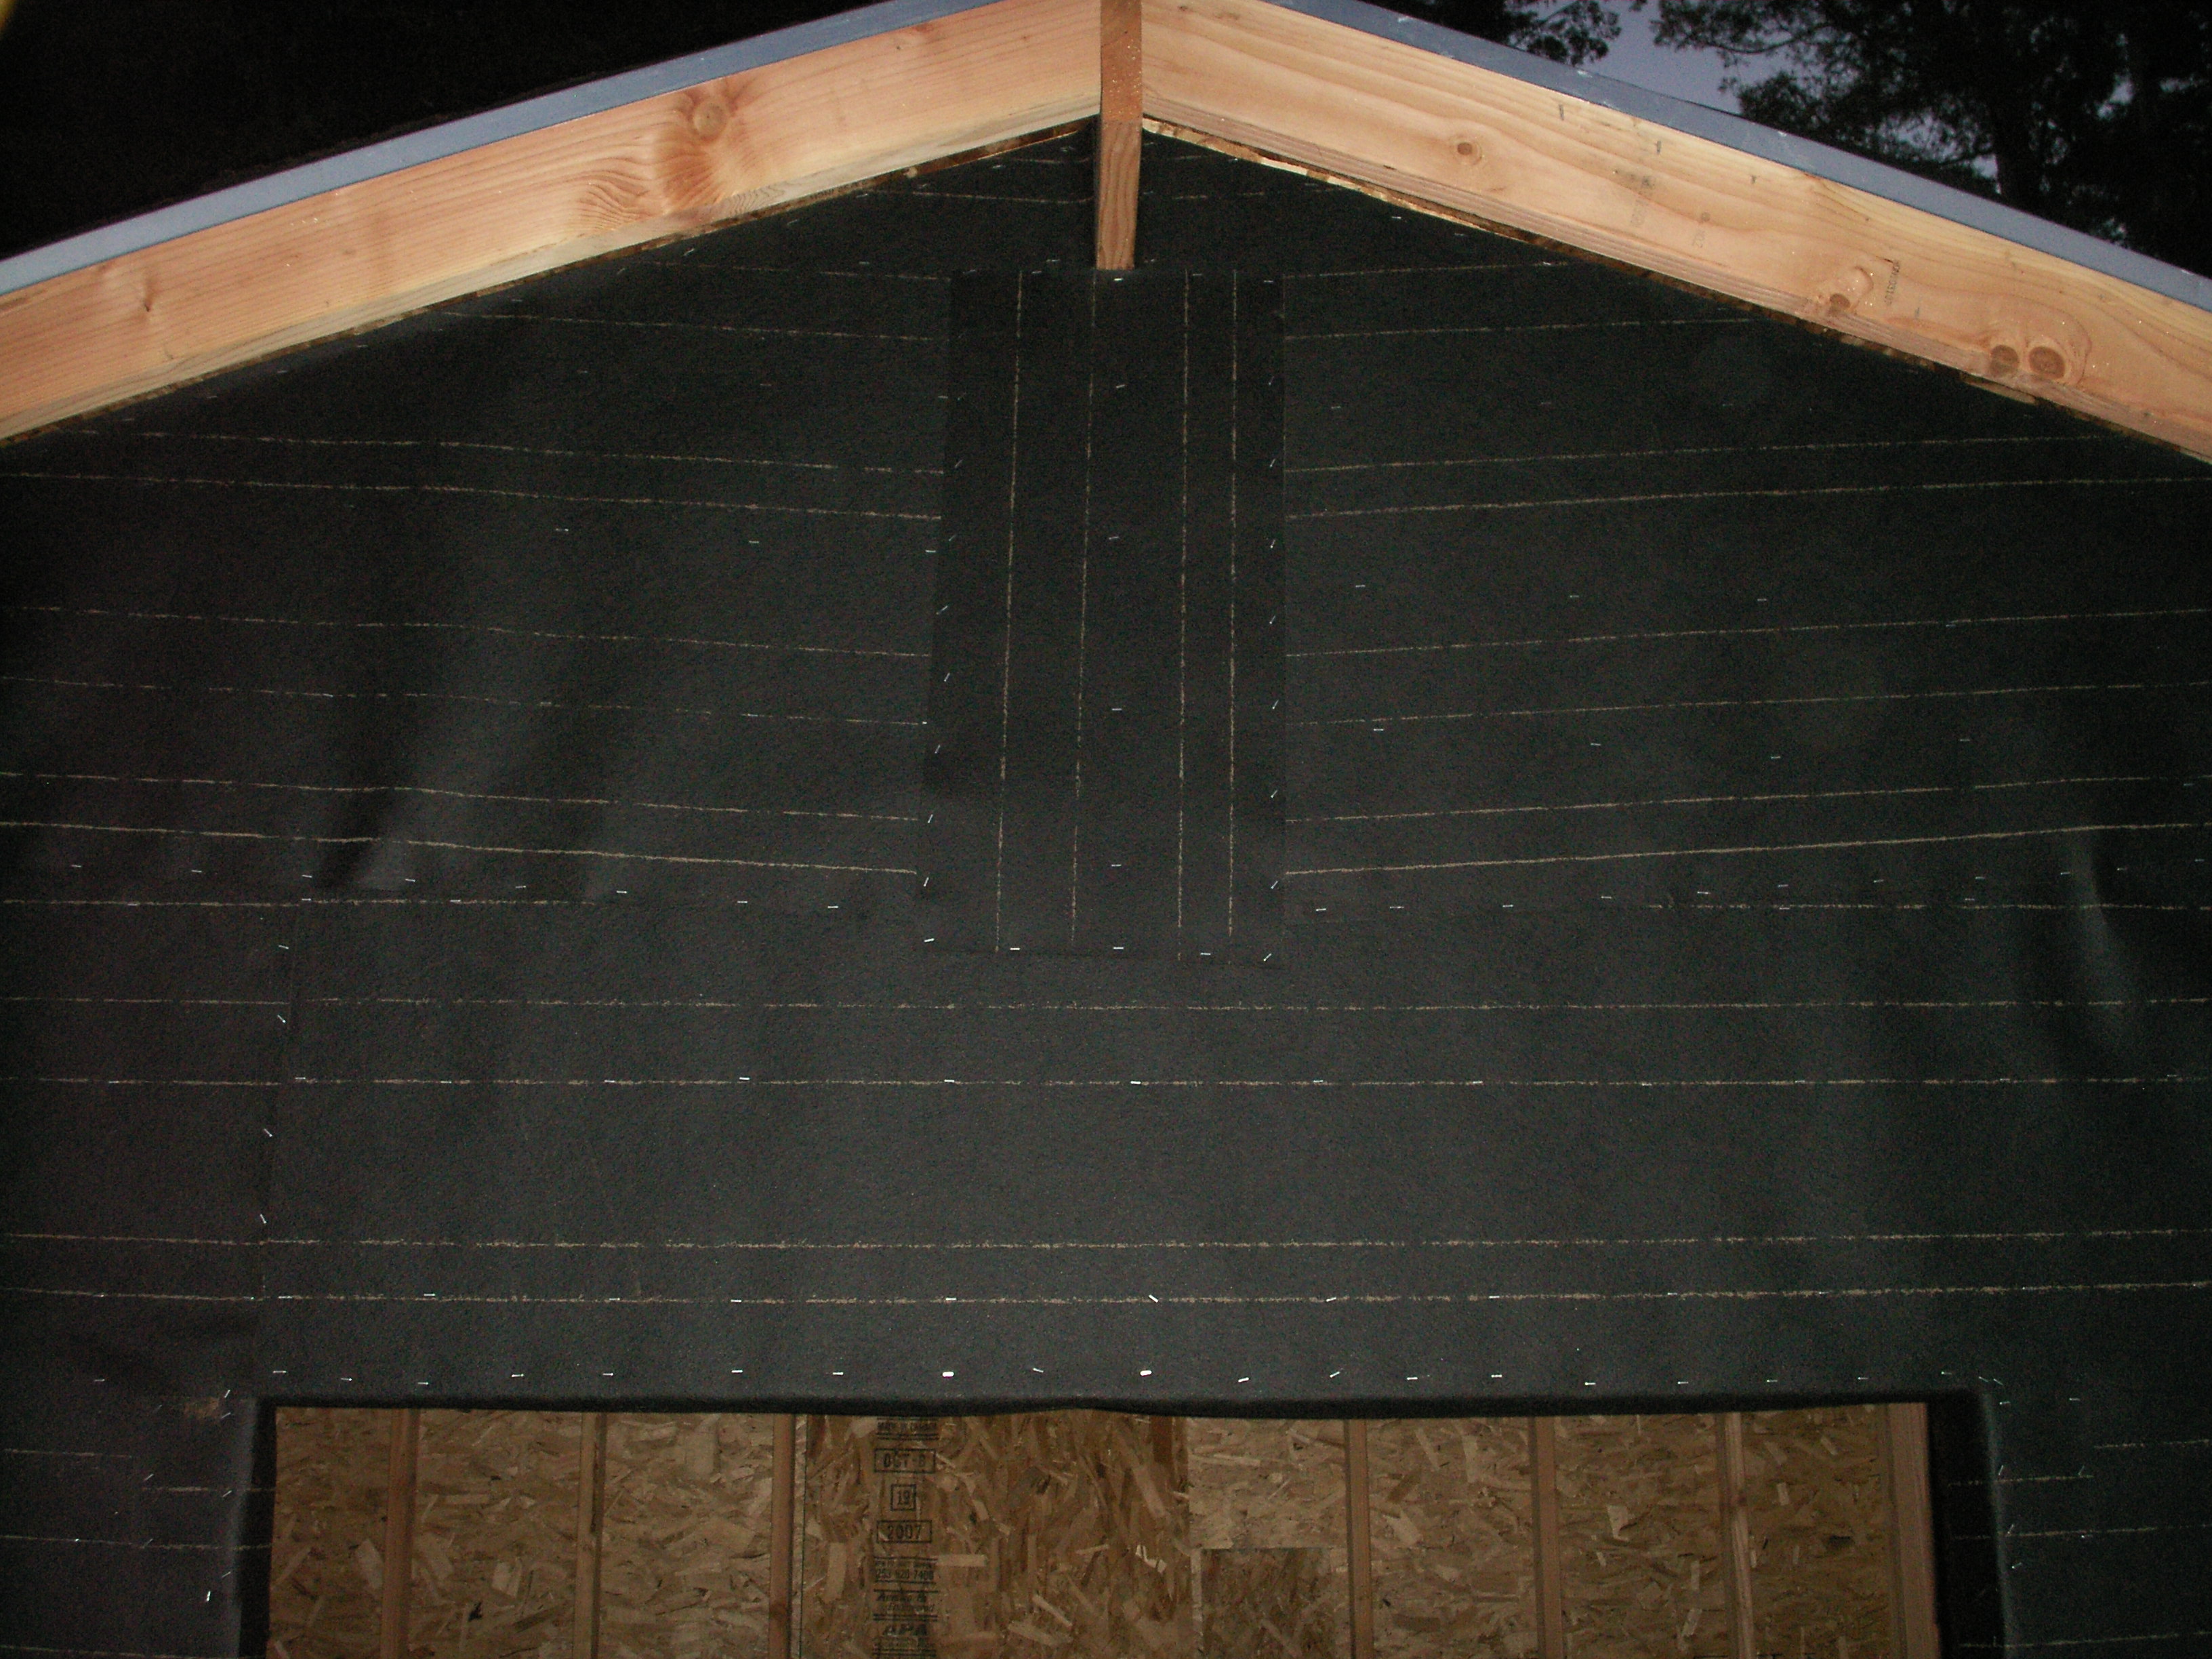
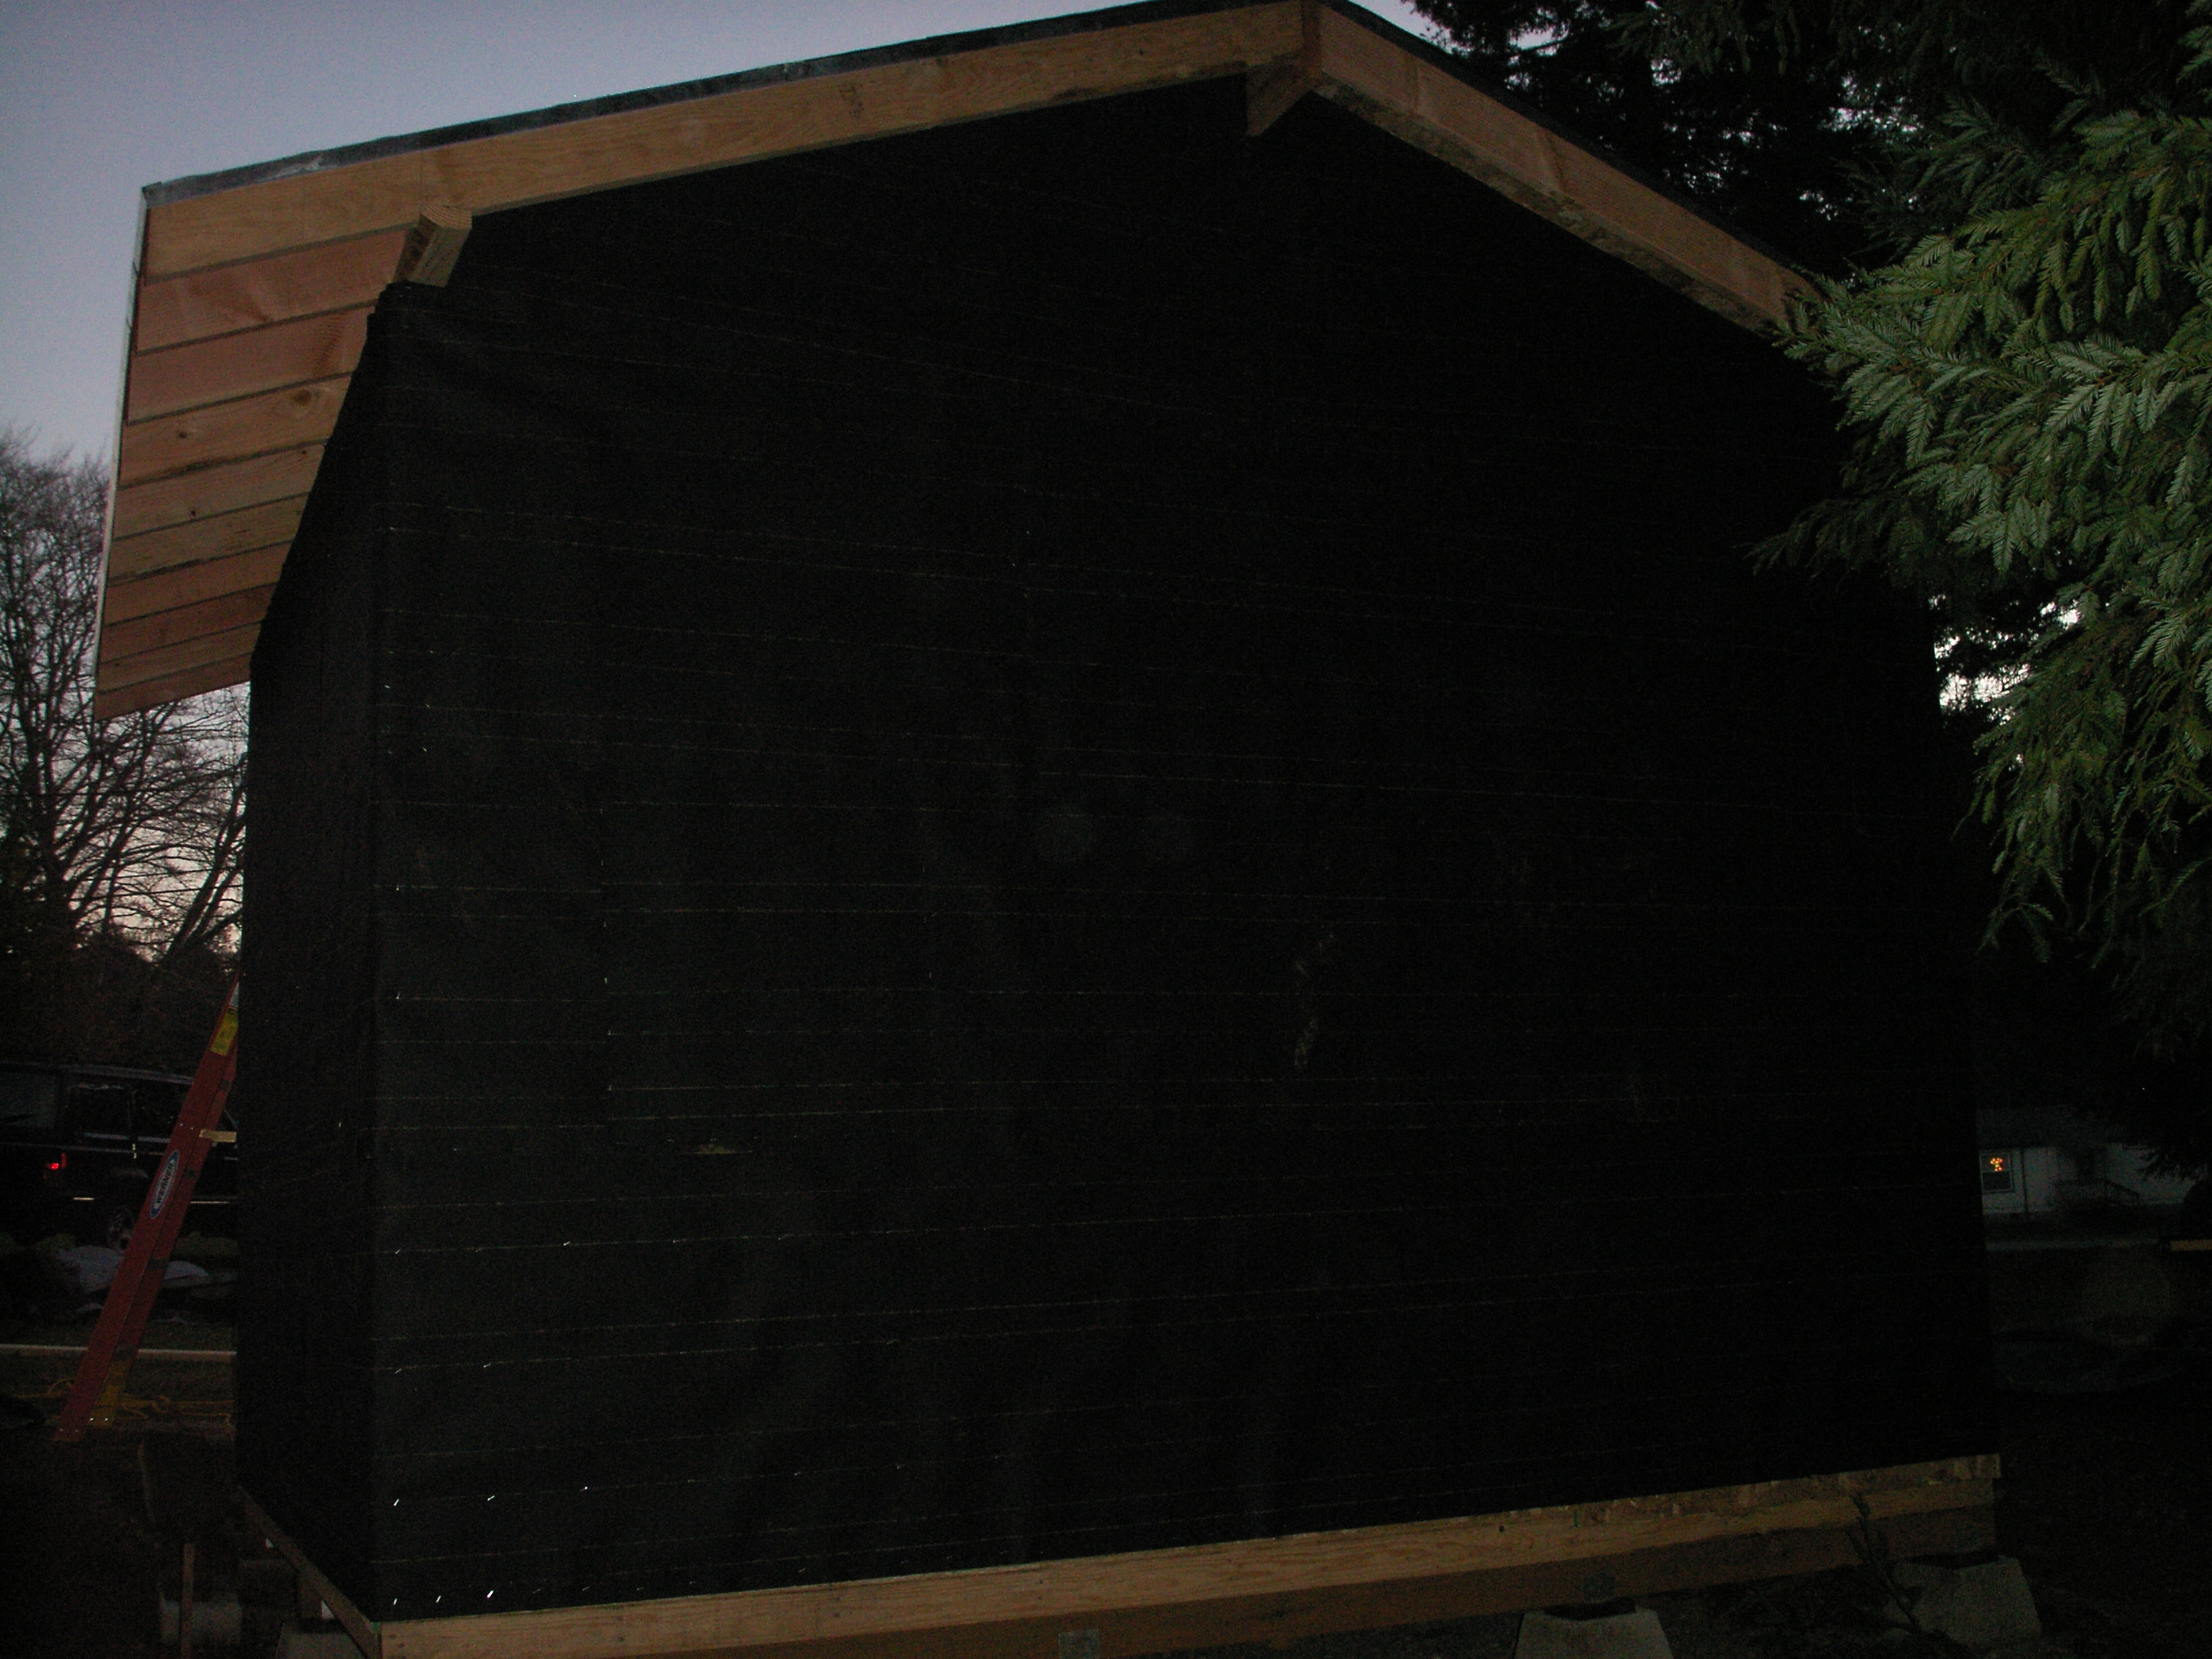
Thursday, December 6th. Rain. Rain. Rain. And no leaks inside! Woo hoo! Friday and Saturday. I am reminded why finish carpentry is suck a large part of construction costs - Time! It took the better part of two days to get the triangle portions above the walls under the gables framed in and sheathed. But it looks solid now :) Sunday was tar paper day again. Word to the wise: When working alone, treat tar paper like adhesive paper: Do not unroll more that one can handle at a time. After the first level, I tried to get fancy and unroll the whole length for the second level. I now have 7 or 8 places I will have to patch to keep them rain proof. Sigh. The electric Craftsman stapler I had been using finally became more trouble than it was worth. The spring that keeps the staples loaded up to the front has lost tension over the years and the channel the staples fit into is no longer smooth, causing the guide/ram to bind. Some of my skateboard's bearings' TriFlow lubricant helped for a little while, but most of today I had to manually advance the staples into position - Enough! Diane had already suggested I replace it, so I did. We went to - Drum roll, please - Ace. After talking to one of the clerks, we decided against a hand stapler, which is used like a hammer. He pointed out that too much force will actually dent and/or break some materials. So we stuck with an electric model, and got an Arrow that will also handle brads - Sweet! We rented a roofing nail gun and exchanged the box of 2" roofing nails for 1 3/4" coils of nails for the gun. After considering purchasing one, I decided that since I am not a roofer, and the gun can only be used for roofing nails, I would spend the $300.00 elsewhere. I hope to begin tomorrow, Monday with the roofing shingles. I know, yeah, right! I still have to patch the second level of tar paper, apply a third, then go in and do the wall area under the gables. But I am leaving for Santa Cruz Wednesday morning, so we figured I may get some in, and then return the rental on the way out of town. Oh, and the drip edges for the ends of the roof. But I already have them and the nails, and the last 4 pieces went pretty quick. Those of you with sharp eyes may notice the first wall sheet on the back wall where I did not line up correctly on the framing... Stole your thunder!
Monday December 10th. After helping clients over the phone, it was back to construction work again! I patched the holes and rips I had created the previous day in the tar paper and got the other levels up. I cut it in smaller sheets, figuring that although I would no longer have sold sheets and would therefore require more staples in the overlapped joints, at least they would not buckle and go the wrong angle so much. I need to invest in a staple/nail company - I went through tons of them. I finished the tar papering and even got the last drip edge pieces in place. Tomorrow, I start shingling the roof! For now, I have a dry place to store the materials, and I used up most of the tar paper I ordered - Lucky guess on the quantity of rolls :)
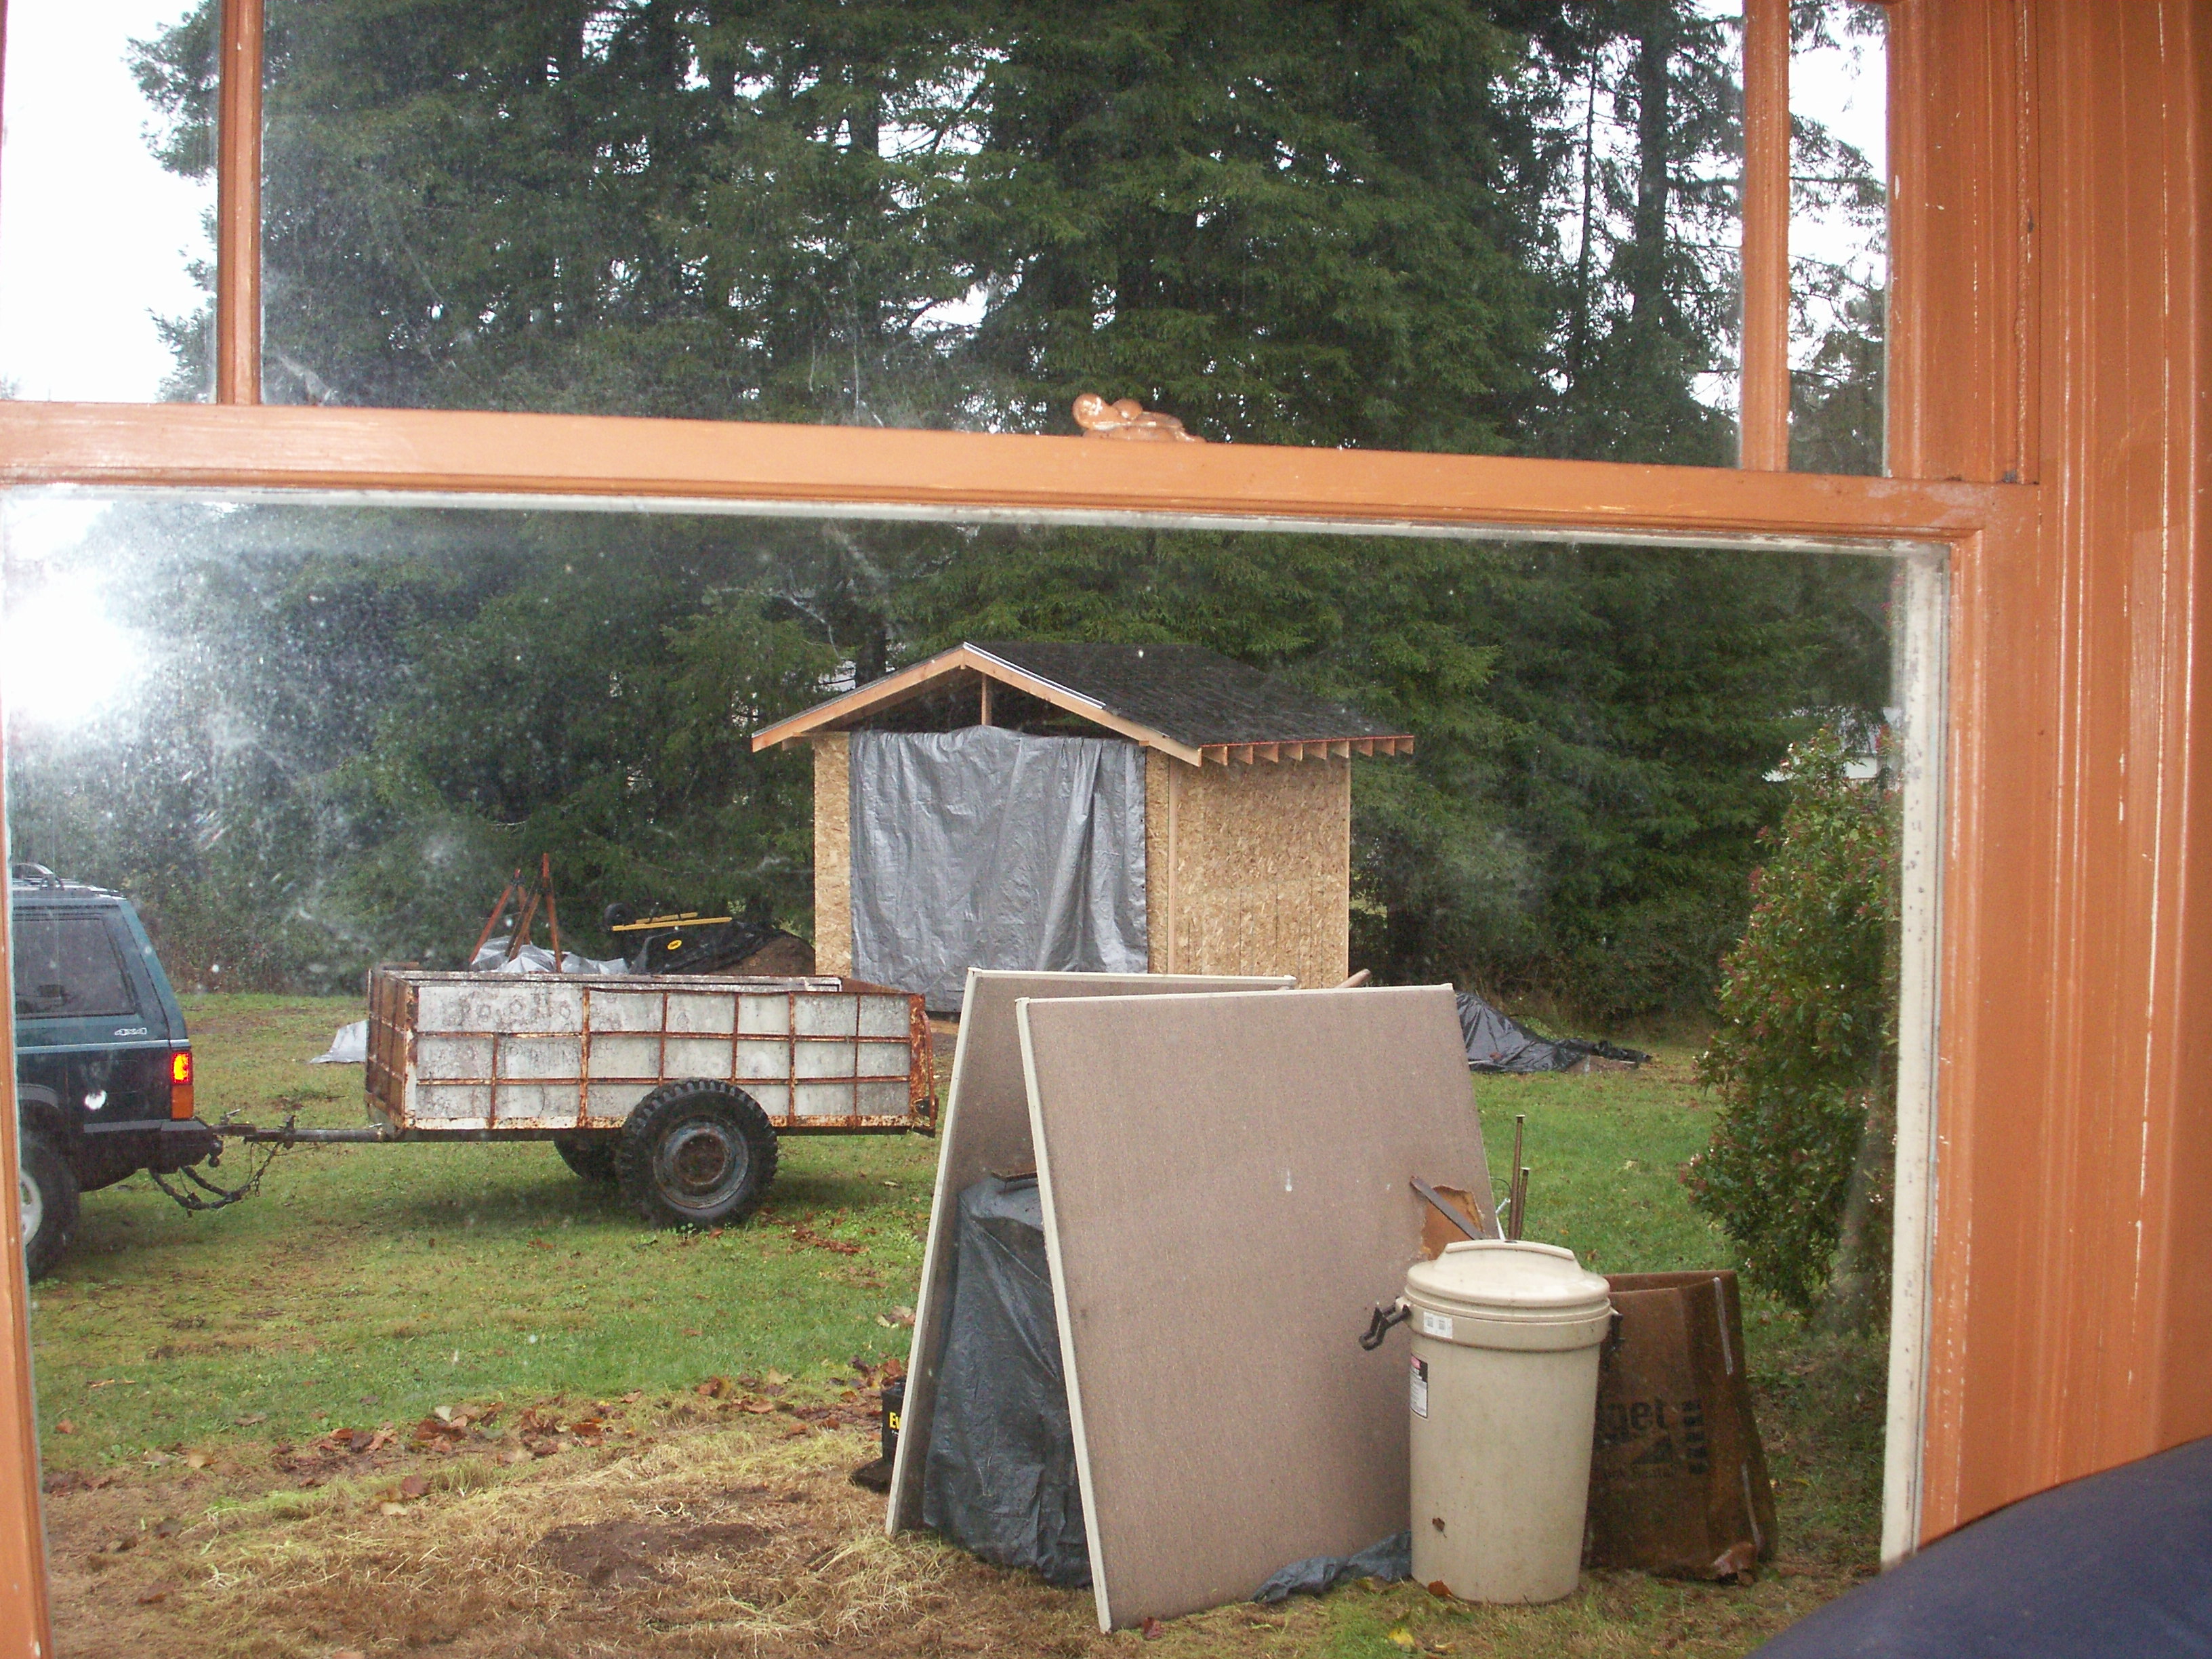
Thursday December 13th. We have achieved roofage! I stayed up here long enough to get the roof shingles on. Boy, those things sure can go through a utility knife blade quickly! Even you pull fast enough on the blade, you even see sparks! The Senco pneumatic roofing nailer I rented from Ace fires two nails every once in awhile. I was told by Dennis at Ace that Senco is aware of the problem and there is nothing they can do about it. My Paslode uses combustion to drive the nail, so I got spoiled: Pull the trigger, get one nail. It's the law. Well, duty calls. I am off to Santa Cruz for a week to help one of our clients move their offices. I will swing by my folks' on the way back home, so construction up here is on hold for a little while.
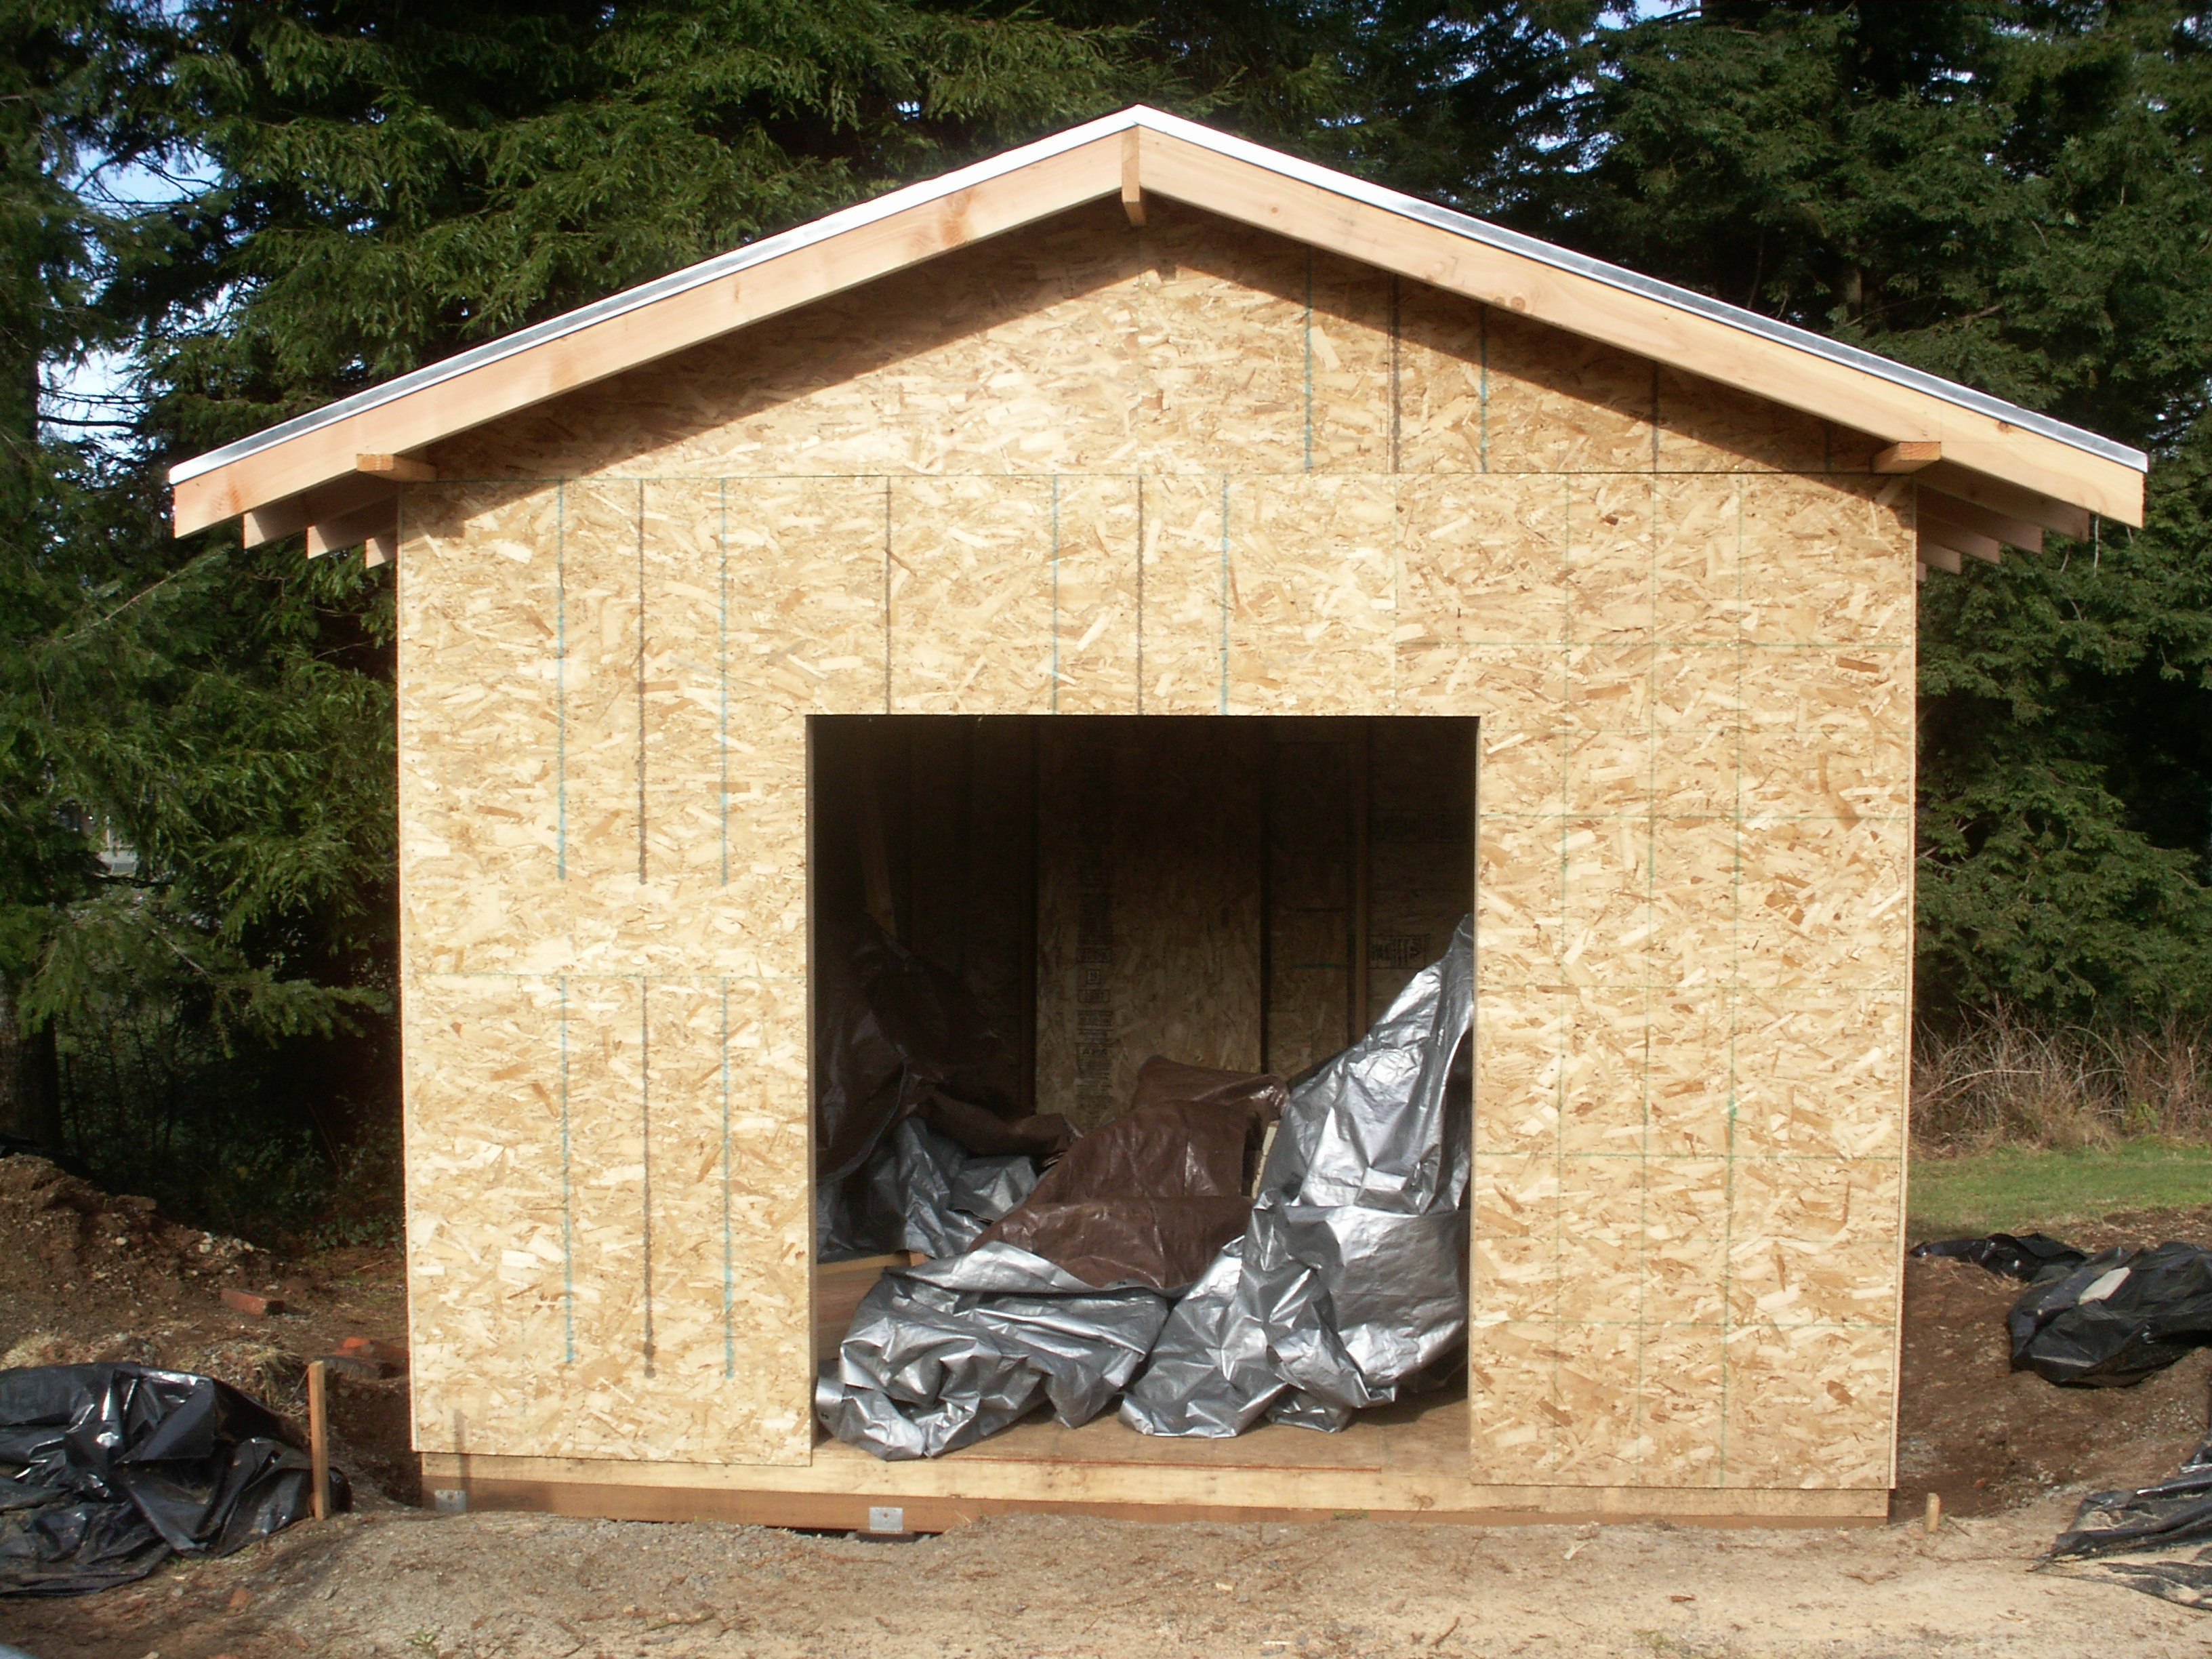
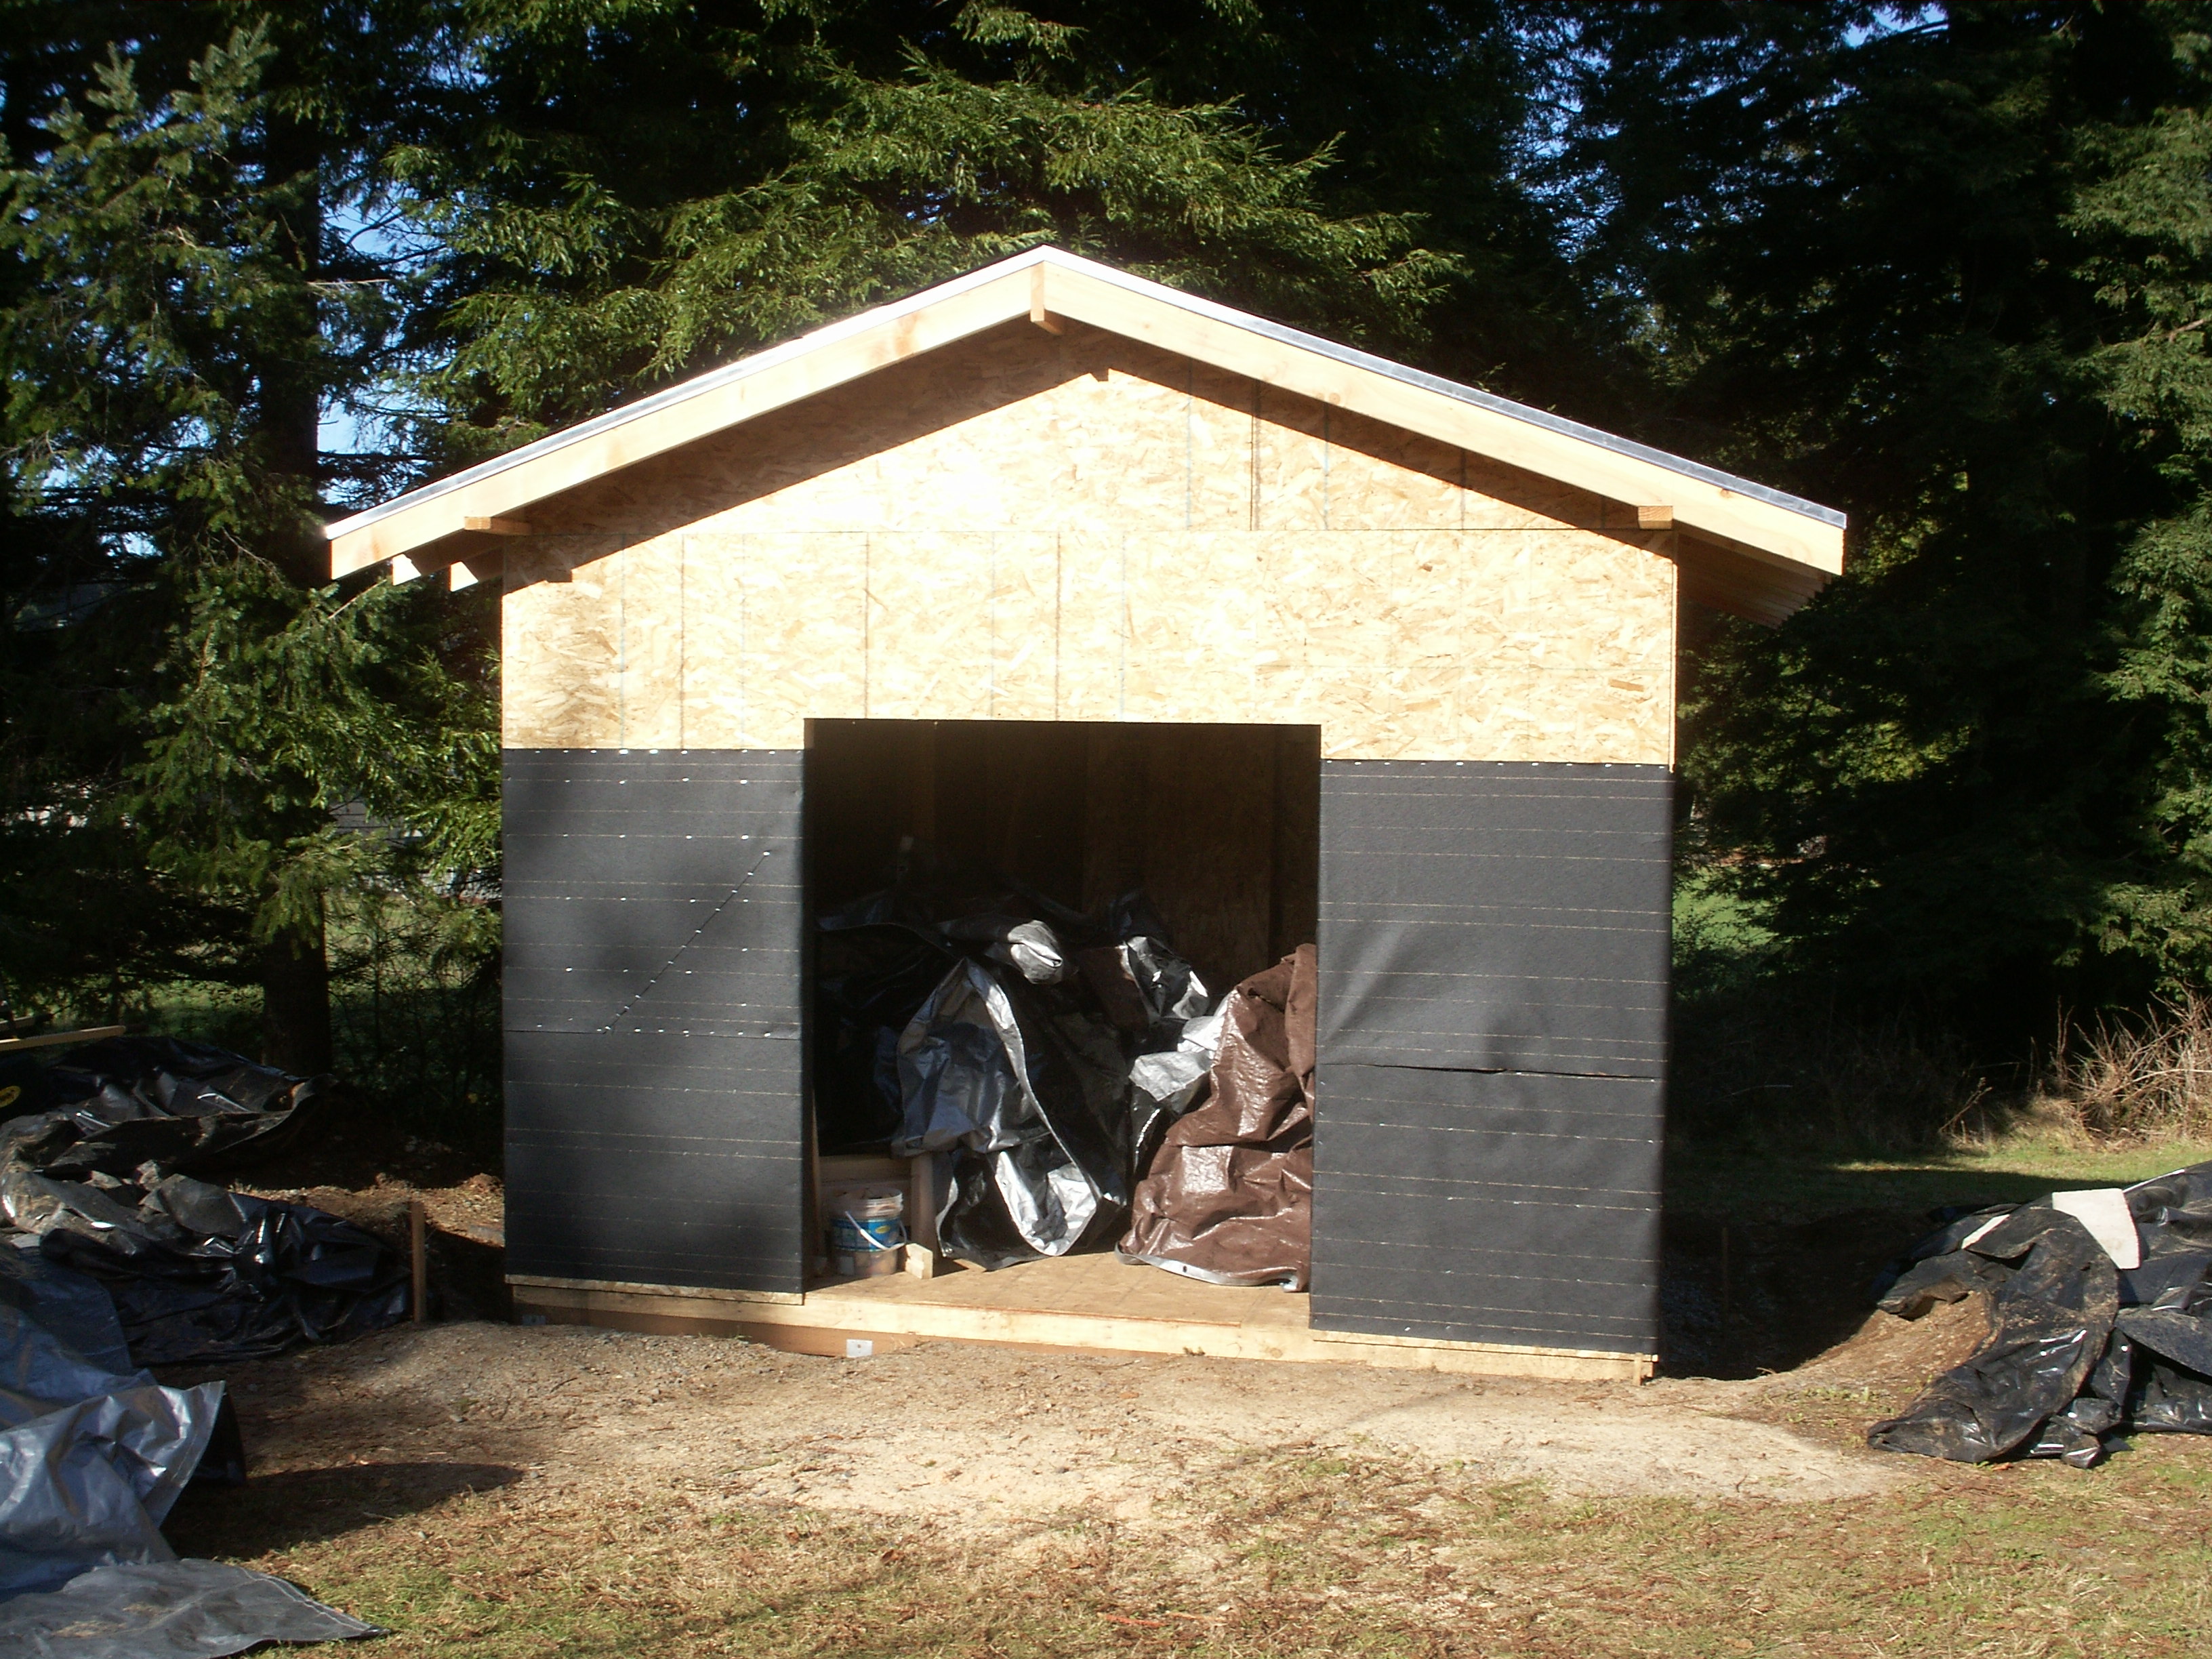
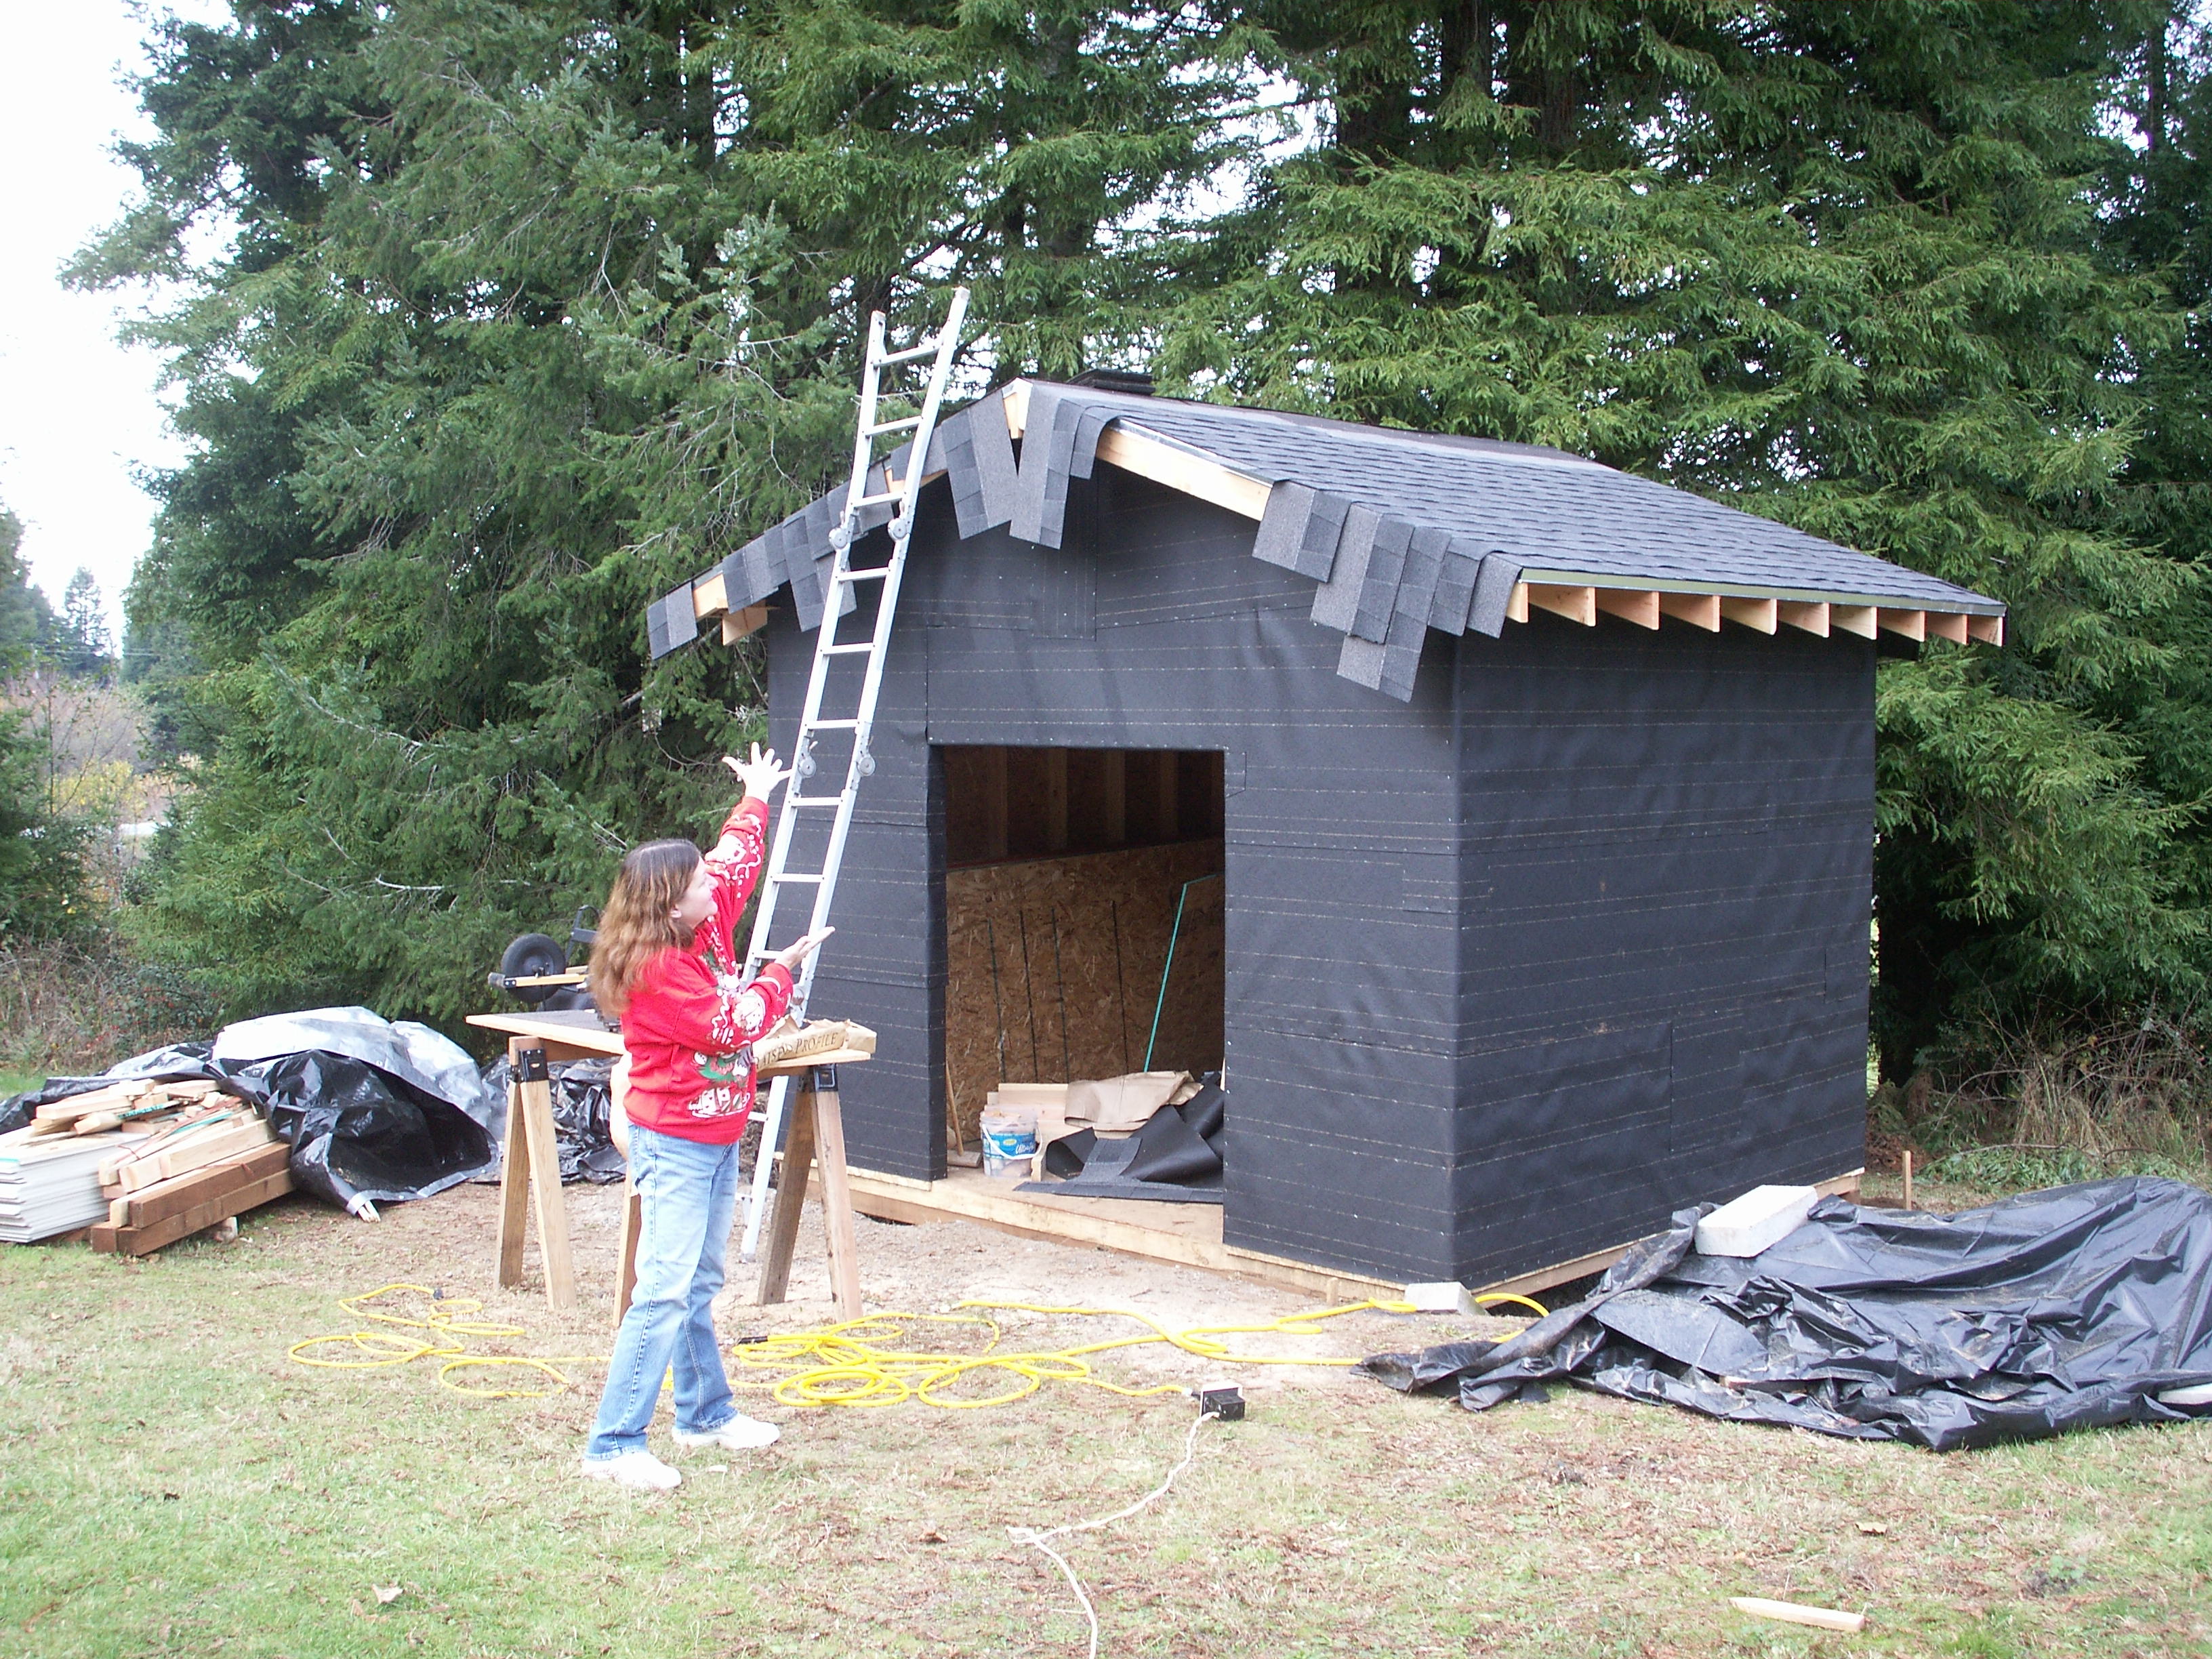
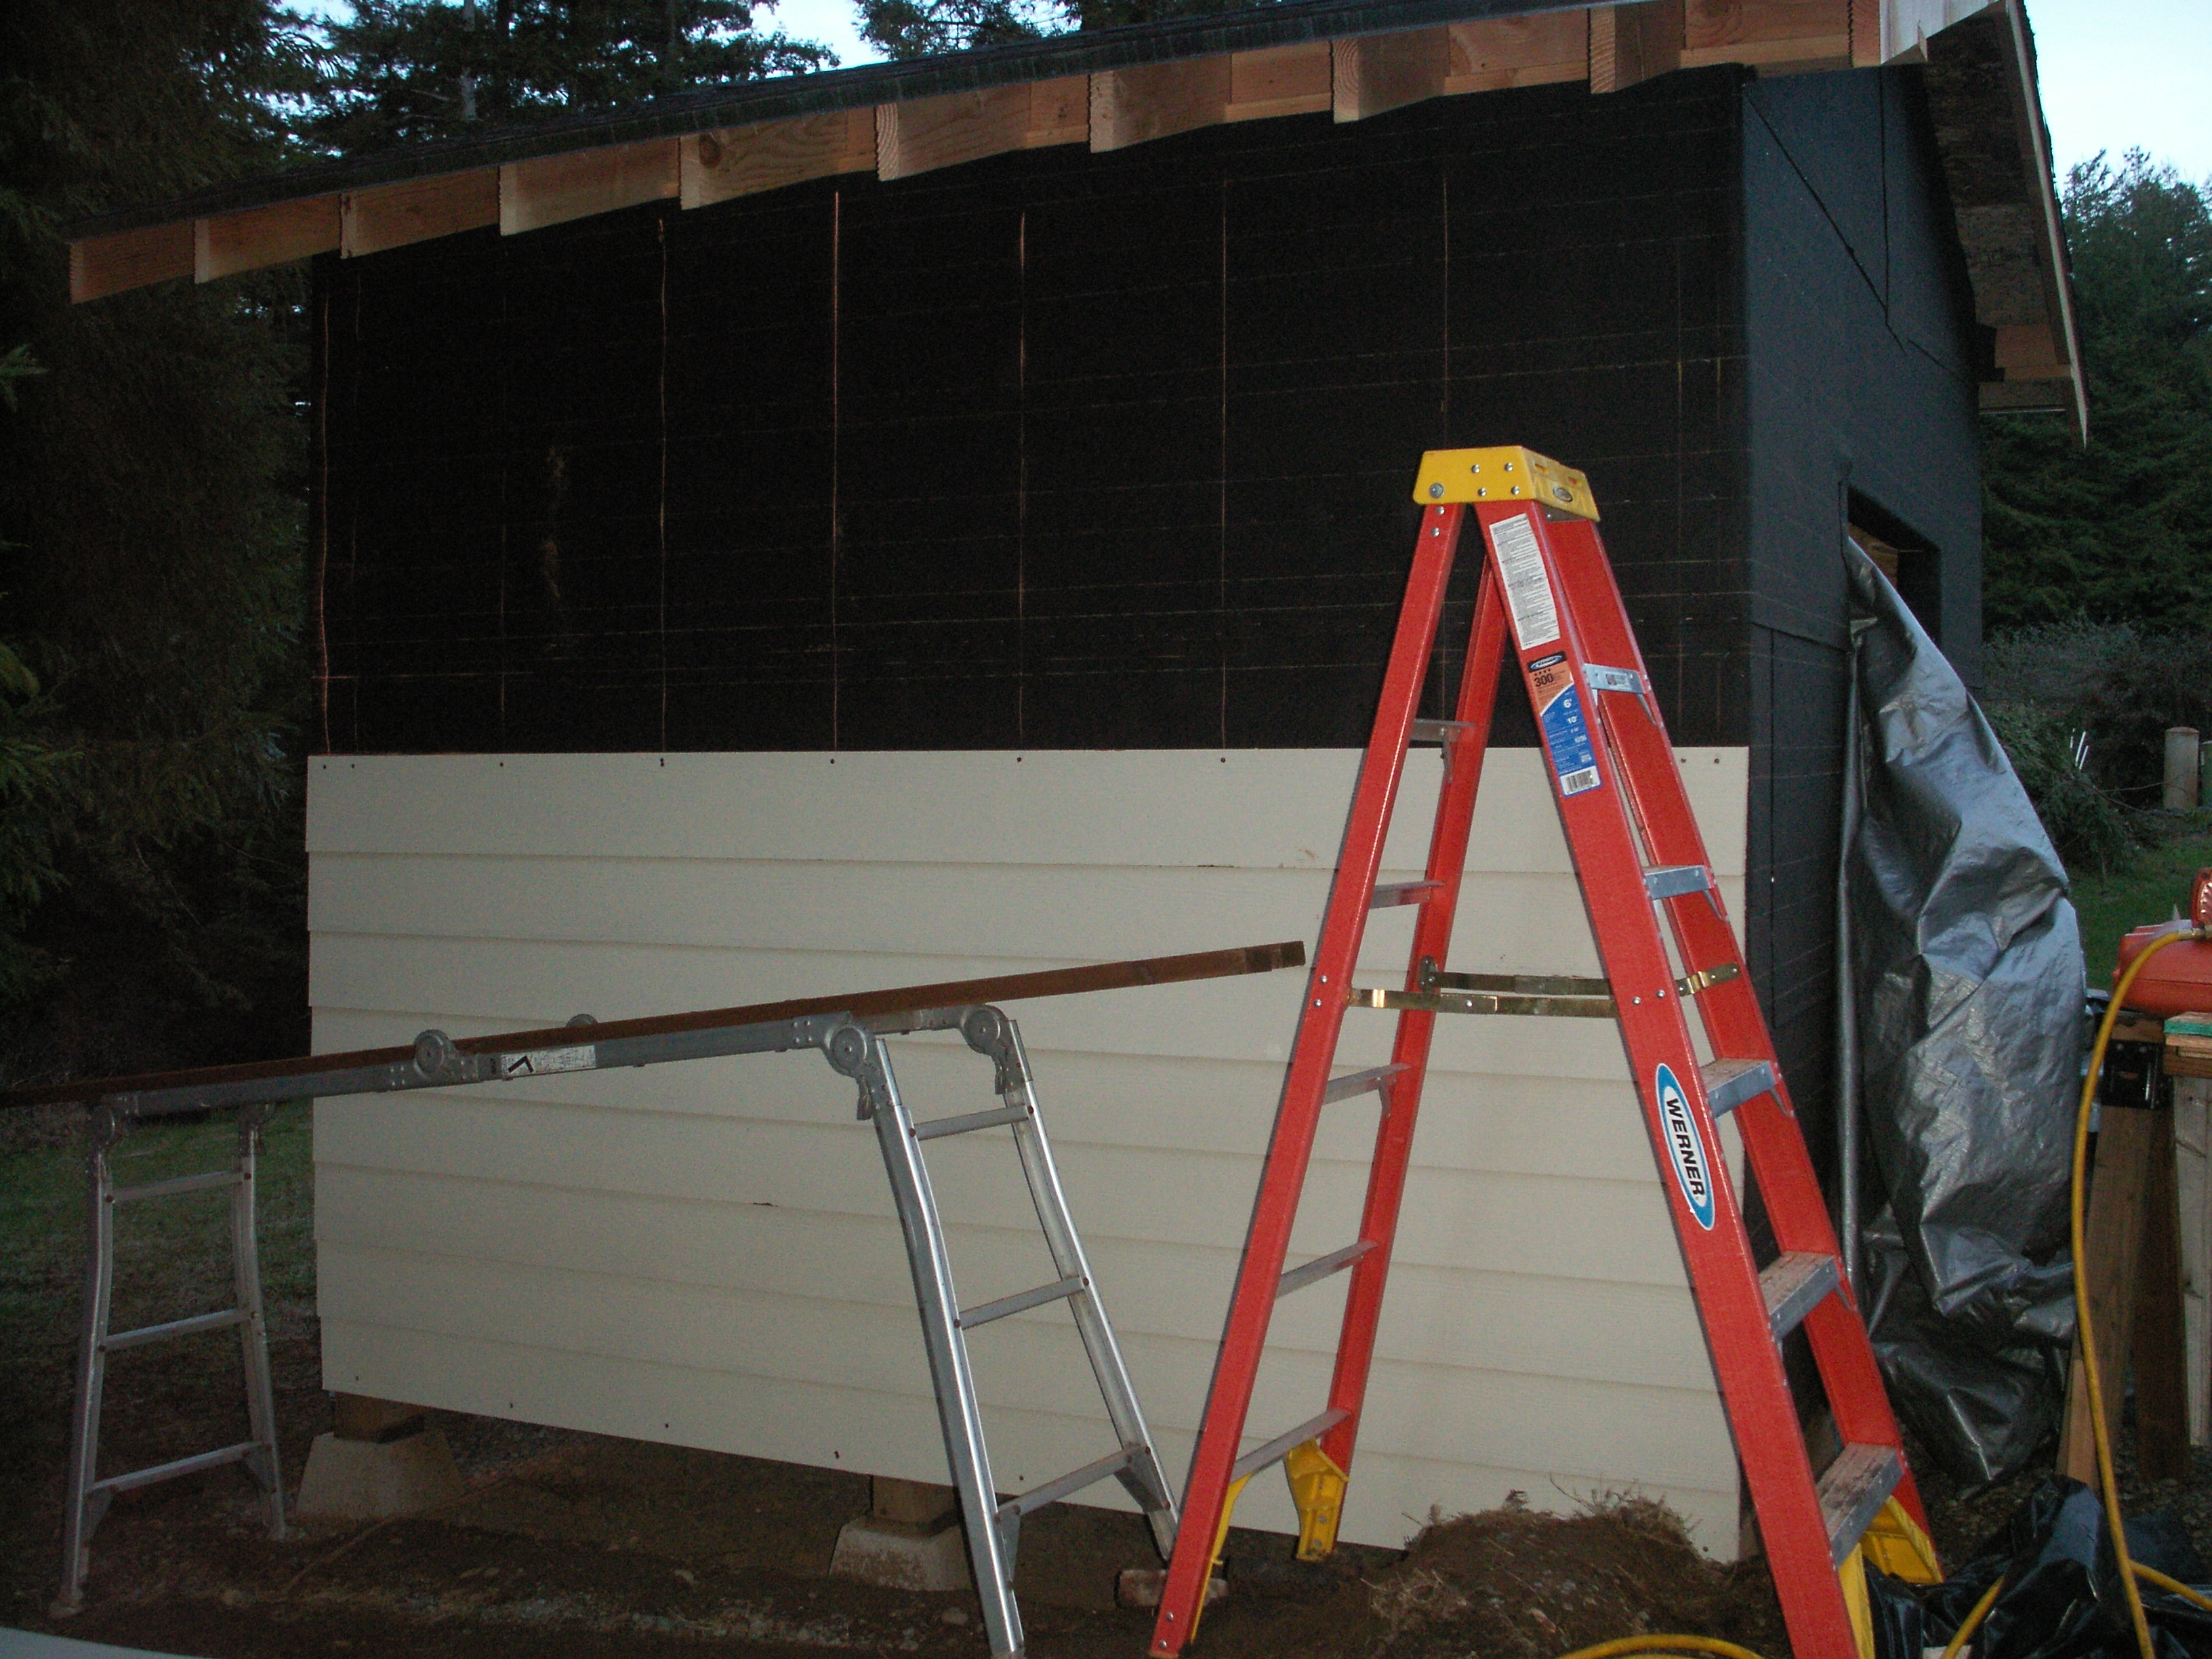
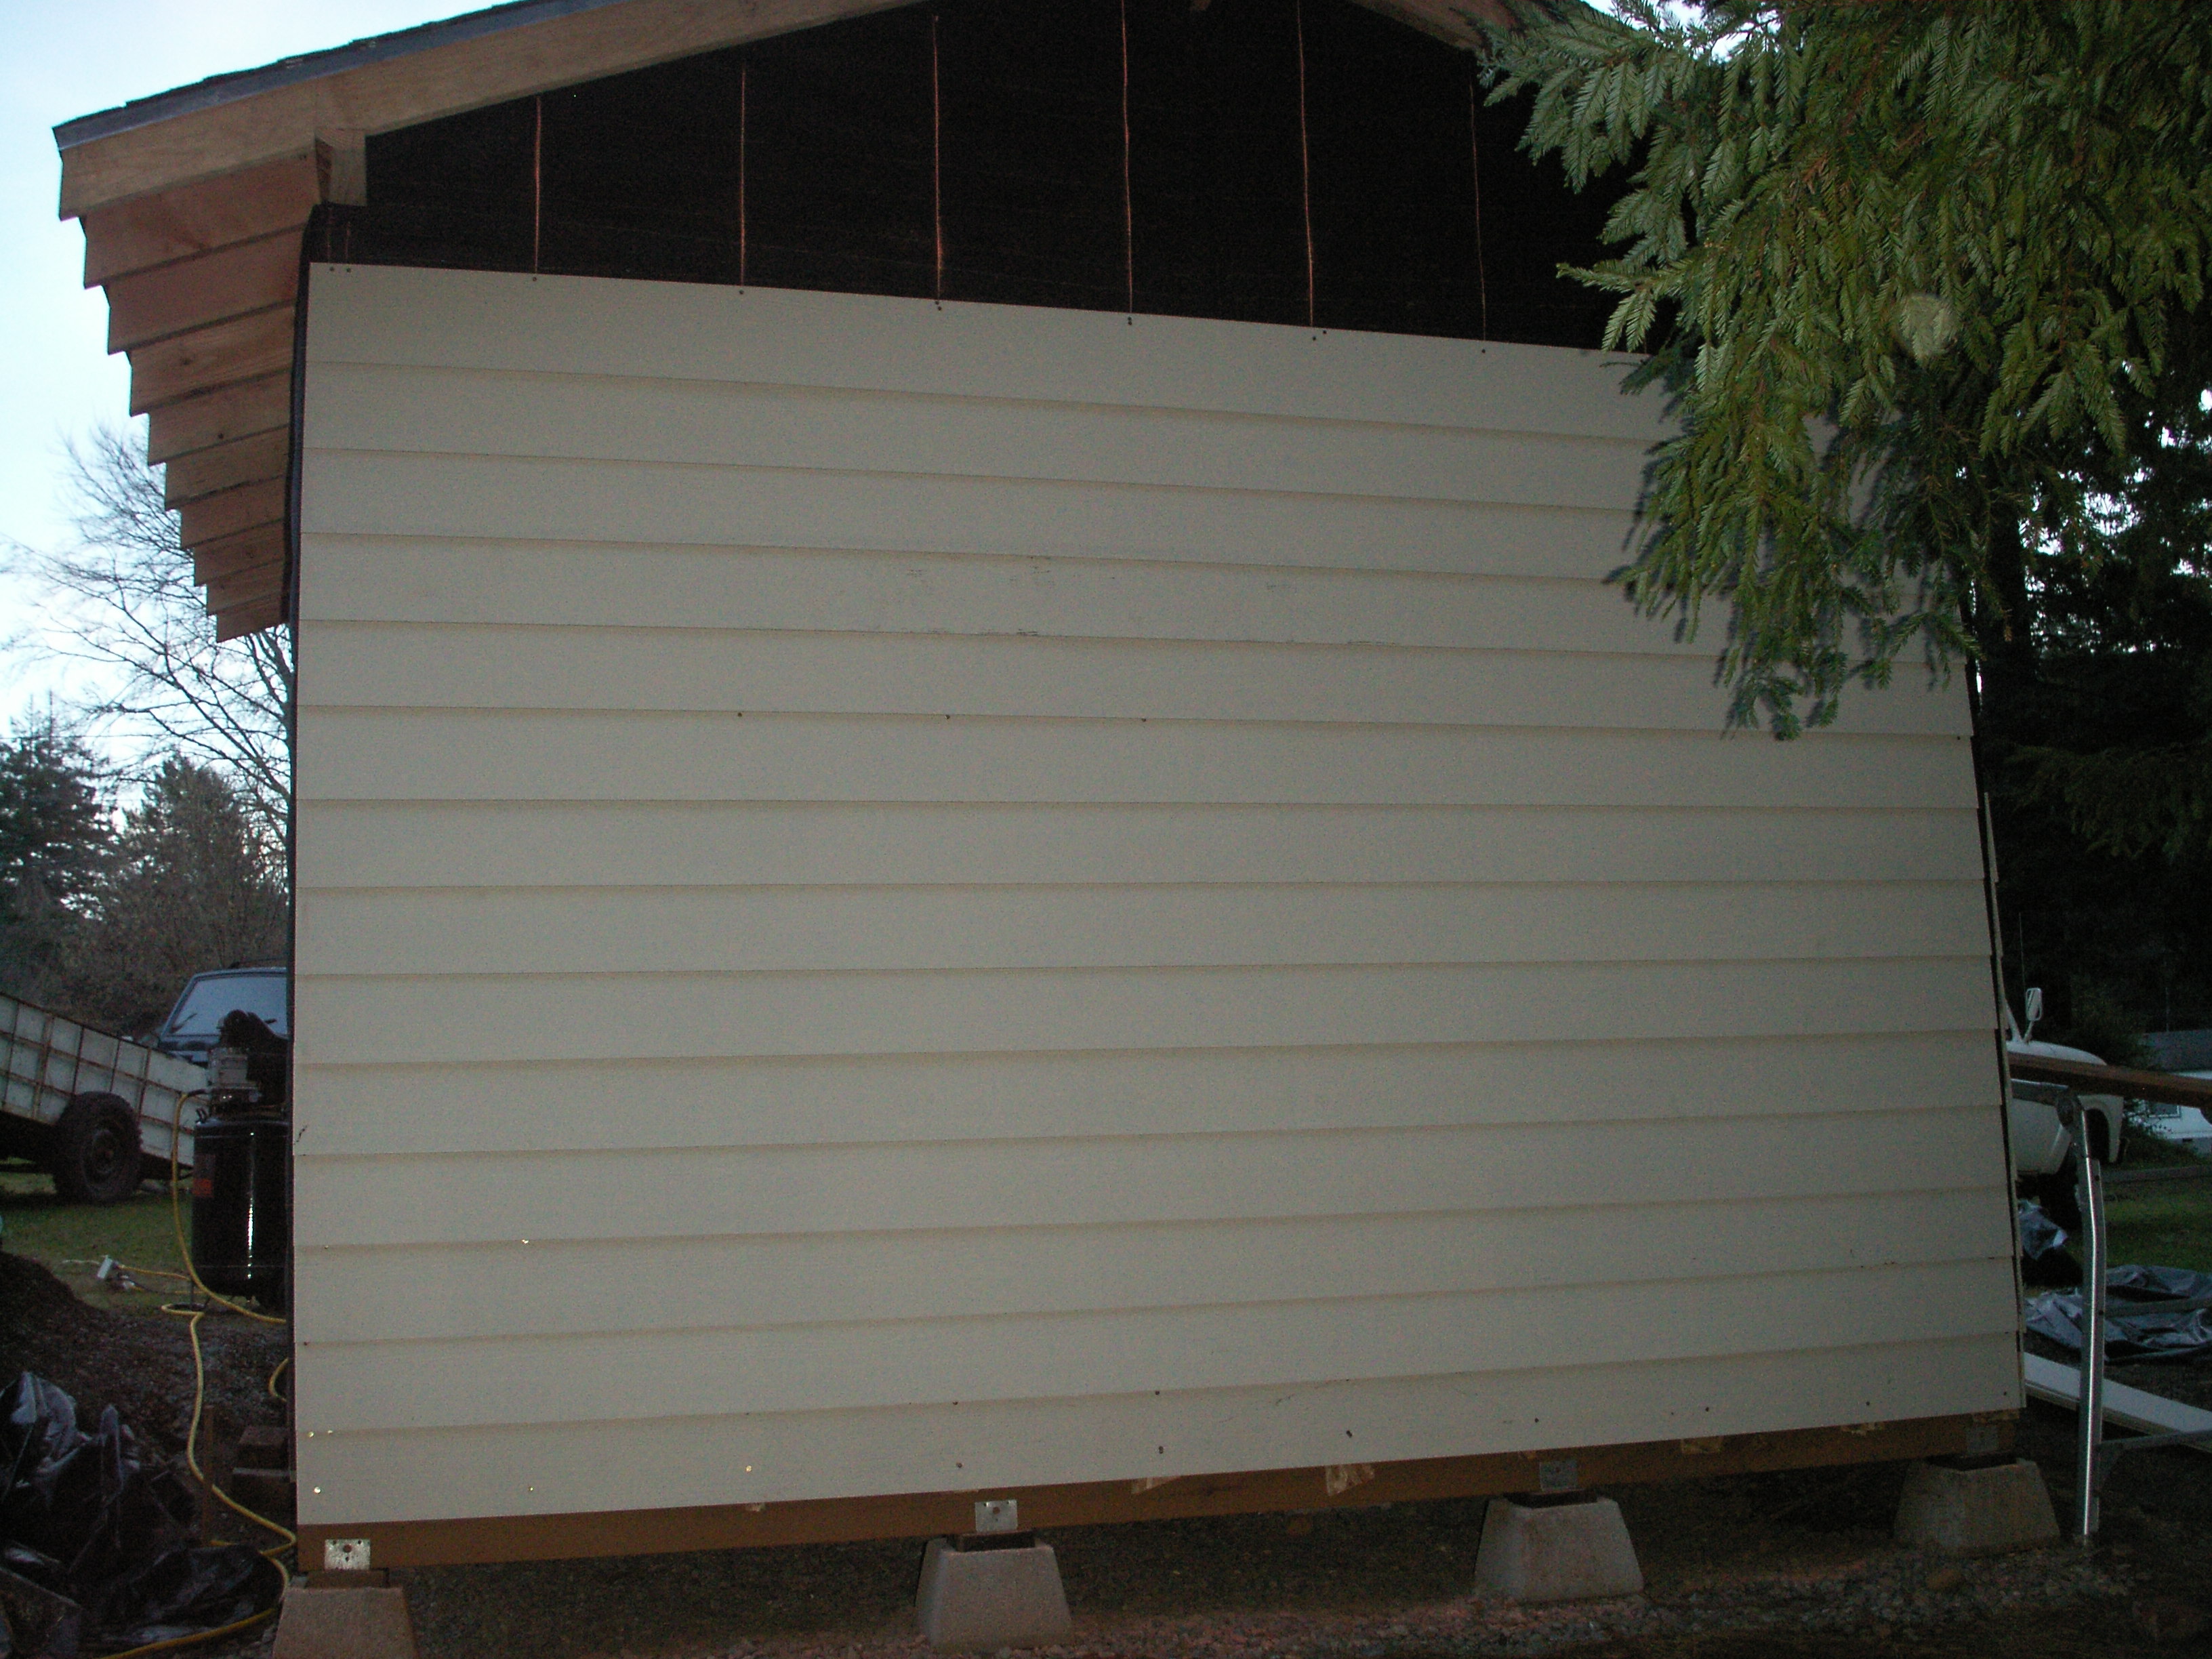
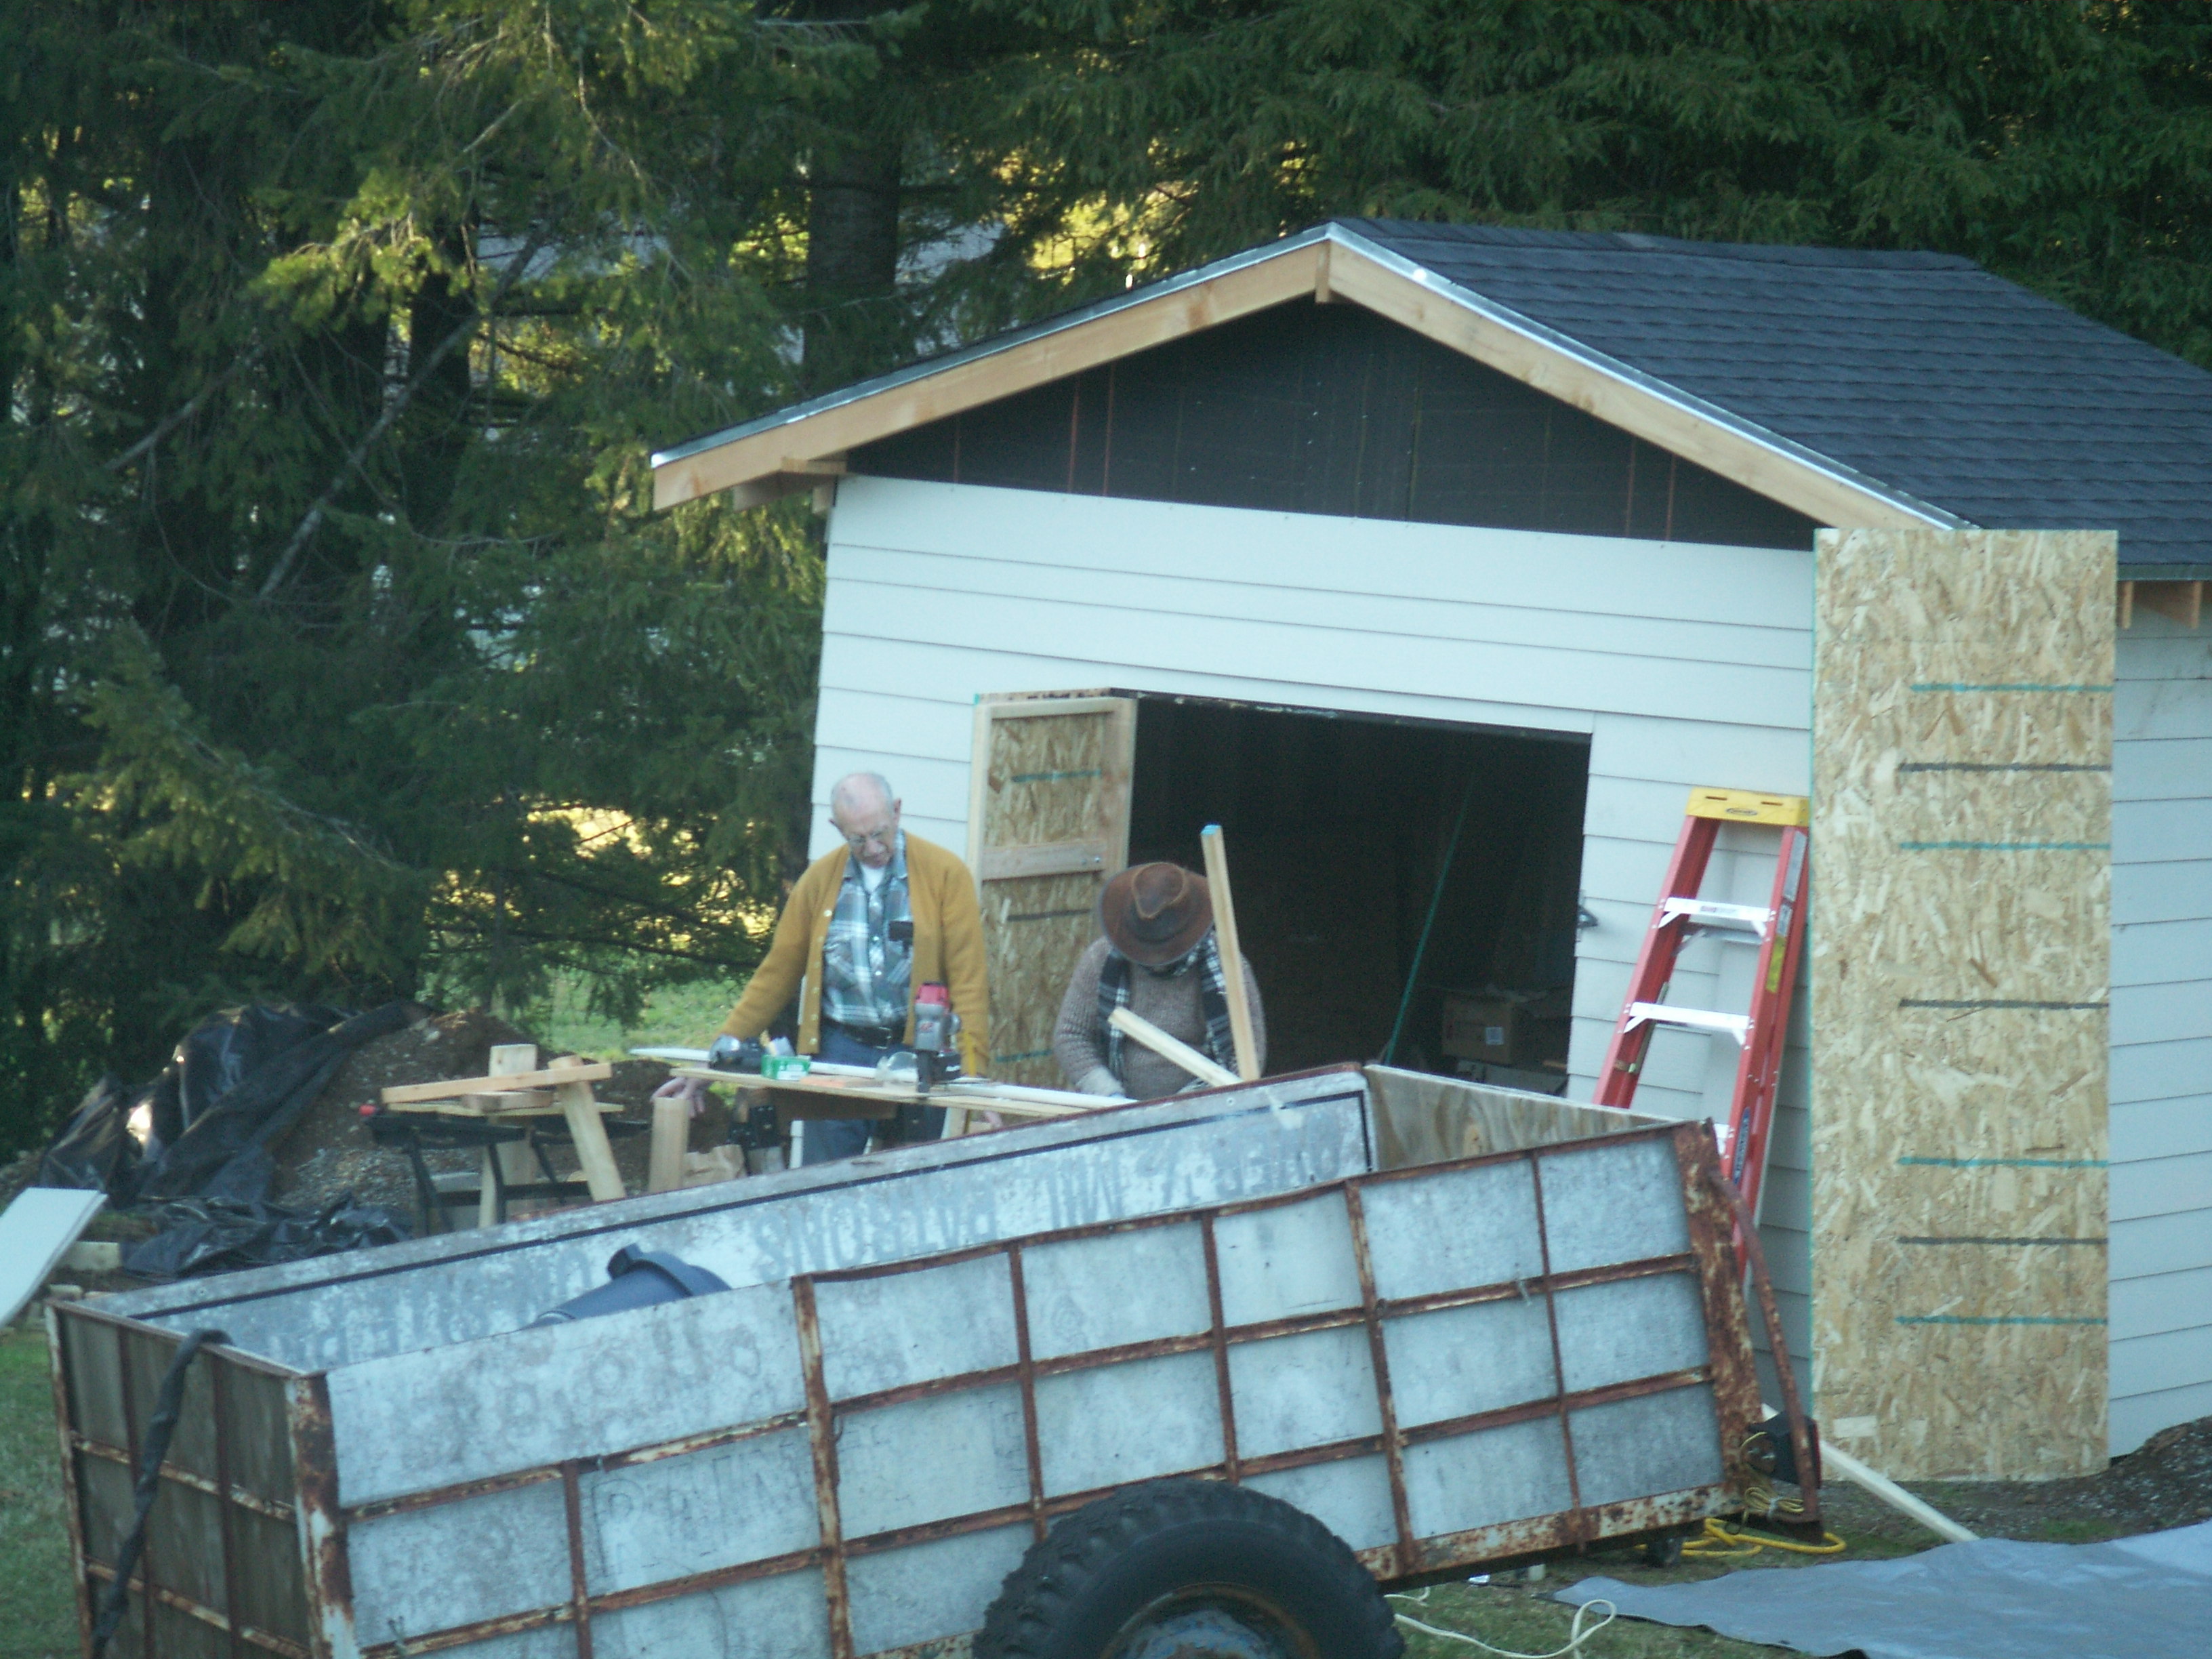
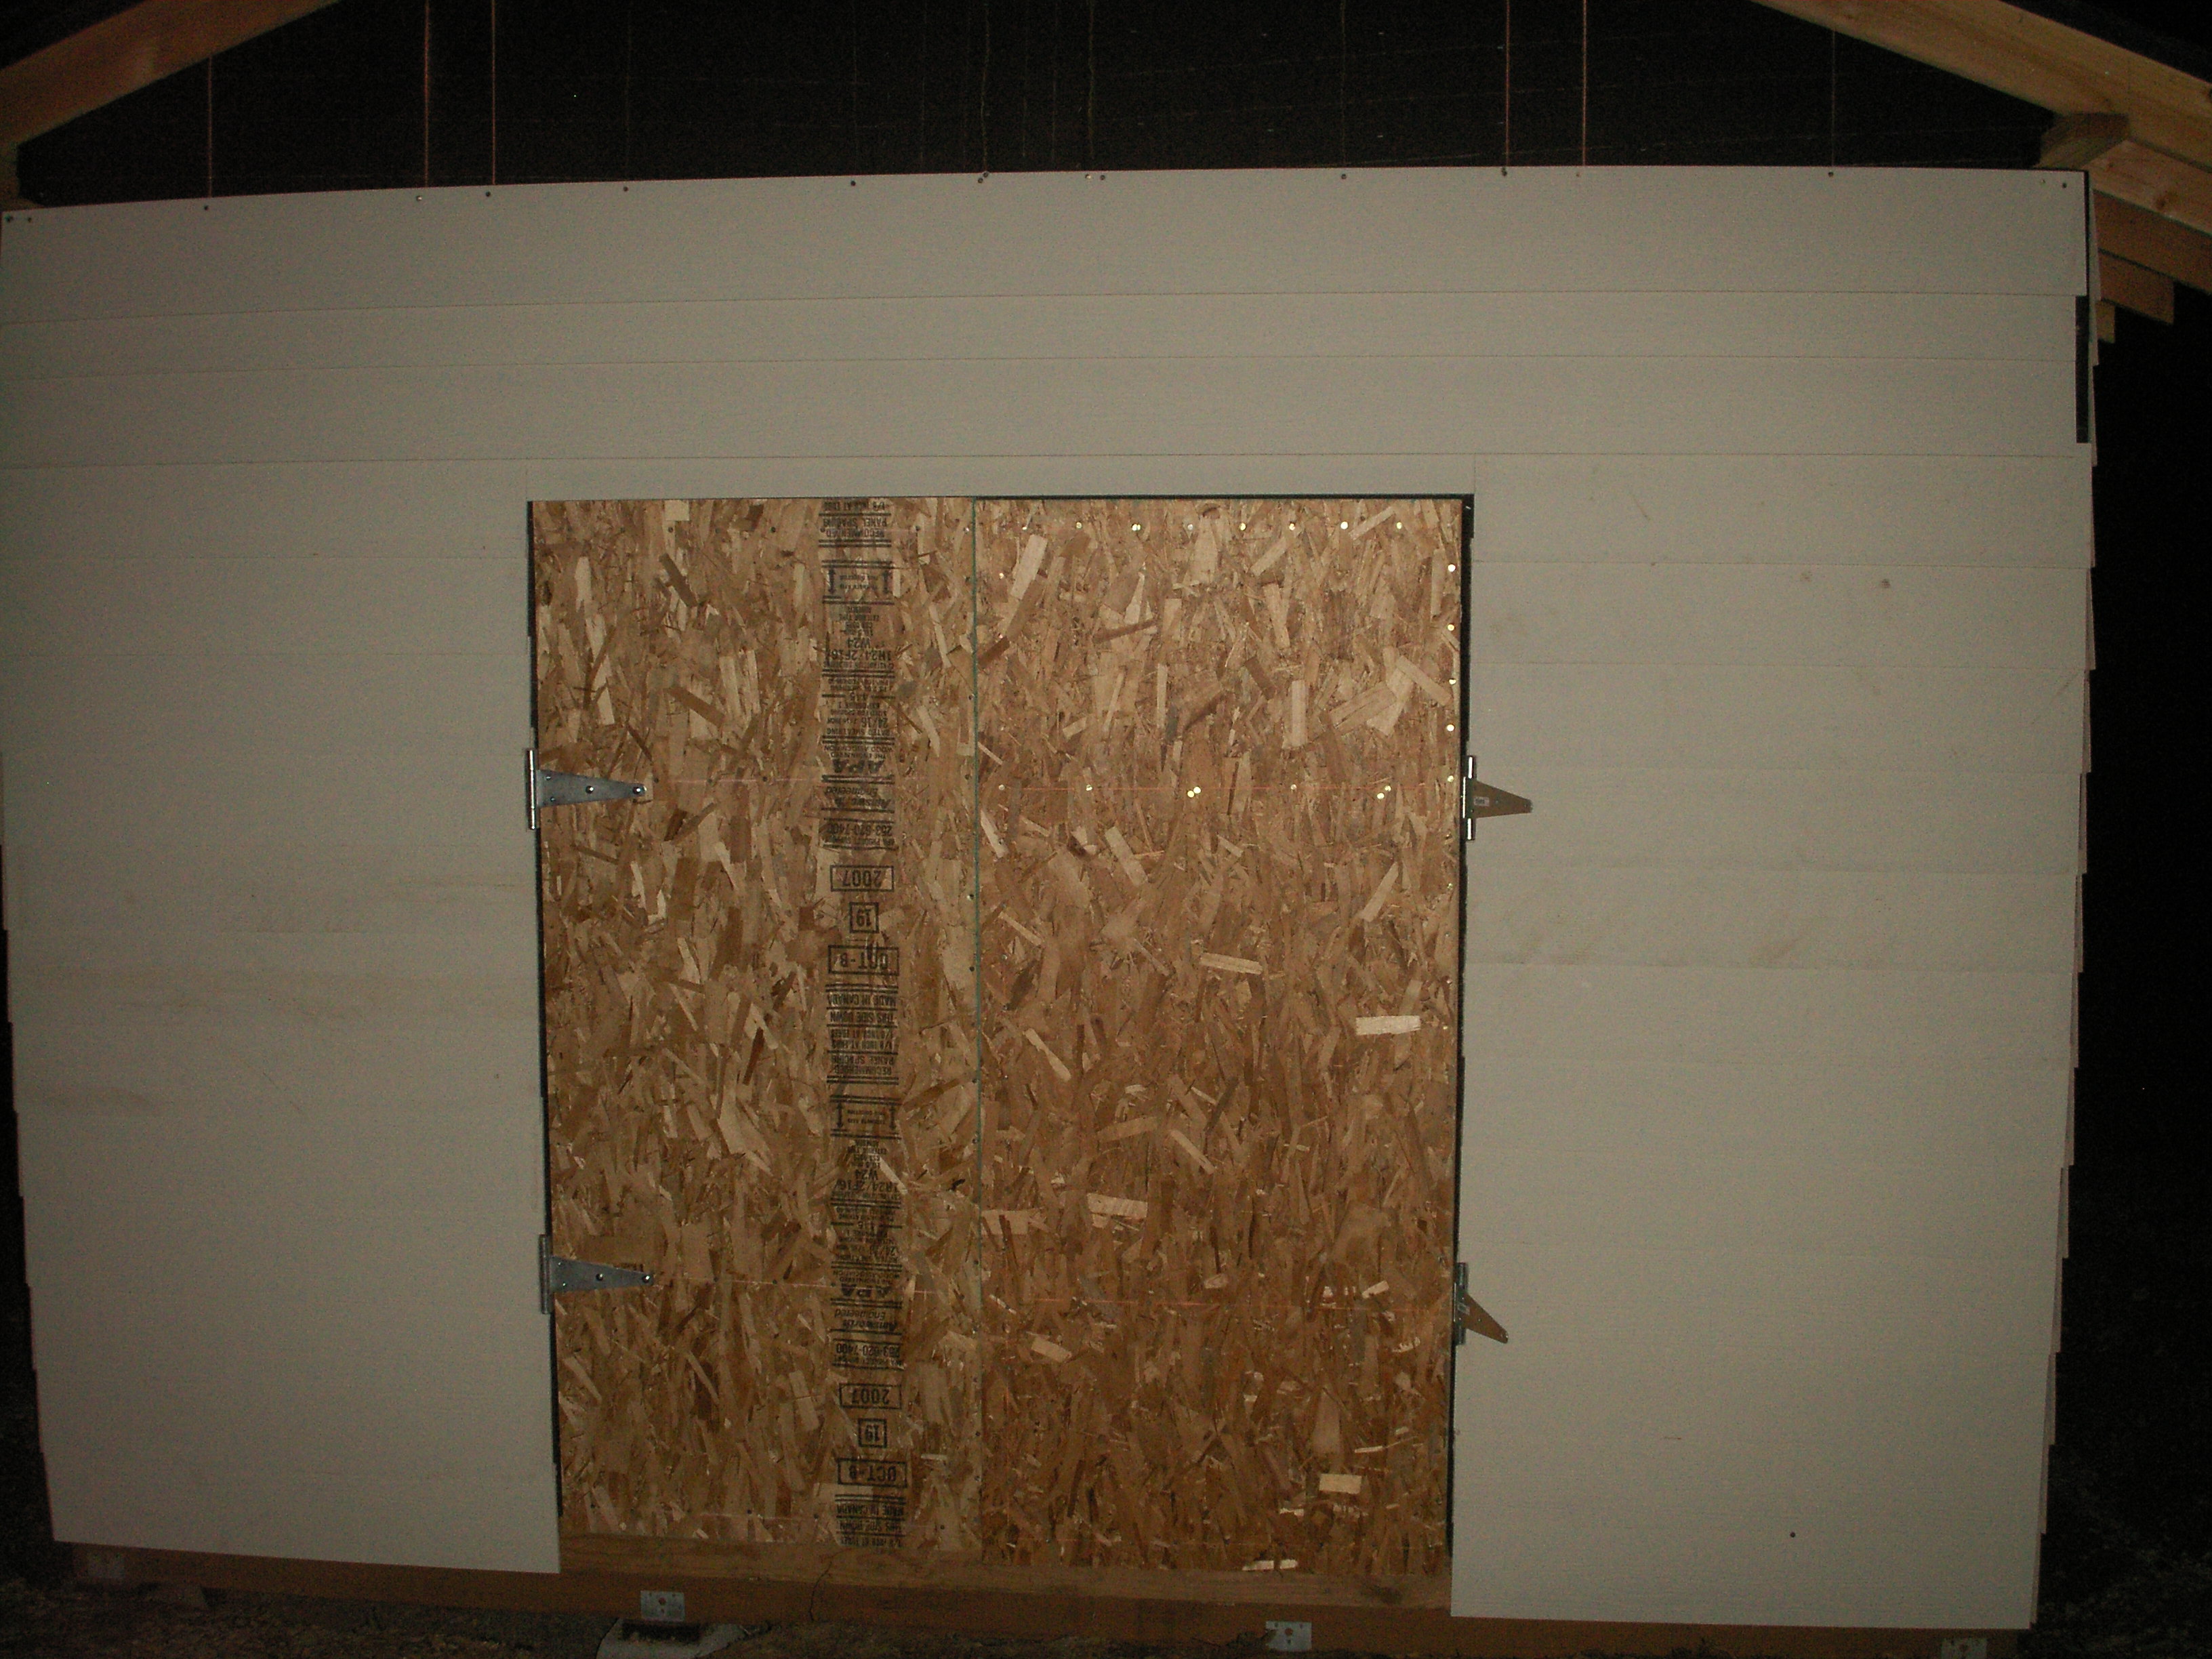
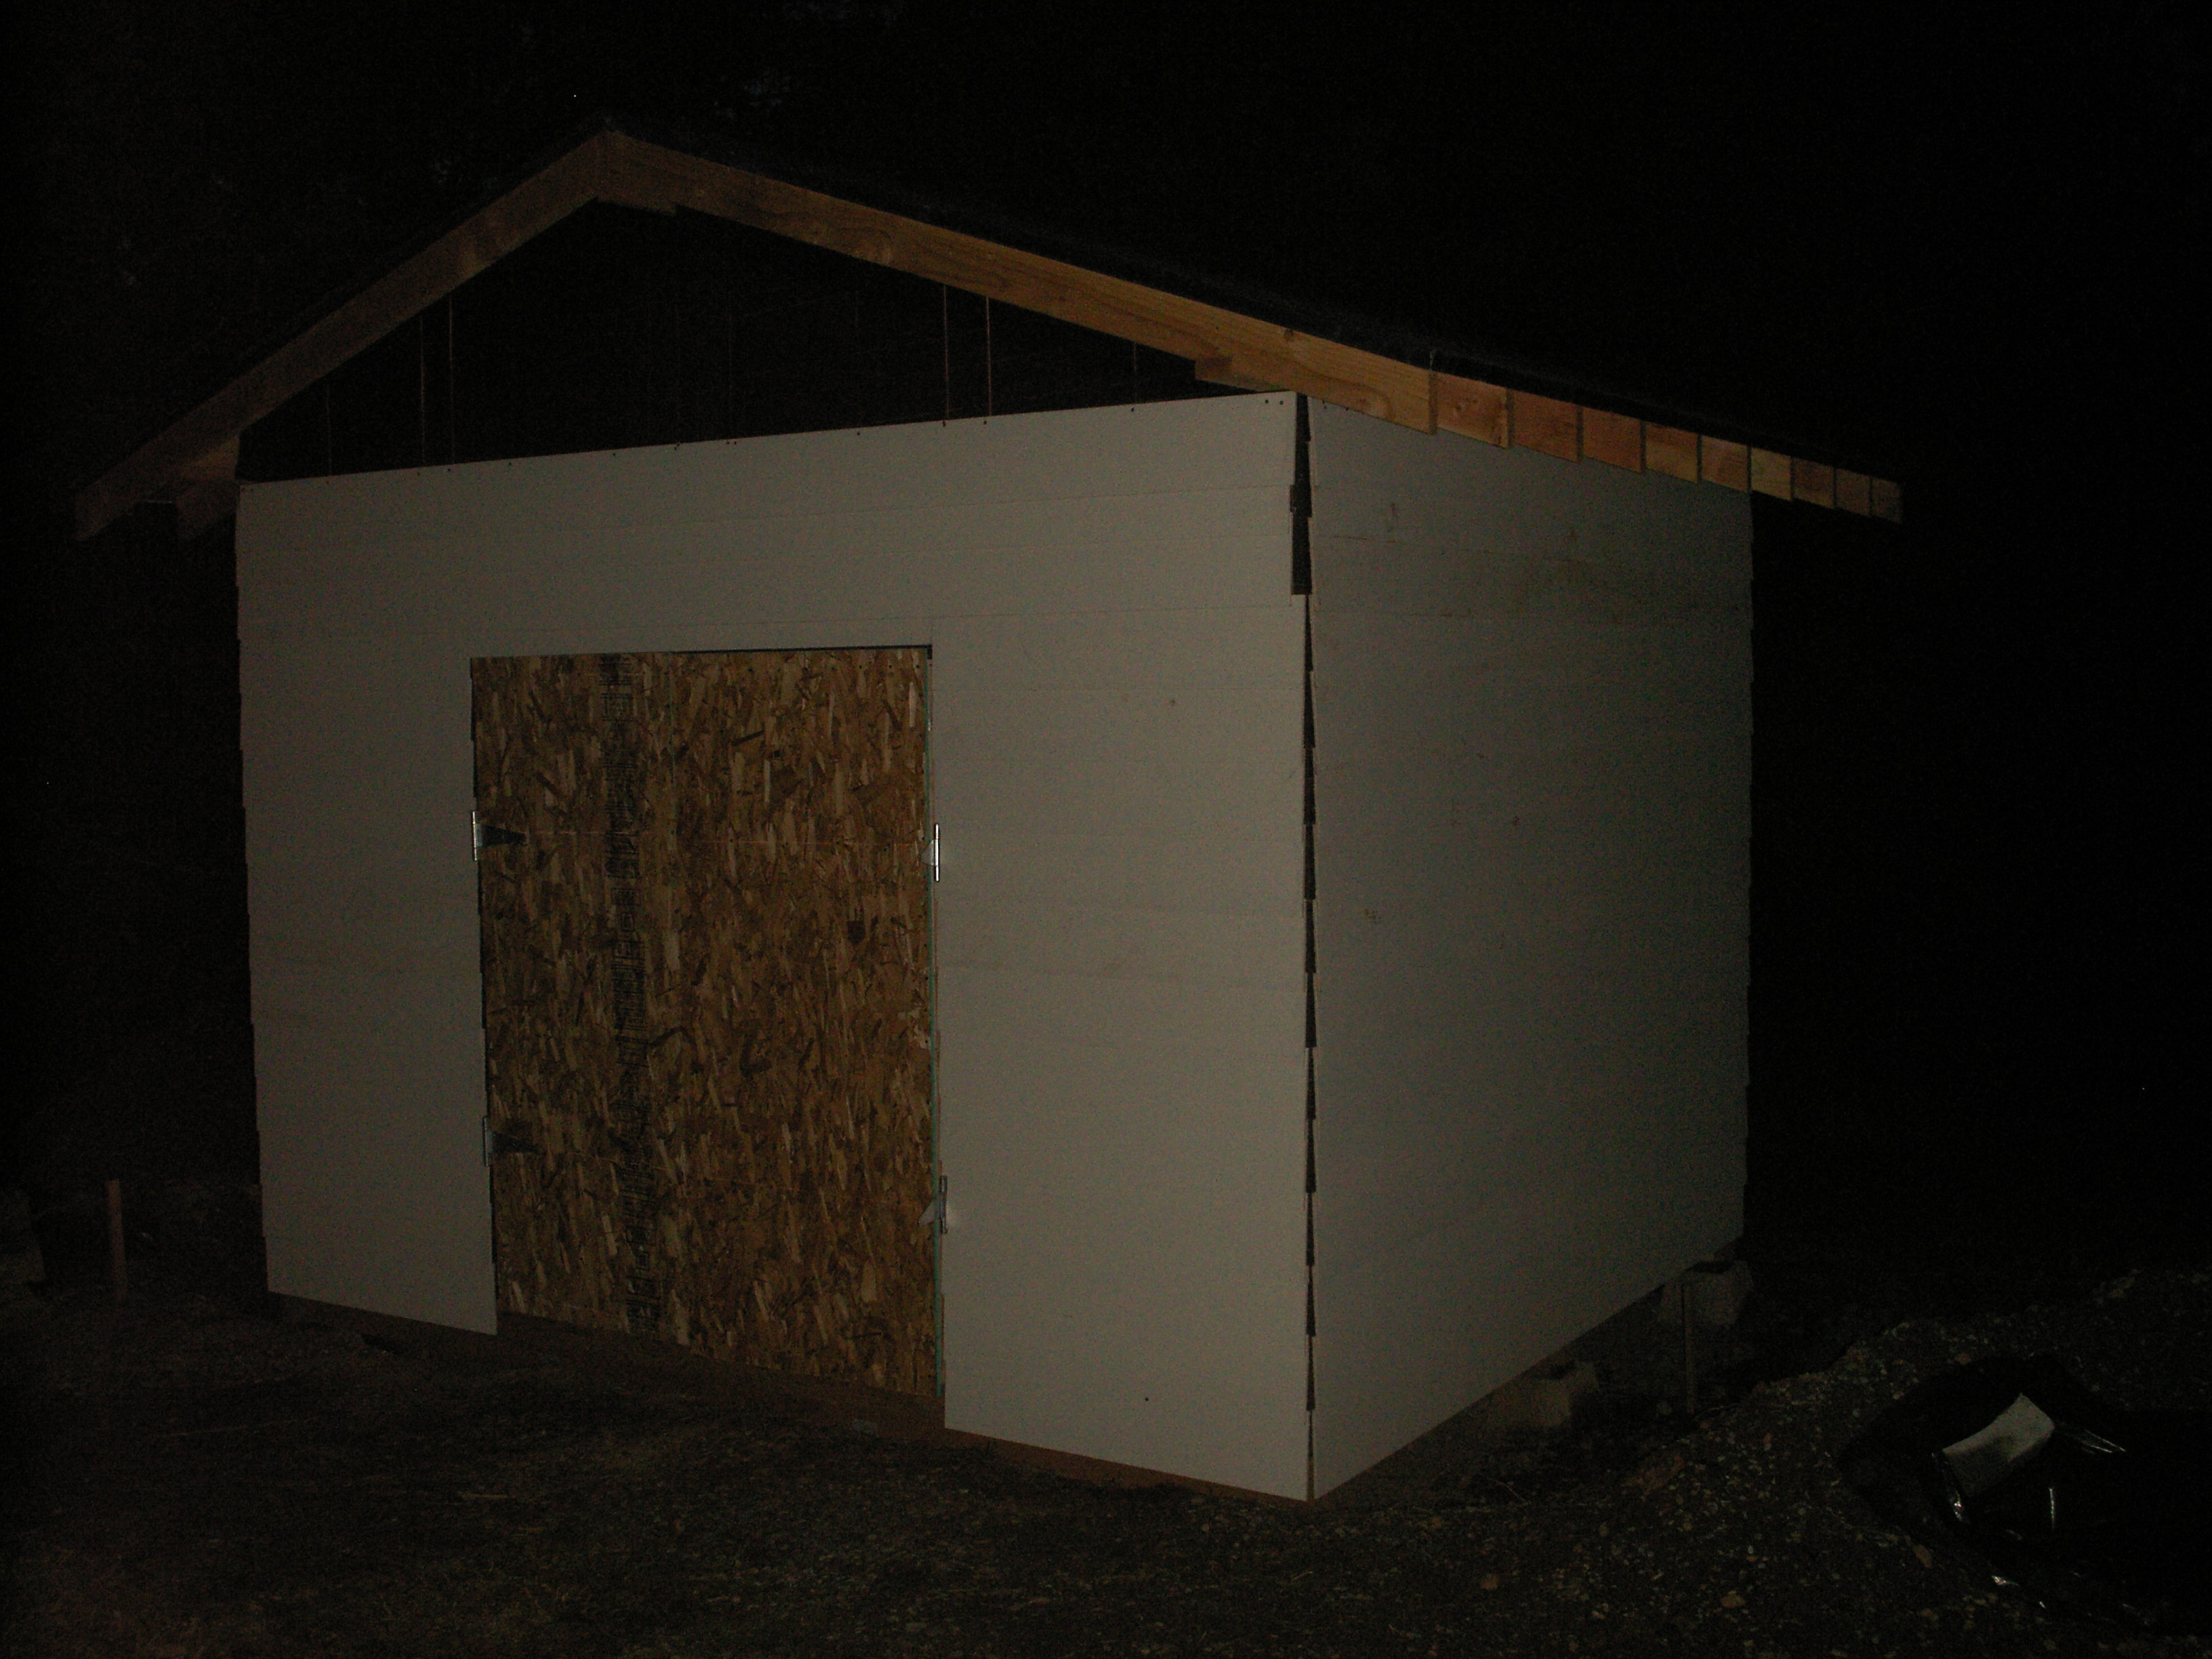
It's been awhile. I have 3 construction days to catch up on... I also took a time out and removed the old washer/dryer pair that came with the house and plumbed/wired in a new Laundry Center we picked up from Sears. I really appreciate the way they usually make parts availabe, along with the exploded diagrams one can frequently get for their products. No more trips to the Laundromat! I have had some help, and now there is siding! In fact, there is also one door hung and a second curing. The siding is ReadyBoard, which creates silica dust when cut. So, imagine me in a respirator mask, safety glasses, and of course, my hat for sun protection. Or maybe just for vanity :) Diane helped with a lot of the siding, and Tom gave us a hand and lots of advice. And a hardy laugh when he saw my getup. ReadyBoard is scored with a metal blade by pulling the blade along the desired cut line, just like Plexiglas. Unlike normal glass, the scoring is repeated, as the deeper the cut, the smoother the break. Then, placing the scored line over the edge of a supporting table, you just bend the board down, causing the fibers to give at the fault line - Voila! A shorter board. Trimming (like around the hinges) has been accomplished with a utility knife. The boards are put up from bottom to top with roofing nails along the top edge. The next board goes above the first, overlaying it by an inch or so, which hides the previous nails. This creates a clean, blind-nailed look. At Diane's recommendation, I cut two boards of the right size to help line up the chalk line to show where the next boards go. I had also snapped some chalk lines vertically, to show where the studs were for nailing into. The edges do not necessarily line up, but that is what trim is for! I will eventually nail 1x4 cedar trim boards at the edges to hide the joints and make them more weather proof. Sharp eyes will spot the nails that snuck down below the line...
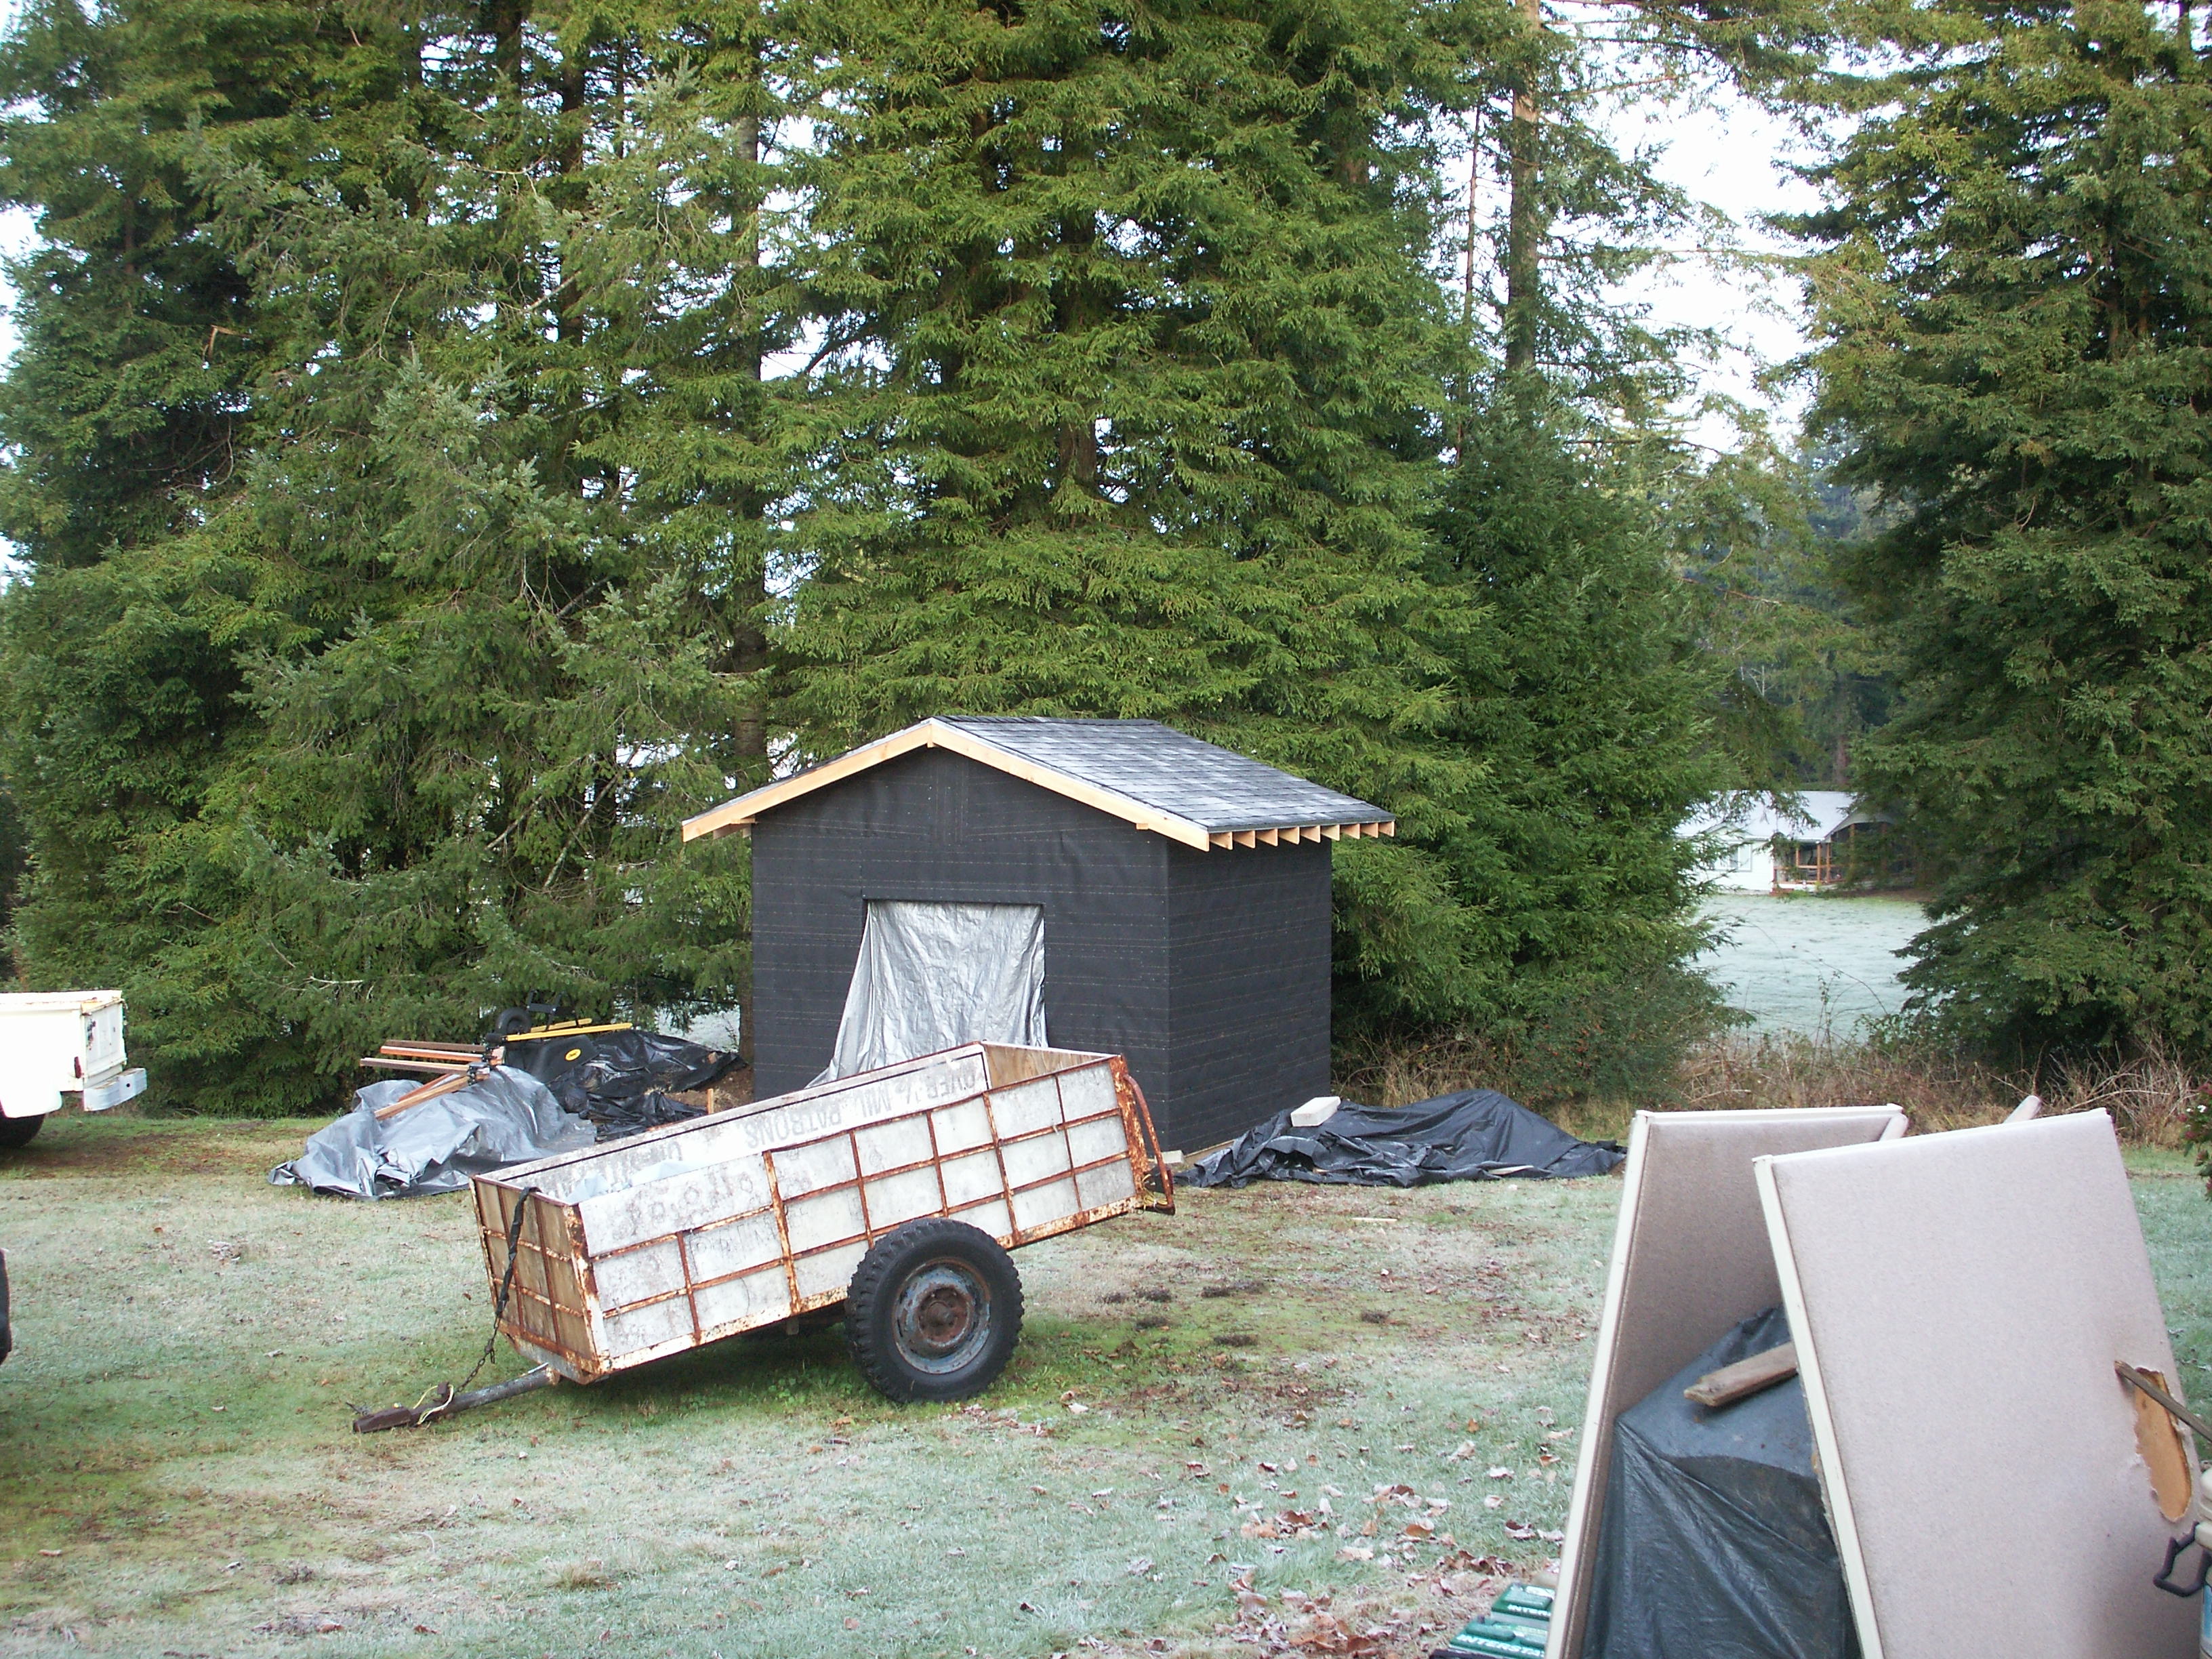
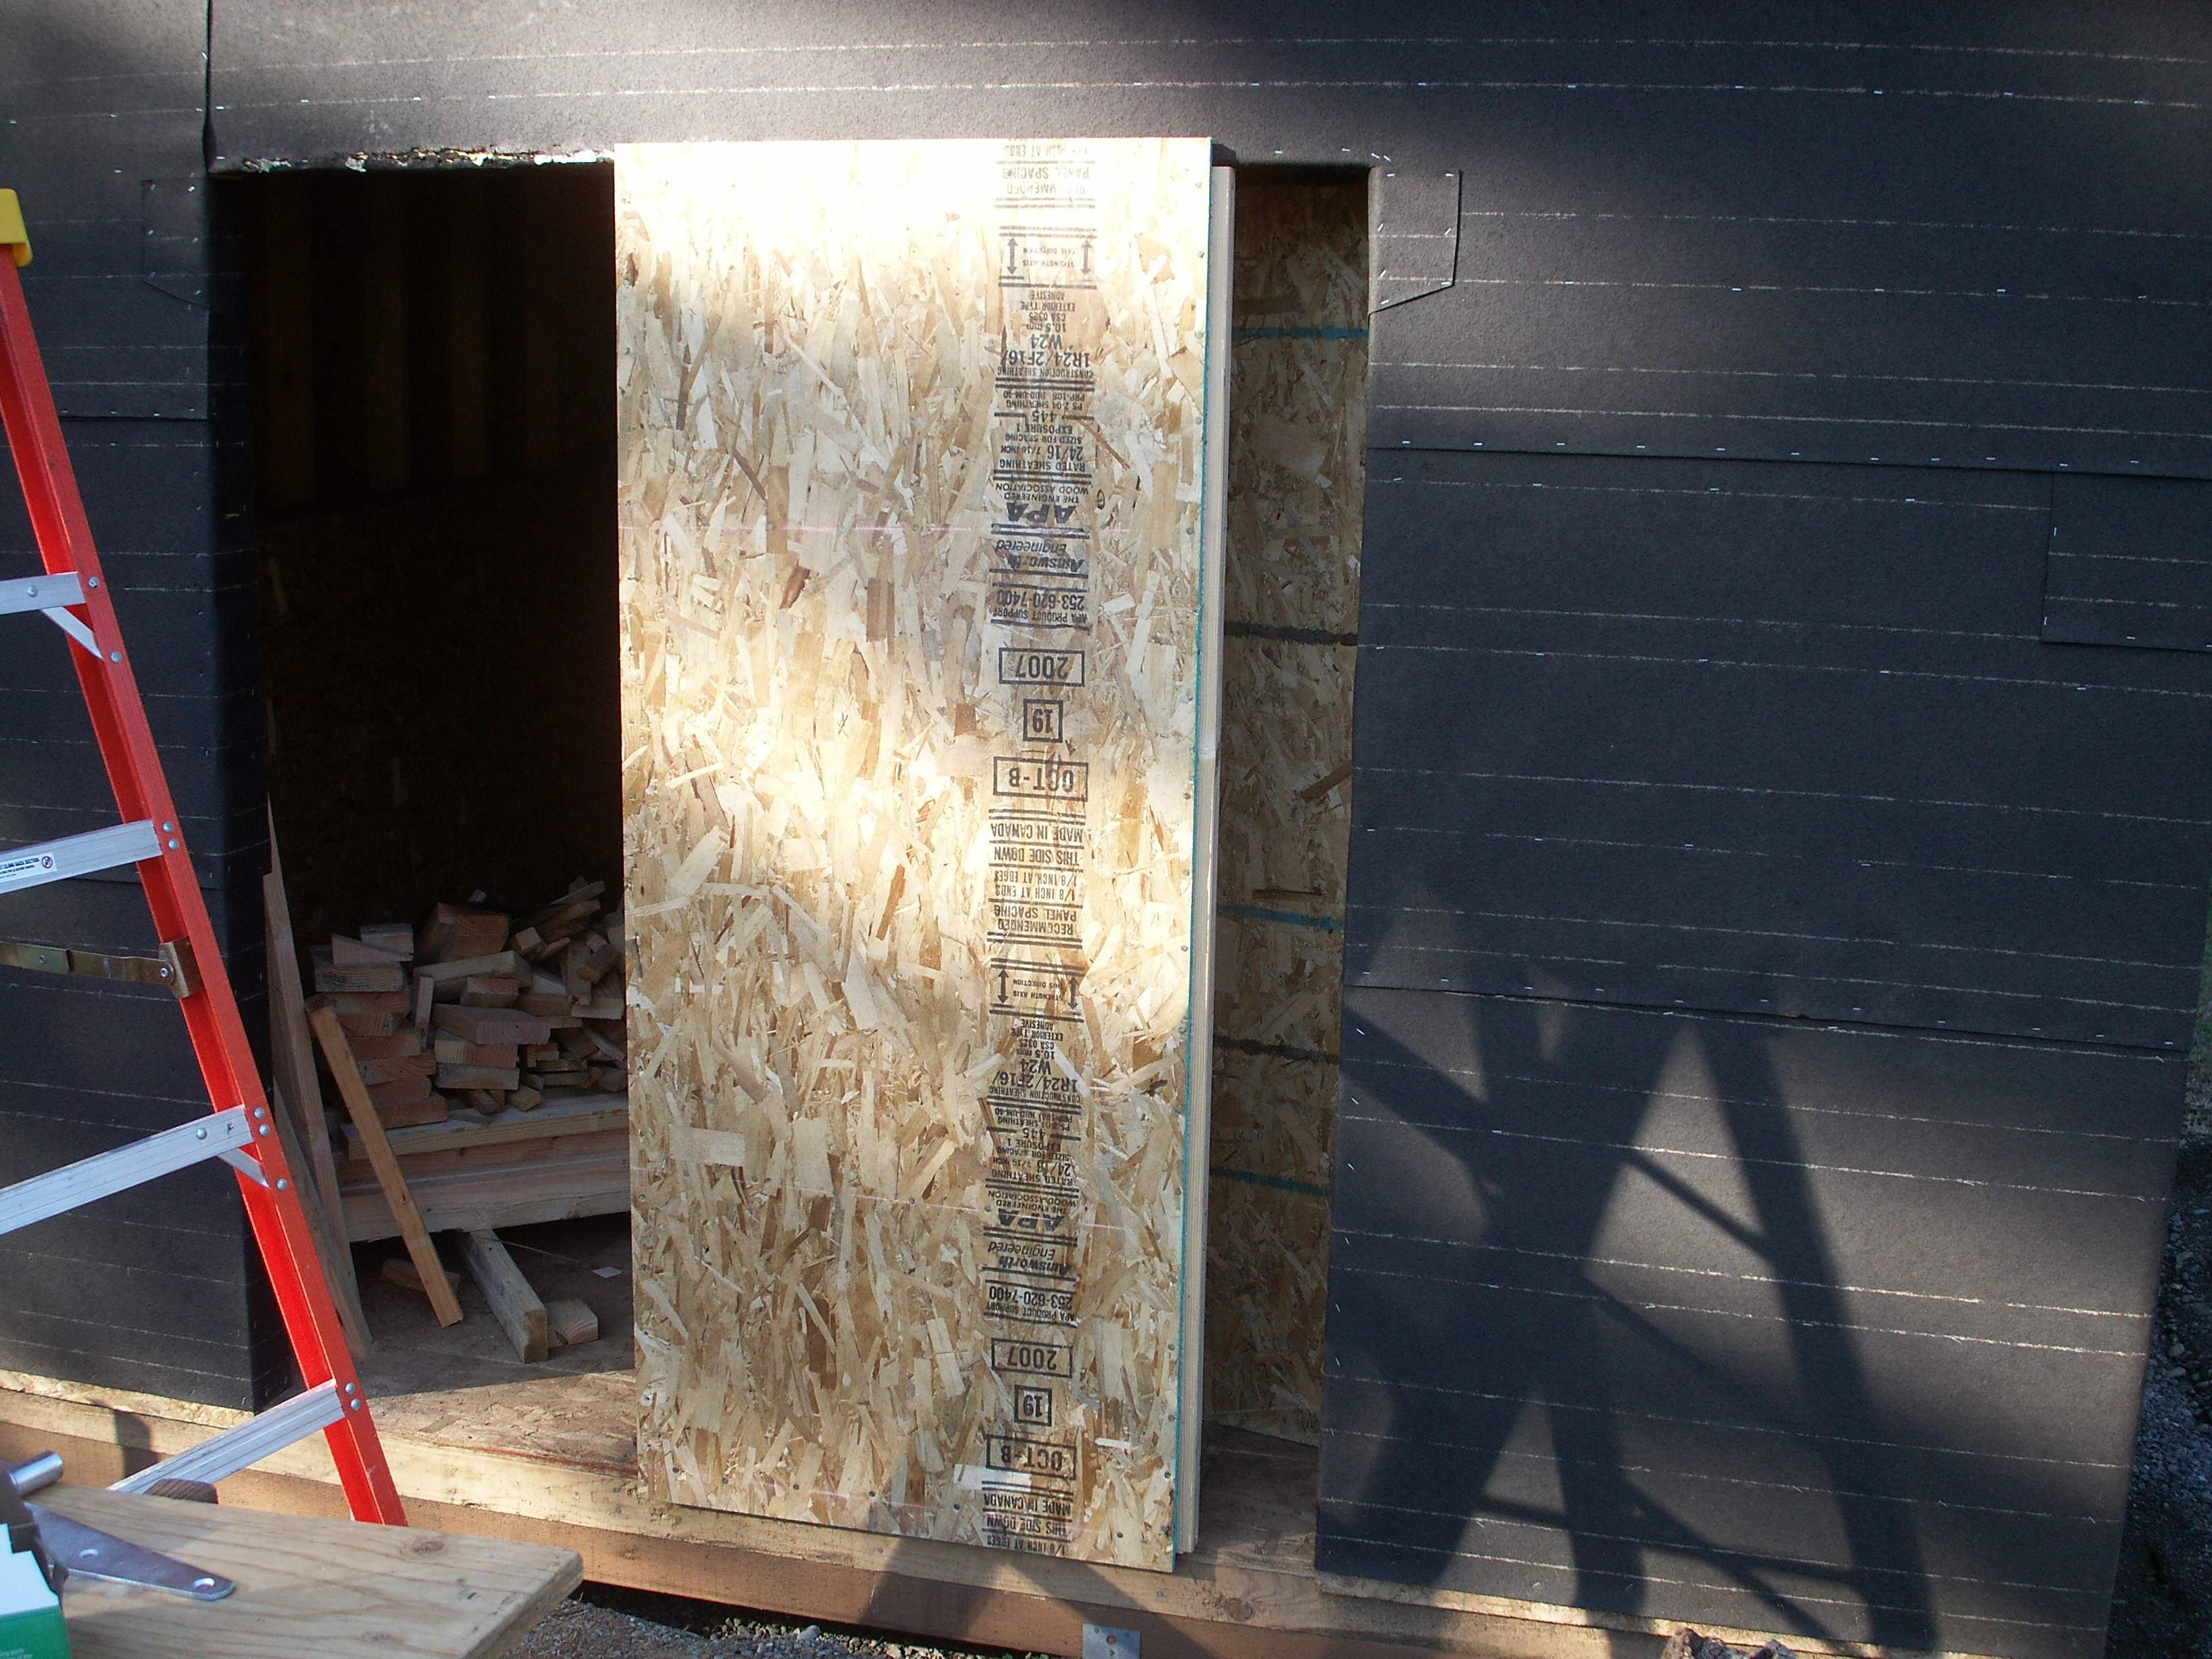
Now I know why doors are bought pre-hung on door frames. I, of course, elected to build mine. Sigh. I used a 2x4 at the hinge side, 2x2's for the other 3 sides to cut down on weight, and 2 2x4s to be horizontal hinge supports. I then glued and nailed a ½" OSB sheet as cover and strength. I will need to weather proof these, as well. Not sure yet how - Maybe more siding? After gluing and nailing the first door together, I realized I forgot to check for squareness (again). So, I set it in place. Oops. Glue squeeze-out adhered to the tar paper. Now I have some nice rips and tears along the top edge of the door frame. Oh, well. I cut it free, and today, January 21st, I shortened the other frame to fit. I had framed both doors at the same time, but after hinges were installed on the first door and with the tar paper wrapped around the door frame, the hole was no longer the same size as my first measurements. The second door has been completed and set in place (with a slight gap for squeeze-out this time) and tomorrow it will get hung, as well (hopefully). We have a snow warning later this week (we are at 50' above Sea level, too!), so I am attempting to get the shed more weather-proof by Wednesday. Also Wednesday, Diane and I head to one of my favorite stores, Harbor Freight! They have an outlet by Arcata/Eureka, so off for more tools! Also an Ah-Oooga horn for my 65 Ford Pickup :) And a surprise for Lady Di.... More later!
|